


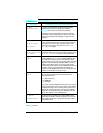
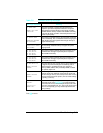
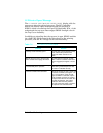
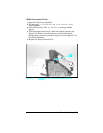
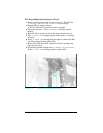
Cassette Size Switches (SW603, SW604, SW605) Functional
Check
Before beginning this test, remove the Lower Cassette Base and
the Envelope Feeder. Also, PS2 (PC or Tray 2 Paper Out sensor)
must be engaged for this test to be performed reliably. Push PS2
up towards the rear of the printer with your hand.
1 Power ON the printer with the PC tray removed. Wait for the
PC LOAD XXX message. Set PAPER=LETTER in the Printing Menu
using the Control Panel.
2 With PS2 engaged, press and hold the lower and upper paper
size switches (refer to Table 7-5). The display should read 00
READY. If the display does not change, the switches are
defective. Inspect the switch activating mechanism and/or
replace the Paper Control PCA.
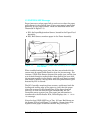
3 Repeat the test, this time setting the paper size to legal
(PAPER=LEGAL) and pressing the top two switches. If the
printer responds with 00 READY, all three switches have been
tested and verified.
Note
The LaserJet 5 printer will require you to set the
paper size, followed by a self test to generate the
equivalent TRAY 2 LOAD message. Use the Job
Cancel key between tests to cancel the Self Test
printout.
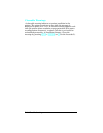
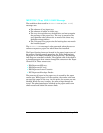
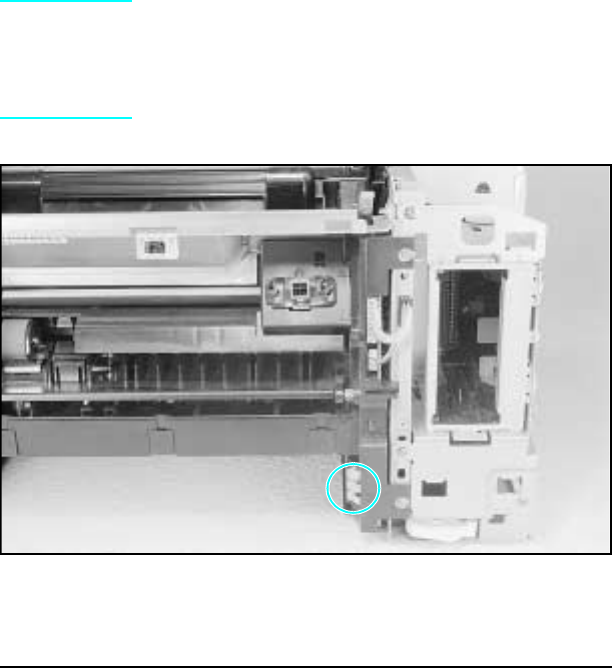
Figure 7-1 PC Tray Size Sensing Microswitches Location
Troubleshooting 7-15