


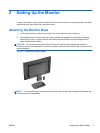

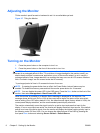
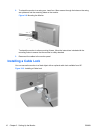
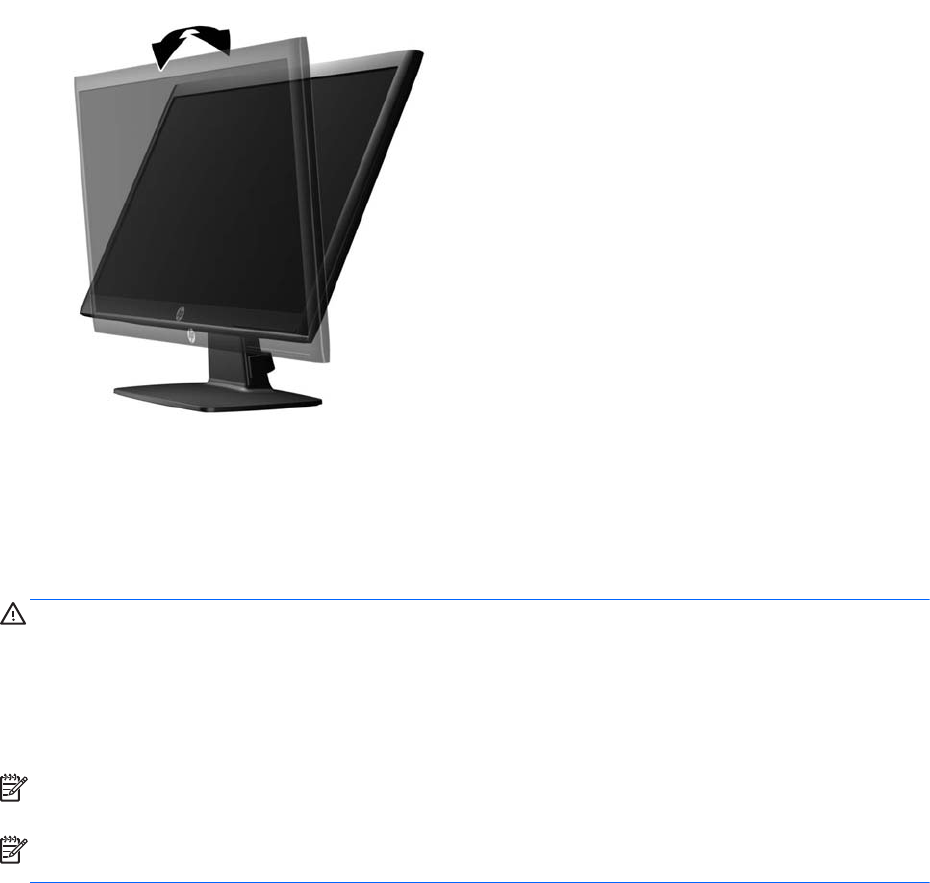
Adjusting the Monitor
Tilt the monitor's panel forward or backward to set it to a comfortable eye level.
Figure 2-7 Tilting the Monitor
Turning on the Monitor
1. Press the power button on the computer to turn it on.
2. Press the power button on the front of the monitor to turn it on.
CAUTION: Burn-in image damage may occur on monitors that display the same static image on
screen for a prolonged period of time.* To avoid burn-in image damage on the monitor screen, you
should always activate a screen saver application or turn off the monitor when it is not in use for a
prolonged period of time. Image retention is a condition that may occur on all LCD screens. Monitors
with a “burned-in image” are not covered under the HP warranty.
* A prolonged period of time is 12 consecutive hours of non-use.
NOTE: If pressing the power button has no effect, the Power Button Lockout feature may be
enabled. To disable this feature, press and hold the monitor power button for 10 seconds.
NOTE: You can disable the power LED in the OSD menu. Press the Menu button on the front of the
monitor, then select Management > Bezel Power LED > Off.
When the monitor is powered on, a Monitor Status message is displayed for five seconds. The
message shows which input (DVI or VGA) is the current active signal, the status of the auto-switch
source setting (On or Off; factory default is On), the default source signal (factory default is VGA), the
current preset display resolution, and the recommended preset display resolution.
The monitor automatically scans the signal inputs for an active input and uses that input for the
display. If two or more inputs are active, the monitor will display the default input source. If the default
source is not one of the active inputs, then the monitor will display the highest ranking priority input in
the following order: DVI then VGA. You can change the default source in the OSD by pressing the
front panel Menu button and selecting Source Control > Default Source.
8 Chapter 2 Setting Up the Monitor ENWW