


Service Manual Removal and Replacement 2-37
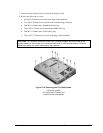
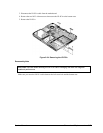
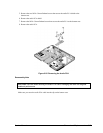
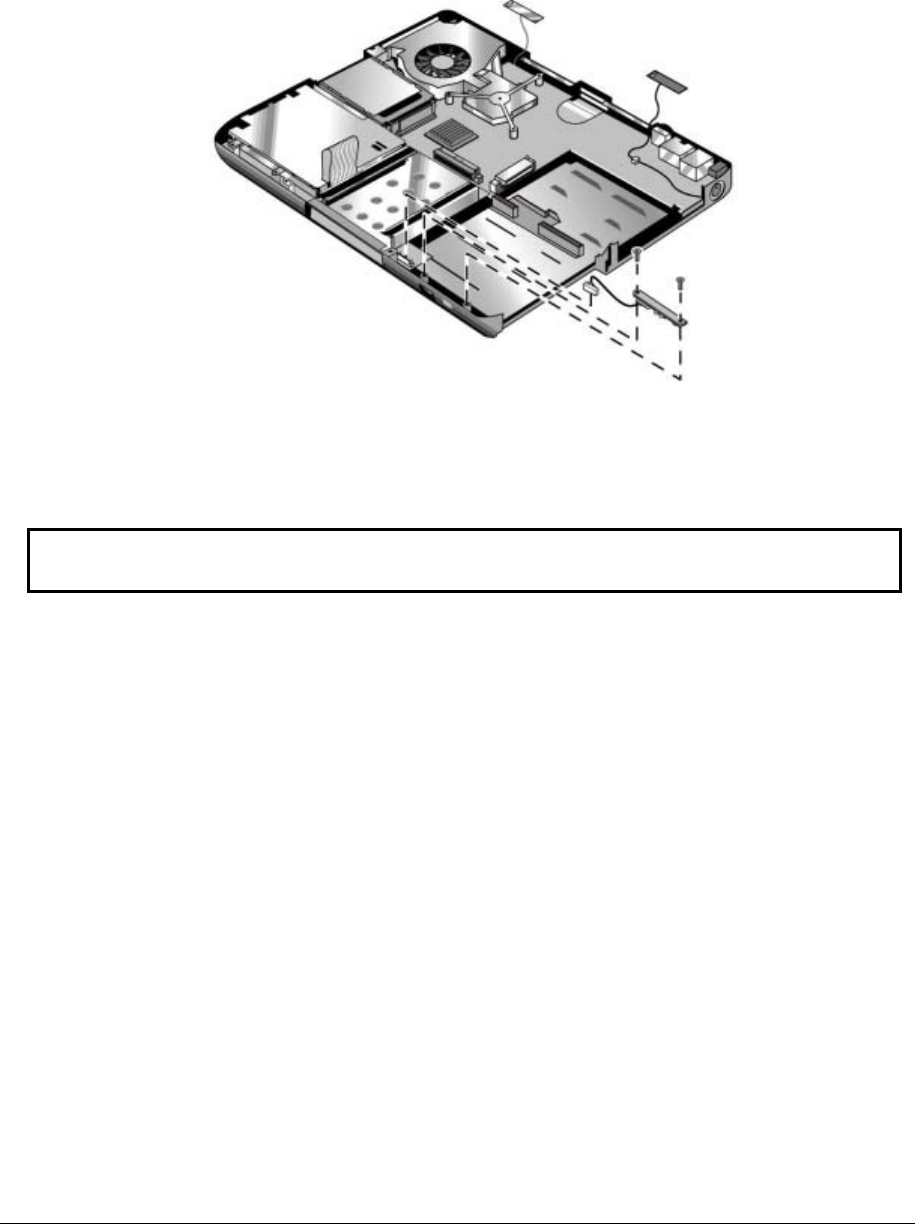
3. Disconnect the I/R PCA cable from the motherboard.
4. Remove the two M2.5×4.0mm screws that secure the I/R PCA to the bottom case.
5. Remove the I/R PCA.
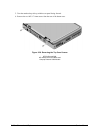
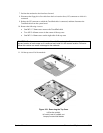
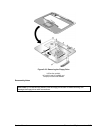
Figure 2-24. Removing the I/R PCA
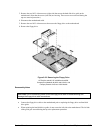
Reassembly Note
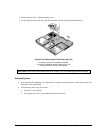
CAUTION: Use care when handling the I/R PCA cable. Damaging the cable can degrade
notebook performance.
Make sure you route the I/R PCA cable between the left screw hole and the bottom case.