


McDATA® 4Gb SAN Switch for HP p-Class BladeSystem user guide 29
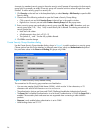
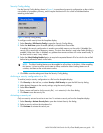
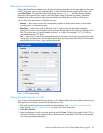
Security Config dialog
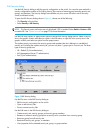
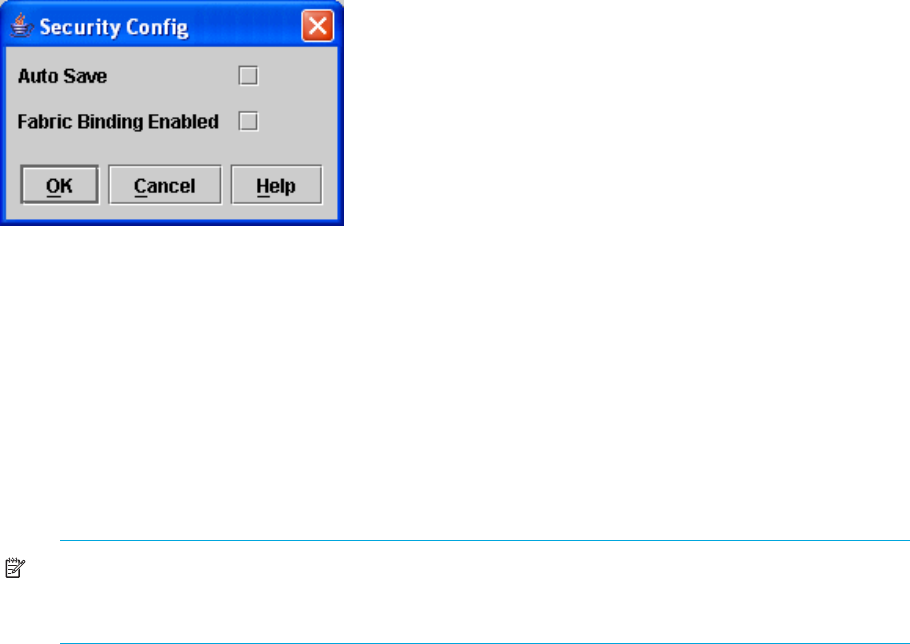
Use the Security Config dialog, shown in Figure 9, to save the active security configuration on the switch to
non-volatile or to temporary memory, and to require the domain ID of a switch be validated before
attaching to the fabric.
Figure 9 Security Config dialog
To configure switch security from the faceplate display:
1. Select Security > Edit Security Config to open the Security Config dialog.
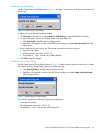
2. Select the Auto Save option to enable (default) or disable Auto Save mode.
If enabled, the security configuration is saved to non-volatile memory on the switch. If disabled, the
security file is saved only to temporary memory. The Auto Save feature is used when Fabric Binding is
enabled. When Auto Save is disabled, any updates from remote switches will not be saved locally. If
the local switch is reset, it may isolate.
3. Select the Fabric Binding Enabled option to require the expected domain ID of a switch to be verified
before being allowed to attach to the fabric.
NOTE: The fabric binding feature must be enabled on all switches in the fabric. When enabling
this feature, it is best to set the switch state to offline, enable the fabric binding feature on all
switches, and then set the switch state to online.
4. Click OK to save the settings and close the Security Config dialog.
Archiving a security configuration to a file
To archive (save) a security configuration to a file from the faceplate display:
1. Click Security on the tool bar, or select Security > Edit Security to open the Edit Security dialog.
2. Make desired changes to the security settings using the security dialogs.
3. Select File > Save As.
4. Enter a name and location for the security file (.xml extension) in the Save dialog.
5. Click Save to save the security file.
Activating a security set
Only one security set can be active at one time. To activate a security set from the faceplate display:
1. Select Security > Activate Security Set to open the Activate Security Set dialog.
2. Select a security set from the drop-down list.
3. Click Activate to activate the security set.