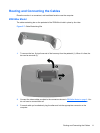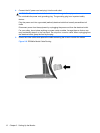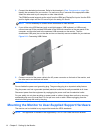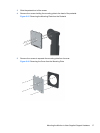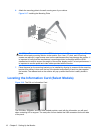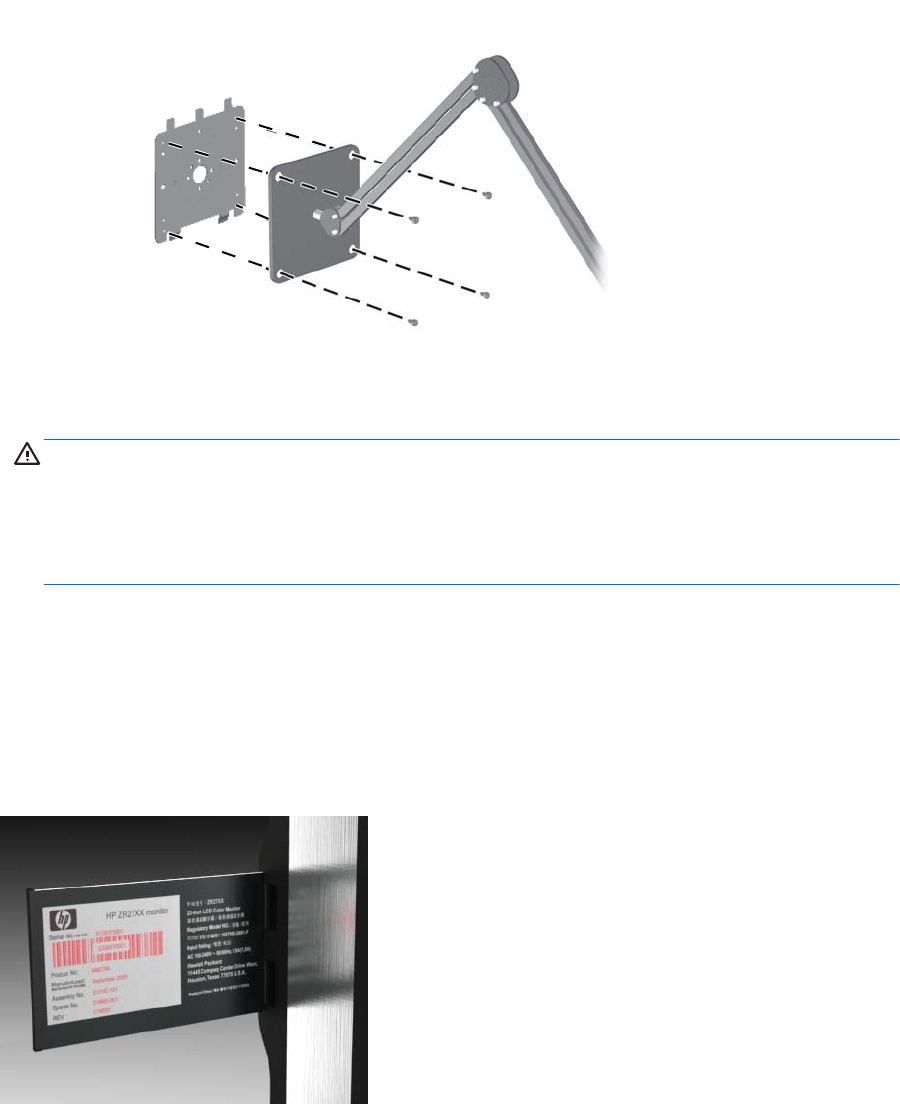
6. Attach the mounting plate to the wall or swing arm of your choice.
Figure 2-17 Installing the Mounting Plate
CAUTION: This monitor supports the VESA industry standard 100 mm mounting holes. To
attach a third-party mounting solution to the monitor, four 4 mm, 0.7 pitch, and 10 mm long
screws are required. Longer screws must not be used because they may damage the monitor. It
is important to verify that the manufacturer’s mounting solution is compliant with the VESA
standard and is rated to support the weight of the monitor display panel. For best performance, it
is important to use the power and video cables provided with the monitor.
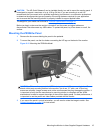
7. Place the panel on the mounting bracket you've installed by aligning its recess with the mounting
bracket, then sliding it down over the top of the bracket and pressing it back into place against
the bracket. The release latch on the monitor will pop up when the monitor is safely locked in
place.
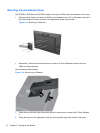
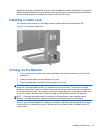
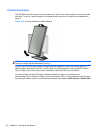
Locating the Information Card (Select Models)
Figure 2-18 The Pull-out Information Card
The ZR2240w, ZR2440w, and ZR2740w models provide a card with the information you will need
when contacting HP for support. The card pulls out from behind the USB connectors on the left side
of the panel.
18 Chapter 2 Setting Up the Monitor


