


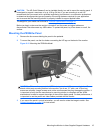

CAUTION: The HP Quick Release 2 can be installed directly to a wall to mount the monitor panel. It
is designed to support a maximum of up to 10.9 kg (24 lbs). If you are mounting to a wall, HP
recommends that you consult with a qualified engineering, architectural, or construction professional
to determine the appropriate type and quantity of mounting fasteners required for your application
and to ensure that the mounting solution is properly installed to support applied loads.
The weight for your model can be found in Technical Specifications on page 29.
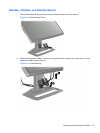
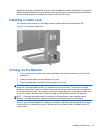
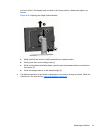
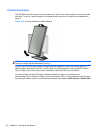
Before you begin, make sure the monitor is turned off and the power and signal cables are
disconnected. Also disconnect any USB cables. To protect the panel, lay it face down on a soft, flat
surface.
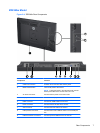
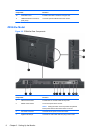
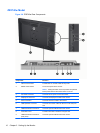
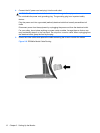
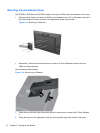
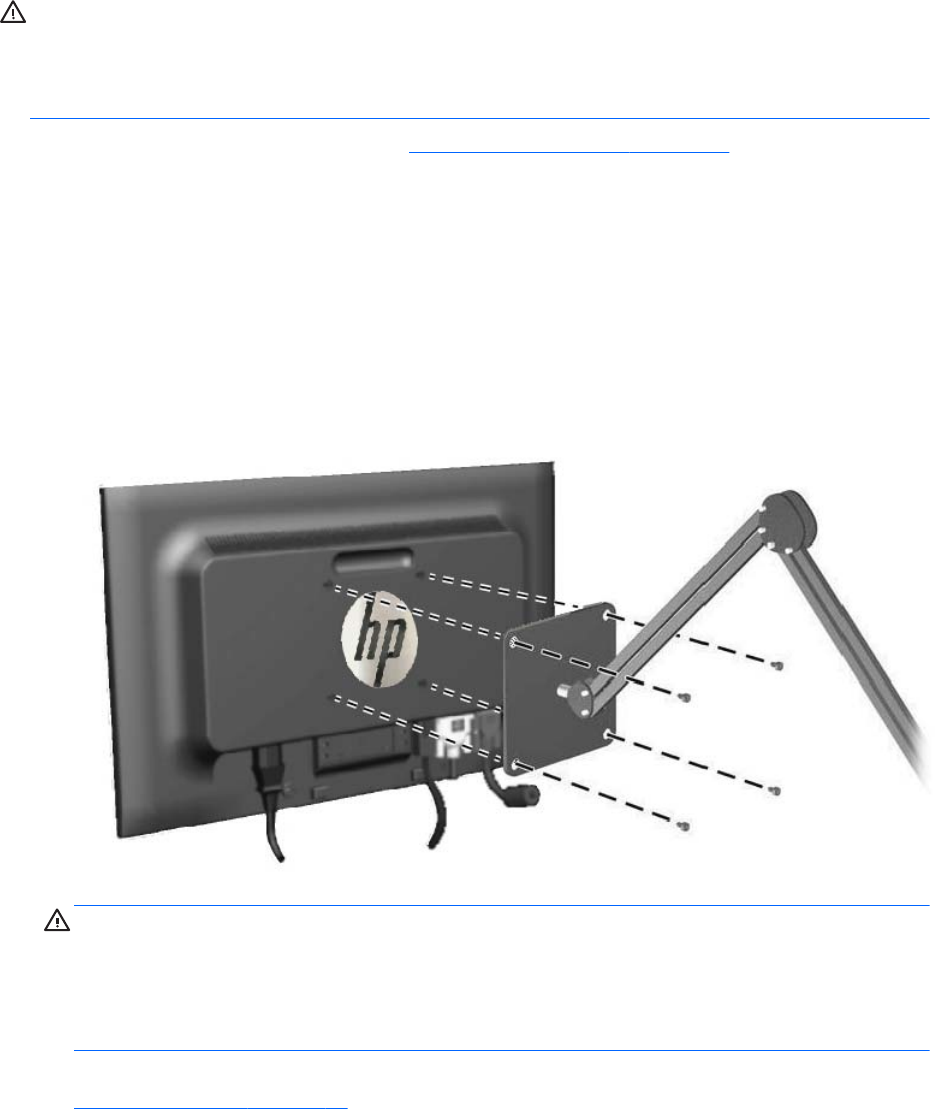
Mounting the ZR2040w Panel
1. Remove the four screws holding the panel to the pedestal.
2. To mount the panel, use the four holes surrounding the HP logo on the back of the monitor.
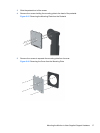
Figure 2-12 Mounting the ZR2040w Model
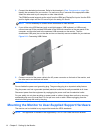
CAUTION: This monitor supports the VESA industry standard 100 mm mounting holes. To
attach a third-party mounting solution to the monitor, four 4 mm, 0.7 pitch, and 10 mm long
screws are required. Longer screws must not be used because they may damage the monitor. It
is important to verify that the manufacturer’s mounting solution is compliant with the VESA
standard and is rated to support the weight of the monitor display panel. For best performance, it
is important to use the power and video cables provided with the monitor.
3. If you mount the panel in portrait orientation, you will need to rotate the image to match. See
Portrait Orientation on page 22 for instructions.
Mounting the Monitor to User-Supplied Support Hardware 15