5
ENGLISH
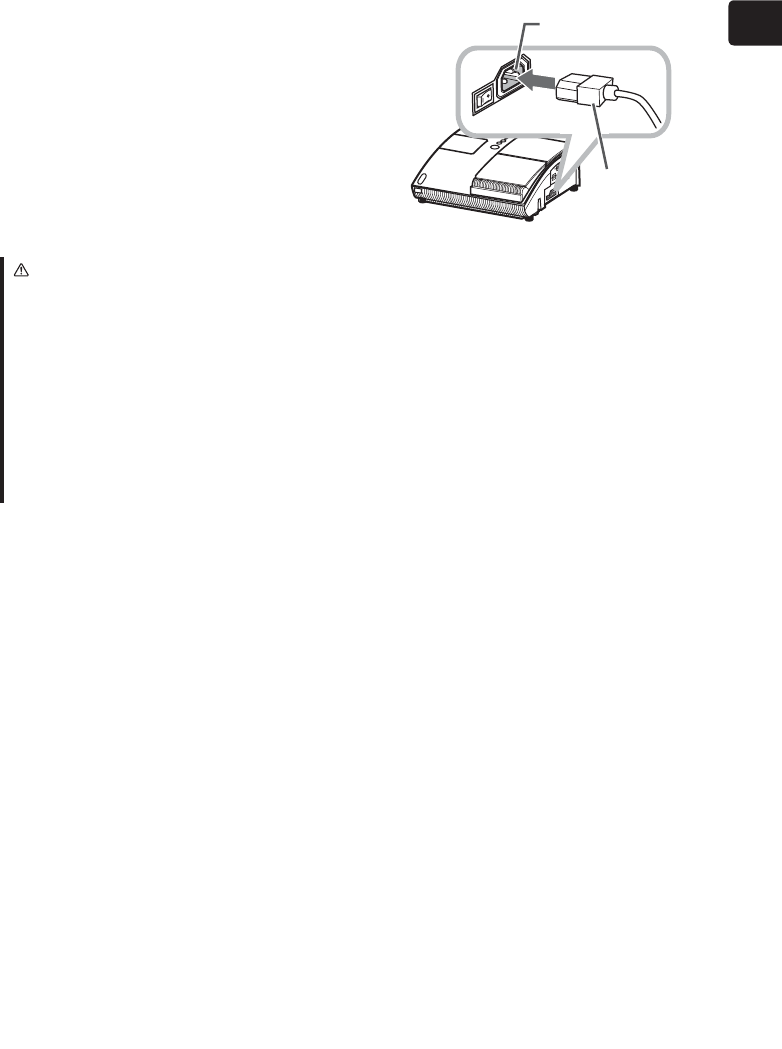
4. Connecting with a power supply
%HIRUHFRQQHFWLRQFRQILUPWKDWWKHSRZHURXWOHW
is suitable for this projector and the power cord.
Then follow the procedure below for connection.
AC Inlet
Power cord
(with the socket)
WARNING
Ŷ%HFDUHIXORIRSHUDWLRQIRUDSRZHUVXSSO\QRWWRFDXVHDQHOHFWULFVKRFNRUDILUH
'RQRWKDQGOHWKHSRZHUFRUGZLWKWKHZHWKDQG
8VHWKLVSURGXFWZLWKRQO\WKHW\SHRISRZHUVXSSO\LQGLFDWHGRQWKHSURMHFWRU
8VHDSRZHURXWOHWWKDWLVFORVHWRWKHSURMHFWRUDQGHDVLO\DFFHVVLEOH
&RQQHFWILUPO\WKHSRZHUFRUGQRWWRUHVXOWLQORRVHFRQQHFWLRQ'RQRWXVHDORRVHRU
unsound power outlet.
'RQRWRYHUORDGWKHRXWOHWVLQFHRYHUORDGLQJFDQUHVXOWLQDULVNRIILUHRUHOHFWULF
shock.
8VHRQO\WKHSRZHUFRUGFRQWDLQHGLQWKLVSURGXFWXQOHVVLWLVGDPDJHG,ILWLV
damaged, consult your dealer to get new one. Do not modify the power cord.
1.
Insert the end of the power cord with the
socket into the AC inlet of the projector.
2.
Plug the other end of the power cord into a
power outlet.


