


54
Remember that incorrect network settings on this projector
may cause trouble on the network. Be sure to consult with
your network administrator before connecting to an existing
access point on your network.
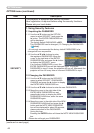
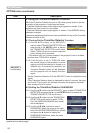
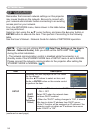
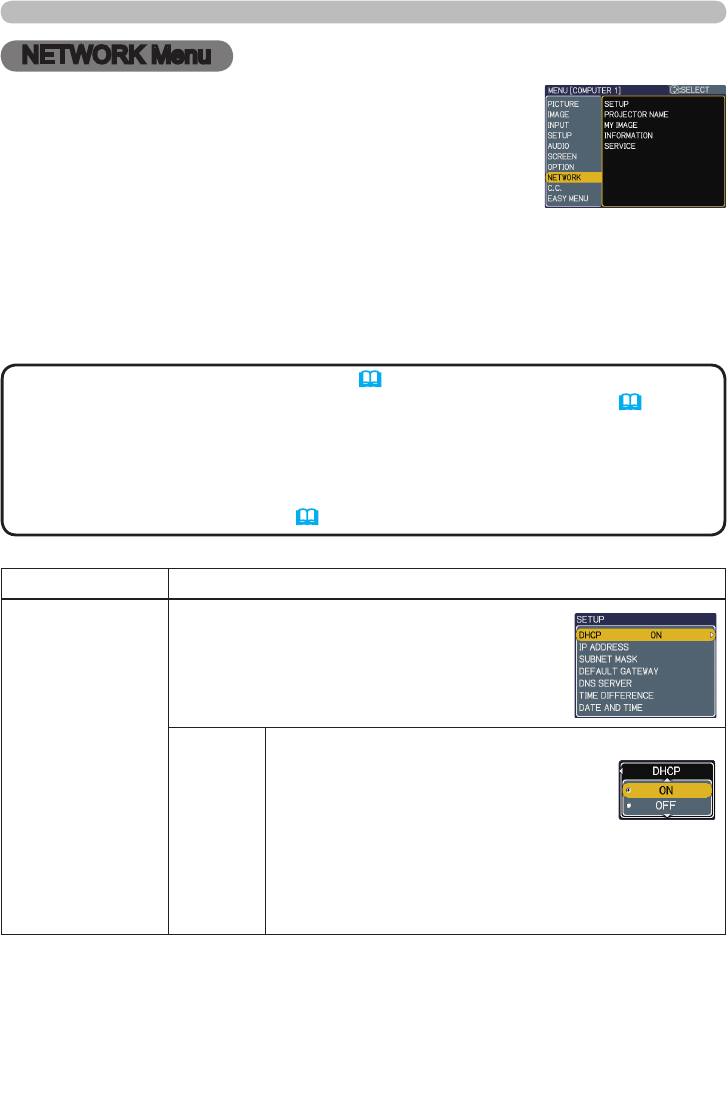
From the NETWORK menu, items shown in the table below
can be performed.
Select an item using the ▲/▼ cursor buttons, and press the ►cursor button or
ENTER button to execute the item. Then perform it according to the following
table.
See the User’s Manual - Network Guide for details of NETWORK operation.
NETWORK Menu
NETWORK Menu
• If you are not utilizing SNTP ( Date/Time Settings of the User’s
Manual - Network Guide), then you must set the DATE AND TIME (55)
during the initial installation.
• The network communication control is disabled while the projector is in
standby mode if the STANDBY MODE item of SETUP menu is set to SAVING.
Please connect the network communication to the projector after setting the
STANDBY MODE to NORMAL (35).
NOTE
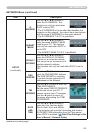
Item Description
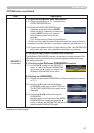
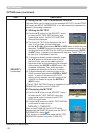
SETUP
Selecting this item displays the SETUP Menu
for the network.
Use the ▲/▼ buttons to select an item, and
the ► or ENTER button on the remote control
to perform the item.
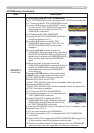
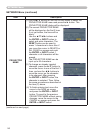
DHCP
(Dynamic
Host
Conguration
Protocol)
Use the ▲/▼ buttons to turn DHCP on/off.
ON
ó
OFF
Select OFF when the network does
not have DHCP enabled.
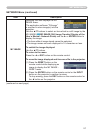
• When the “DHCP” setting changes to “ON”, it takes a
little time to obtain IP address from DHCP server.
• Auto IP function will be assigned an IP address if the
projector could not obtain an IP address from server
even if DHCP is “ON”.
(continued on next page)