


11
Installation
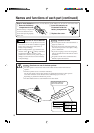
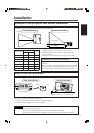
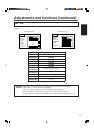
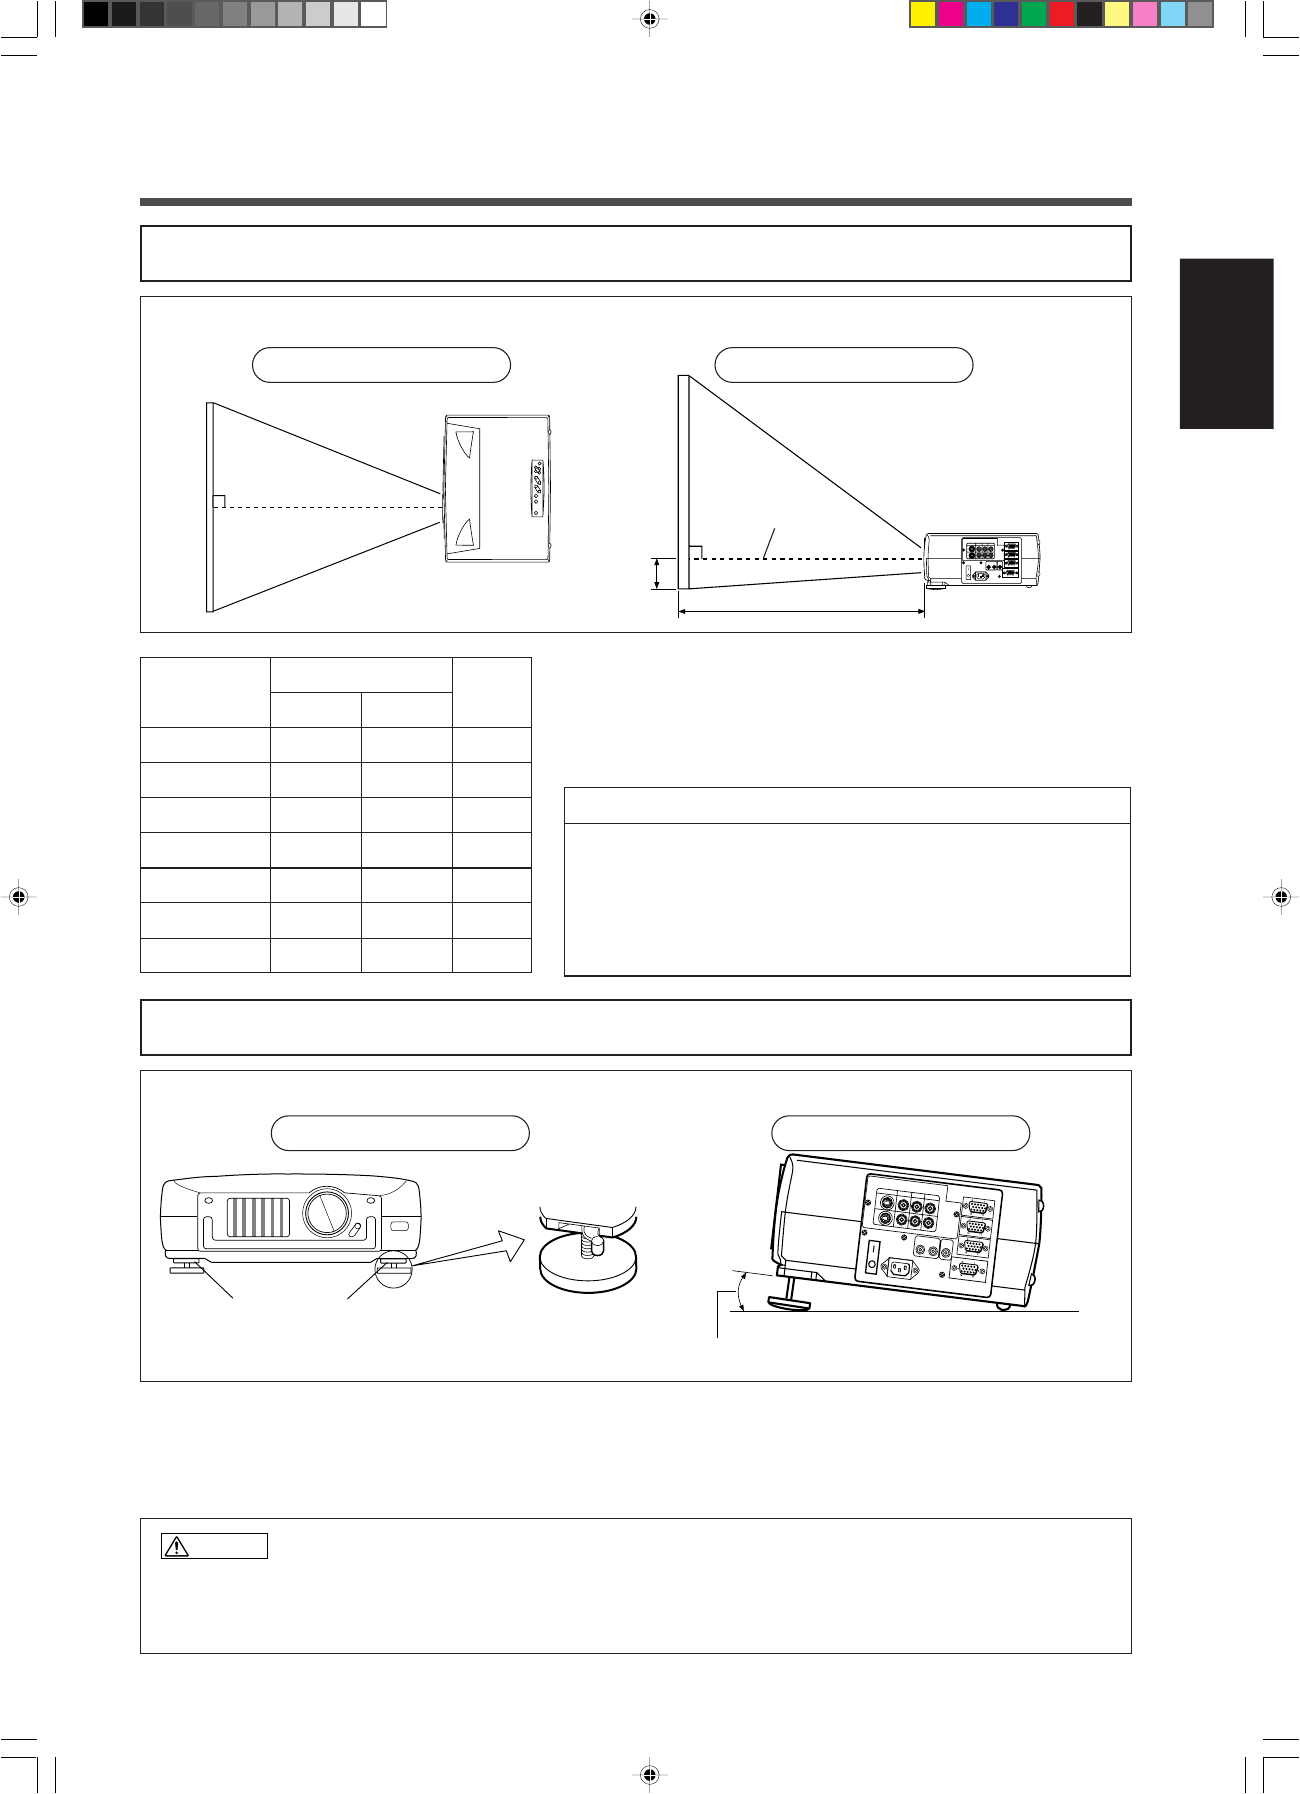
Example of the projector and screen installation
Determine picture size and projection distance as illustrated below.
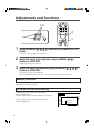
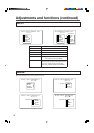
How to use foot adjusters
1. Lift up the projector, unlock the foot adjusters.
2. Adjust a viewing angle, and then lock the foot adjusters complete.
3. To adjust the angle slightly, revolve the foot adjusters.
Adjust the projection position using the foot adjusters at the bottom of the projector.
View from the top
b
a
View from the side
Screen
Lens center
a: Distance from the projector to the screen. (±10%)
b: Length from the center of the lens to the bottom of the
picture. (±10%)
This screen size is full-screen size. (1024 dots × 768 dots)
View from the front
unlock ←→ lock
View from the side
A viewing angle of 2° ~ 12° can be changed.
Caution
Do not unlock the foot adjusters while you do not support the projector, to avoid falling of the
projector and causing an injury.
Do not revolve the foot adjusters by force, the foot adjusters is damaged.
If the foot adjusters do not lock completely, move the foot adjusters a little before locking.
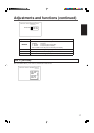
Installation of liquid crystal projector
Please basically use liquid crystal projector at the horizontal
position.
If you use liquid crystal projector by the lens up position, the
lens down position and the side up position, this may cause the
heat inside to build up and become the cause of damage.
Foot adjuster
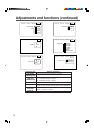
Screen (inch)
40
60
80
100
120
150
200
a (inch)
Minimum
60
89
119
149
179
224
298
Maximum
89
134
179
224
269
336
448
b (inch)
3.4
5.1
6.9
8.6
10.3
12.9
17.2