


40
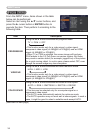
AUDIO menu
AUDIO menu
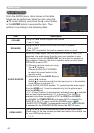
From the AUDIO menu, items shown in the table
below can be performed. Select an item using the
▲/▼ cursor buttons, and press the ► cursor button
or the ENTER button to execute the item. Then
perform it according to the following table.
Item Description
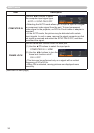
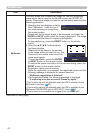
VOLUME
Using the ◄/► buttons adjusts the volume.
Low
ó
High
SPEAKER
Using the ▲/▼ buttons turns on/off the built-in speaker.
ON
ó
OFF
When OFF is selected, the built-in speaker does not work.
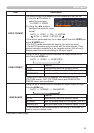
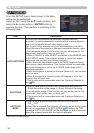
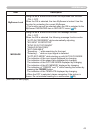
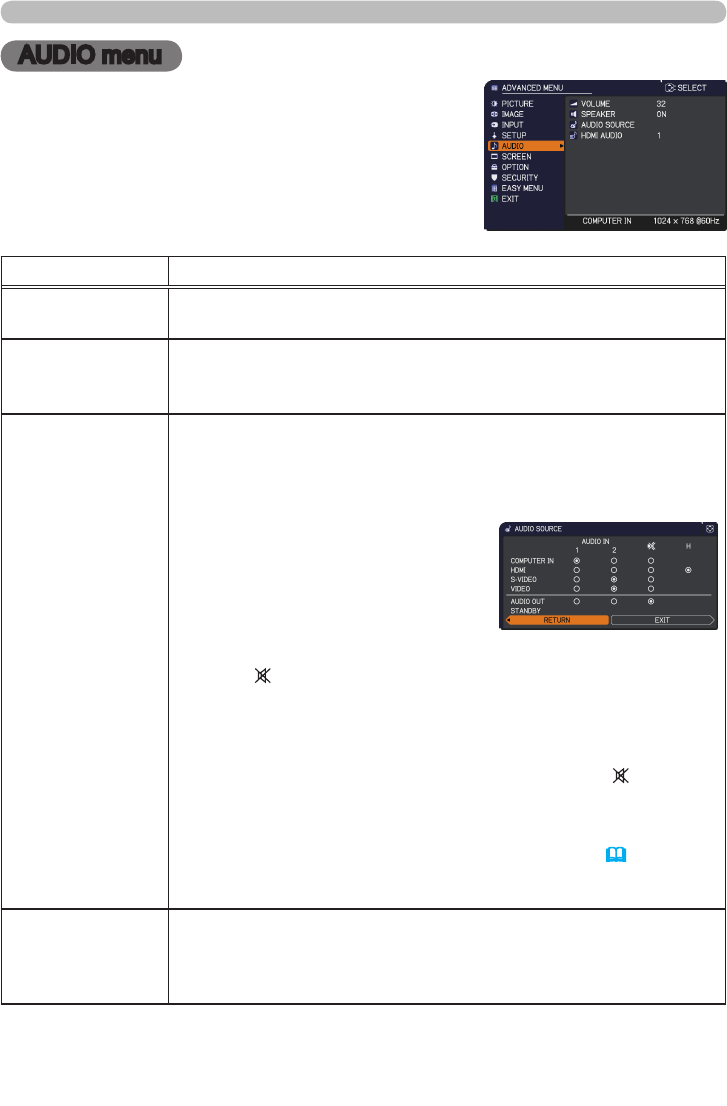
AUDIO SOURCE
While the image signal from the input port chosen in step (1) is
projected, the audio signal from the input port selected in step
(2) is output to both the AUDIO OUT port and built-in speaker of
this projector. However, the built-in speaker does not work when
SPEAKER is set to OFF.
(1) Choose a picture input port using
the ▲/▼ buttons.
Choose AUDIO OUT STANDBY
to select the sound output in the
standby mode.
(2) Select one of the AUDIO IN ports
using ◄/► buttons.
Select
to mute the sound from the input port or in the standby
mode chosen in the step (1).
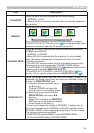
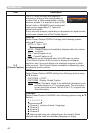
• In the AUDIO SOURCE window, “H” symbolizes the audio signal
from the HDMI port. It can be selected only for the picture input
from the HDMI port.
• C.C. (Closed Caption) is automatically activated when
is selected
and an input signal containing C.C. is received. This function is
available only when the signal is NTSC for VIDEO or S-VIDEO,
or 480i@60 for COMPUTER IN, and when AUTO is selected for
DISPLAY in the C.C. menu under the SCREEN menu (
46).
• AUDIO OUT STANDBY is automatically set to OFF when SAVING
is selected for the STANDBY MODE item in the SETUP menu.
HDMI AUDIO
Using the ▲/▼ buttons switches the mode for the HDMI audio.
Check each of the two modes provided and select the suitable one
for your HDMI audio device.
1
ó
2