


1413
16
15
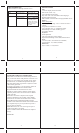
PROGRAMMING THE TIMES OF THE ALARMS
• Press MODE button to view the ALARM 1 or ALARM 2
modes. If the ALARM 1 is selected, the default time
“6:00” with the ALARM 1 label will be displayed. If the
ALARM 2 is selected, the default time”8:00”with the
ALARM 1 label will be displayed
• Press and hold or two seconds - the hour digit will flash
• Enter the hour using DOWN (-) or UP (+) buttons
• Press button - the minute digits will flash
• Enter the minutes using DOWN (-) or UP (+) buttons
• Press button again. The minute digits for snooze
interval will flash
• Enter the desired interval in minutes (from 1 to 59) using
DOWN (-) or UP (+) buttons
• Press button confirming the ALARM 1 time is set.
• Use the same procedure for setting the time for ALARM 2
ACTIVATING OR DEACTIVATING THE ALARMS
• At any time press or to activate or deactivate
applicable alarm
• When ALARM 1 and ALARM 2 are disabled, an
applicable icon or disappears from the unit’s display.
SNOOZE
When any alarm sounds, press the SNOOZE/LIGHT
button to temporarily stop the alarm. After the SNOOZE /
LIGHT button are depressed, the alarm sound will resume
in the programmed snooze period.
If the alarm is not disabled after that, it will sound for four
more minutes and then will stop by itself.
PROJECTION
The Color Changing Projection Clock is capable of
projecting the information for a limited time, as well as
continuously.
LIMITED TIME PROJECTION
• Press SNOOZE/LIGHT button once to project the
current time image for five seconds.
• Press FLIP button to rotate projected image 180° clockwise
• Press and hold FLIP button for 2 seconds again and the
projected image will rotate between the time and indoor
temperature information every 5 seconds
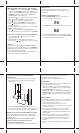
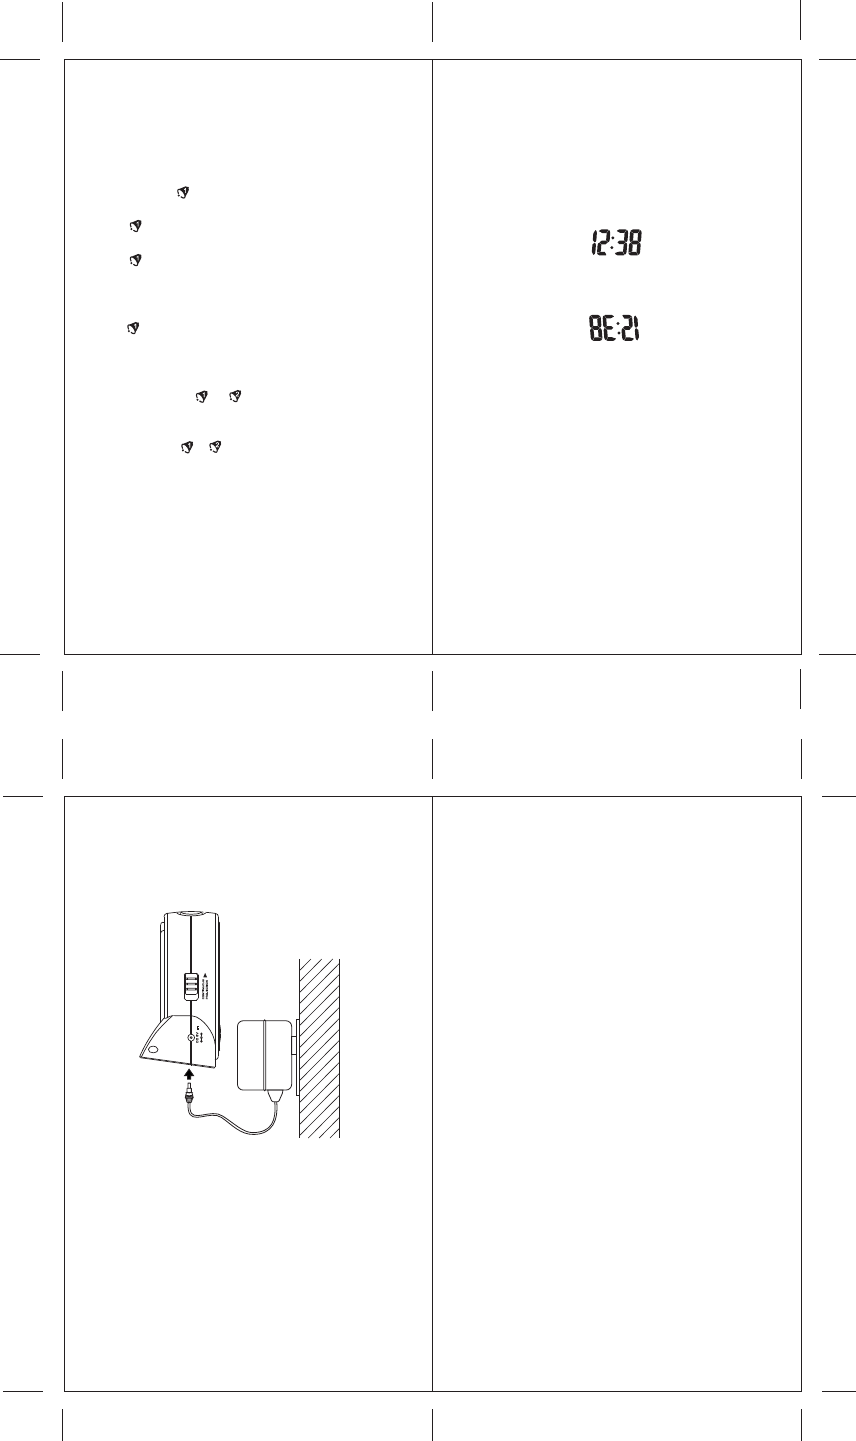
CONTINUOUS TIME AND TEMPERATURE
PROJECTION
• Connect AC/DC adapter provided to the AC adapter
input to project the time and/or temperature image
continuously.
• Slide the CONTINUE PROJECTION switch to the
arrow direction shown on the unit’s side: the current time
will be projected on the wall or the ceiling continuously.
PROJECTING IMAGES IN DEFFERENT COLORS
Your Color Changing Projection Clock designed with an
ability of changing the projected image and the display
backlight color.
NOTE: This feature can be activated only if an AC
adapter is connected (Continues Time and/or
Temperature Projection mode).
There are two options available – projection and backlight
with continuous color change and a projection and
backlight in only one selected color.
The default option is continuous color change.
BACKLIGHT
There are two different options of using a backlight in the
Color Changing Projection Clock:
• When the AC adapter is not connected, the backlight
feature is activated in blue color for 5 seconds when the
LIGHT/SNOOZE button is pressed.
• When the AC adapter is connected and CONTINUE
PROJECTION switch is in ON position, the backlight
color will change along with the color of the projected
image
PRECAUTIONS
This product is engineered to give you years of satisfactory
service if handled carefully. Here are a few precautions:
• Do not immerse the unit in water.
• Do not clean the unit with abrasive or corrosive
materials. They may scratch the plastic parts and corrode
the electronic circuits.
• Do not subject the product to excessive force, shock,
dust, temperature, or humidity, which may result in
malfunctions, shorter lifespan, damaged batteries, and
damaged parts.
• Do not tamper with the unit’s internal components.
Doing so will invalidate the warranty and may cause
damage. The unit contains no user-serviceable parts.
• Use only fresh batteries. Do not mix new and old
batteries.
• Read the user's manual thoroughly before operating the
unit.
PM
PM