


ENGLISH
22 OPERATING THE MONITOR
SCREEN ADJUSTMENTS
The screen adjustments described in this manual are designed to set image position and minimize
flicker or blur for the particular computer in use.
ProLite E1702S / E1702SV / B1702S are designed to provide the best performance at resolution of
1280 × 1024, but can not provide the best at resolutions of less than 1280 × 1024 because the picture
is automatically stretched to fit the full screen. It is recommended to operate at resolution of 1280 ×
1024 in normal use.
ProLite E1702WS / E1702WSV are designed to provide the best performance at resolution of 1440
× 900, but can not provide the best at resolutions of less than 1440 × 900 because the picture is
automatically stretched to fit the full screen. It is recommended to operate at resolution of 1440 × 900
in normal use.
Displayed text or lines will be blurred or irregular in thickness when the picture is stretched due to
the screen enlargement process.
It is preferable to adjust the image position and frequency with the monitor controls, rather than the
computer software or utilities.
Perform adjustments after a warm-up period of at least thirty minutes.
Additional adjustments may be required after the Auto Set-up depending on the resolution or signal timing.
The Auto Set-up may not work correctly when displaying the picture other than the screen
adjustment pattern. In this case, manual adjustments are required.
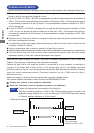
There are two ways to adjust the screen. One way is automatic adjustment for Clock, Phase and
Position. The other way is performing each adjustment manually.
Perform the Auto Set-up first when the monitor is connected to a new computer, or resolution is
changed. If the screen has a flicker or blur, or the picture does not fit in the display area after
performing the Auto Set-up, manual adjustments are required. Both adjustments should be made by
using the screen adjustment pattern (Test.bmp) obtained via the IIYAMA web site (http://
www.iiyama.com).
Adjust the image by following the procedure below to get the desired picture.
This manual explains adjustment under Windows 95/98/2000/Me/XP/Vista.
AA
AA
A
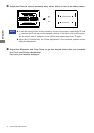
Display the picture at the optimum resolution.
BB
BB
B
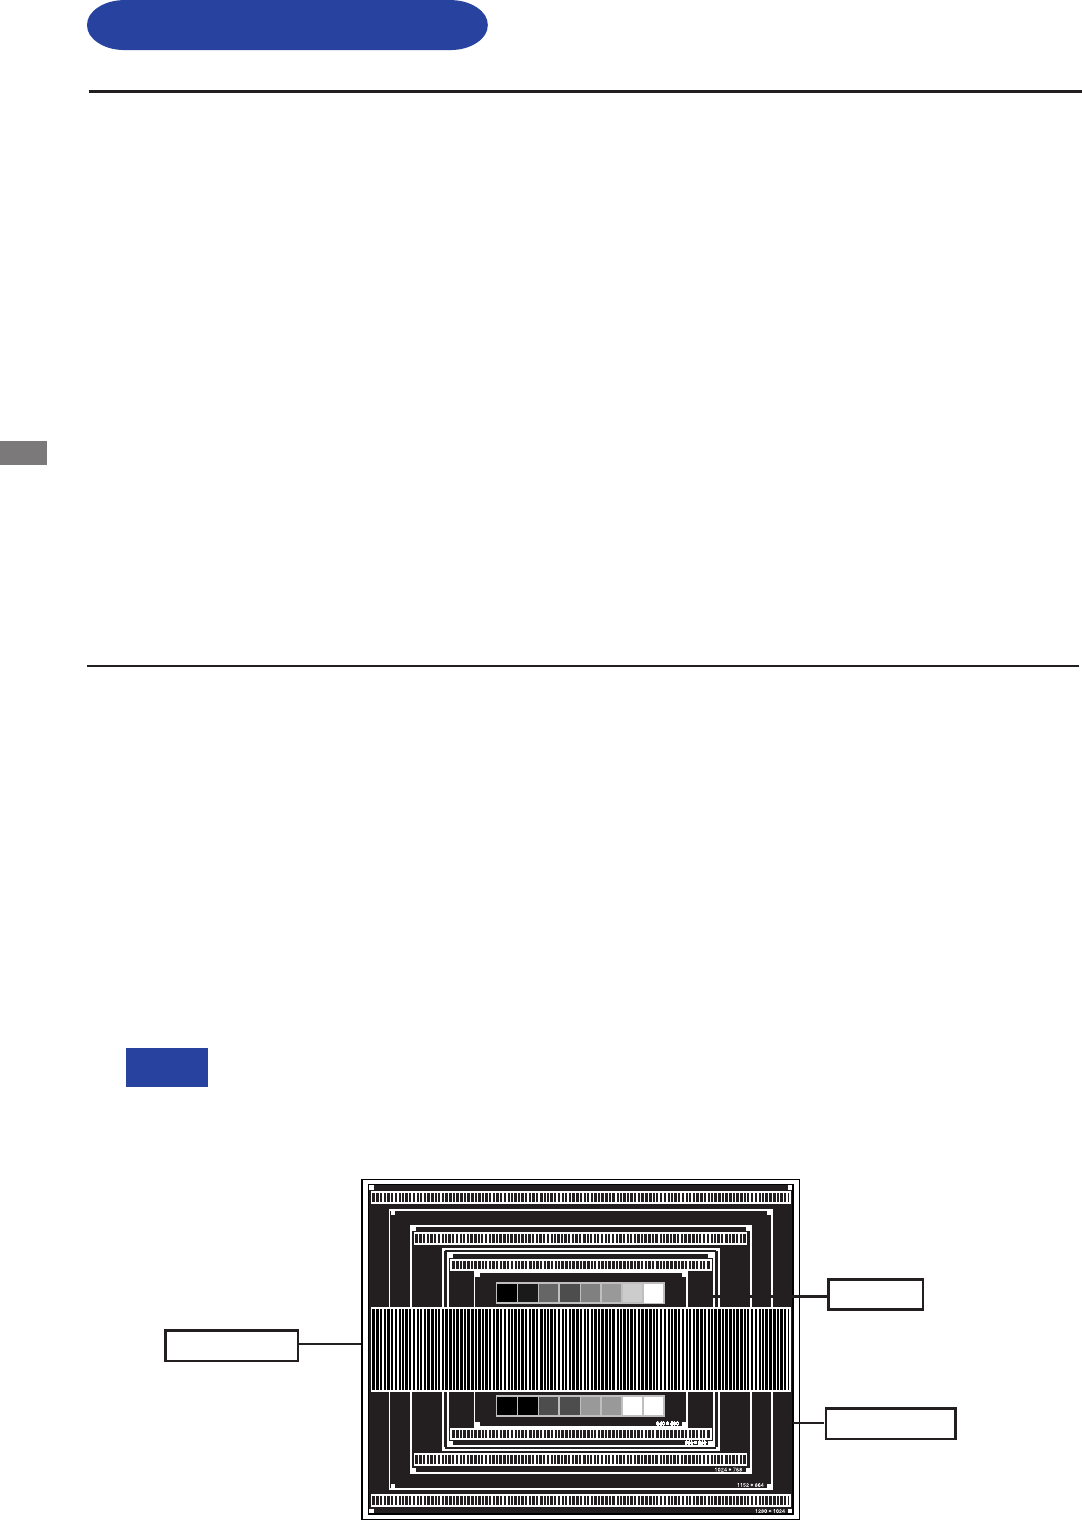
Enter the Test.bmp (screen adjustment pattern) to wallpaper.
NOTE Consult the appropriate documentation for doing this.
Test.bmp is made at resolution of 1280 × 1024. Set the display position to center in the
wallpaper setting dialogue box. If you use Microsoft
®
PLUS! 95/98 cancel the setting
of “Stretch desktop wallpaper to fit the screen”.
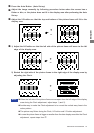
[Adjustment pattern]
Zebra pattern
This is the image
displayed at 1280 × 1024.
Color bar
Picture frame
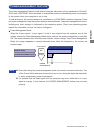
NOTE
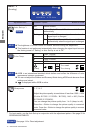
Adjust the image by following the procedure below to get the desired picture when selecting Analog input.