


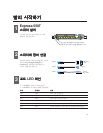
3
4
5
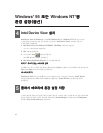
(Optional) Configuration without
Windows 95 or Windows NT
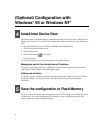
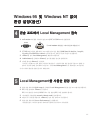
Access Local Management from the
Console port
Configure using Local Management
1 Select Configuration>Quick setup to access the Local Management configuration program.
2 Type the IP address, press <Enter>.
The default IP address is 192.0.2.1, which you should change to avoid possible IP address
conflicts.
3 If using subnetting, type the network (subnet) mask.
4 Follow the instructions given on the screen. Press <Enter> to move to the next field.
5 Select Configuration>Save to flash memory.
This saves the new configuration in the switch’s Flash Memory and makes the settings
permanent.
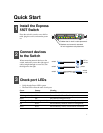
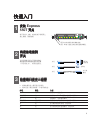
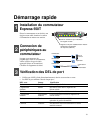
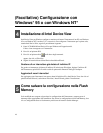
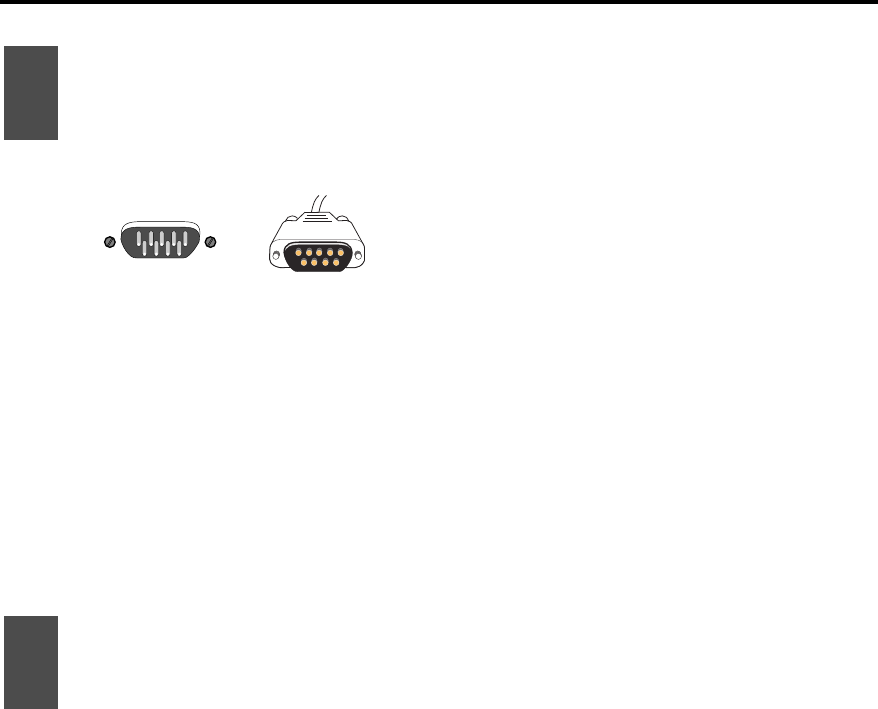
Note: a null-modem cable is provided with the Switch.
1 Use a null-modem cable to connect the Console port to a COM port on a PC.
Console
9600-8-N-1
1664
2 Open a VT-100 compatible terminal emulation program and set the communication parameters:
9600 baud, 8 data bits,1 stop bit, No parity, Xon/Xoff flow control (unrelated to the switch’s
flow control feature).
3 Press <Enter> to display Local Management.
4 Select Administrator, and press <Enter> to access the configuration options.
5 When prompted for a password, press <Enter>.
The switch is delivered with no password as default. We advise you to later define a password to
prevent unauthorized access to the switch’s configuration options. The Local Management main
menu screen is now displayed.
You are now ready to configure the switch.