


Replace an FPC in an M40 Router
•
•
•
•
•
•
•
•
•
•
•
•
•
•
•
•
•
•
•
•
•
•
•
•
•
•
•
•
•
•
•
•
•
•
•
•
•
•
•
•
•
•
•
•
•
•
•
•
•
•
•
•
•
•
•
•
•
•
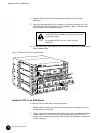
FPC Installation Instructions
14
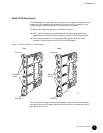
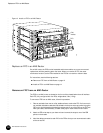
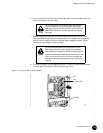
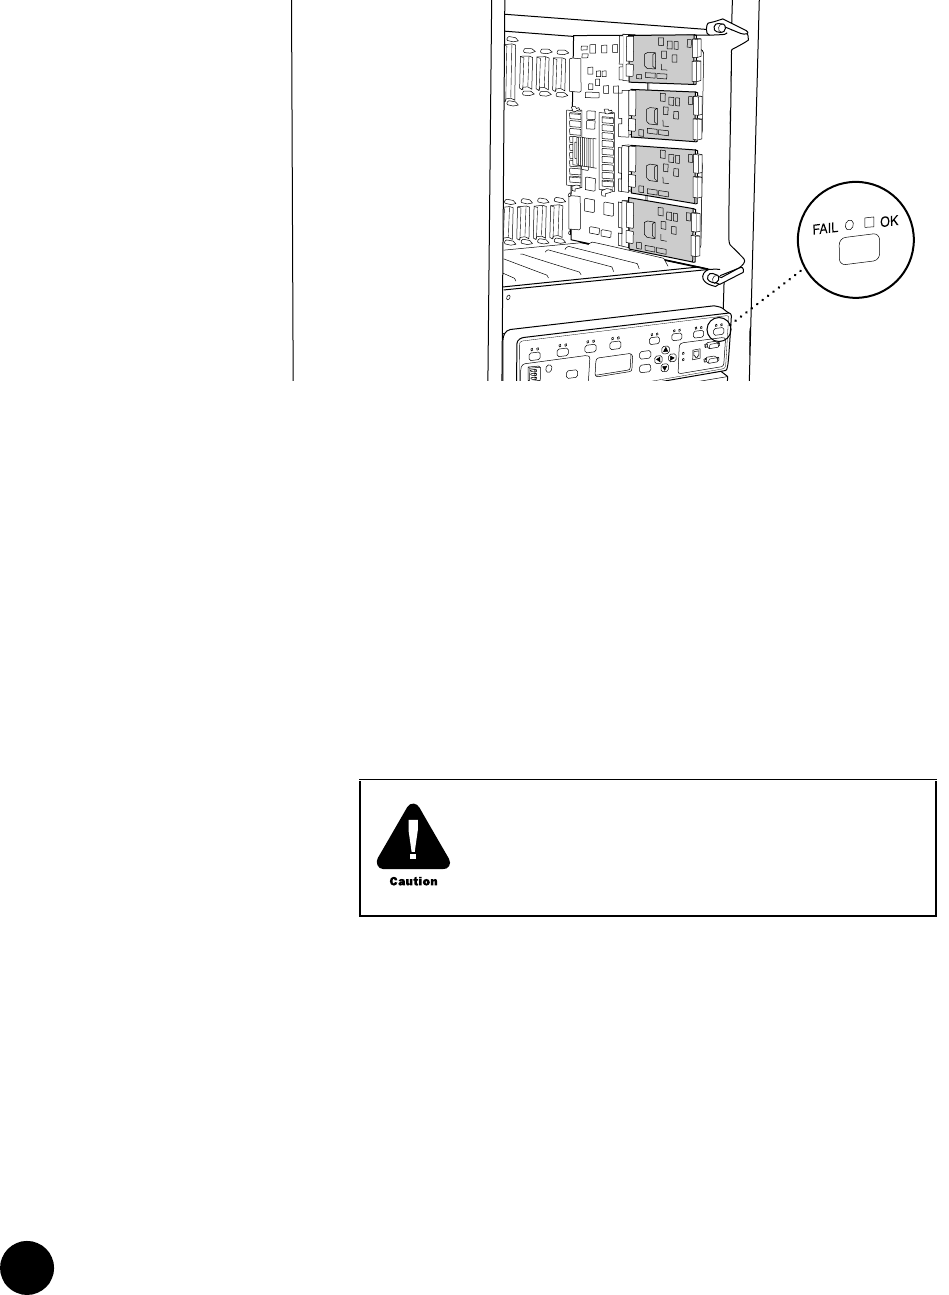
Figure 9: Remove an FPC from an M40 Router
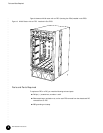
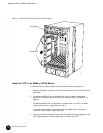
Install an FPC in an M40 Router
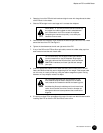
To install an FPC in an M40 router, follow this procedure:
1. Attach an ESD strap to your bare wrist and connect the strap to one of the ESD points on
the chassis.
2. Install or remove PICs as desired by following the instructions in the M40 Internet Router
Hardware Guide. You must install or remove PICs before installing the FPC into the
chassis. If any PICs use fiber-optic cable, make sure that each transceiver is covered with
a rubber safety cap.
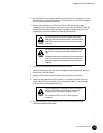
3. Align the rear bottom corners of the FPC with the guides at the bottom of the FPC slot.
Slide the FPC all the way into the card cage until it contacts the backplane.
4. Push the ends of the extractor clips, located at the top and bottom of the FPC, toward the
face of the FPC. See Figure 10.
5. Tighten the thumbscrews at the top and bottom of the FPC.
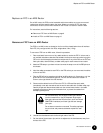
1059
7
When about 1 in. (2.5 cm) of the FPC remains outside the
slot, adjust the insertion speed so that it takes between 1
and 15 seconds for the FPC to contact the backplane.
Completing the insertion too quickly or too slowly can
cause the router to reset.