


To replace the fan tray, use the following procedures:
■ Removing the Fan Tray on page 5
■ Installing the Fan Tray on page 6
Removing the Fan Tray
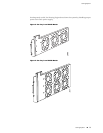
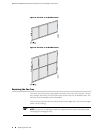
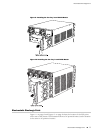
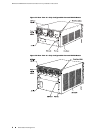
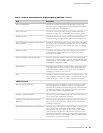
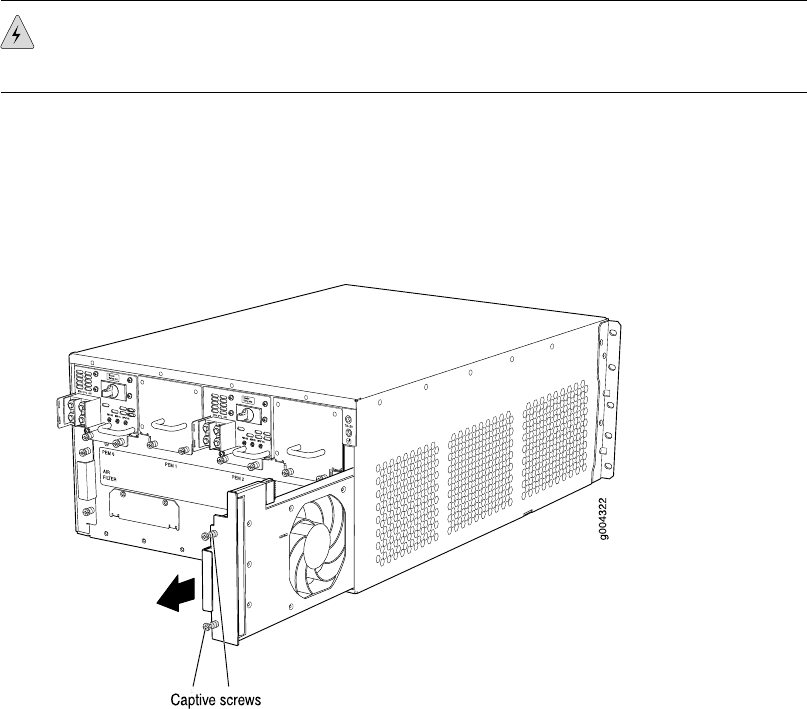
To remove the fan tray (see Figure 7 on page 5 and Figure 8 on page 6):
1. Attach an electrostatic discharge (ESD) grounding strap to your bare wrist and
connect the strap to one of the ESD points on the chassis. For more information
about ESD, see “Preventing Electrostatic Discharge Damage” on page 9.
2. Loosen the captive screws on the fan tray faceplate.
3. Grasp the fan tray handle and pull it out approximately 1 to 3 inches.
WARNING: To avoid injury, keep tools and your fingers away from the fans as you
slide the fan tray out of the chassis. The fans might still be spinning.
4. Press the latch located on the inside of the fan tray to release it from the chassis.
5. Place one hand under the fan tray to support it and pull the fan tray completely
out of the chassis.
Figure 7: Removing the Fan Tray from an MX240 Router
Replacing the Fan Tray ■ 5
Replacing the Fan Tray