


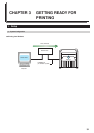
CHAPTER 3 GETTING READY FOR PRINTING
3-2
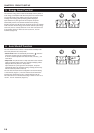
● Connecting the Printer to Your Network
Perform this procedure in order to connect the printer to the network
hub.
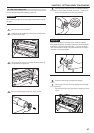
1
Turn the main switch on the printer OFF ( ).
CAUTION
Make sure the main switch is OFF ( ) before connecting the
network cable.
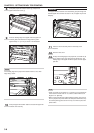
2
Plug the network cable into the Network Interface Connector
which is located on the left side of the printer.
3
Plug the other end of the network cable into the network hub.
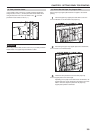
4
Turn the main switch on the printer back ON ( | ).
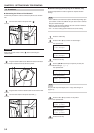
(2) Procedures
● Network Settings [Configuring the IP Address, etc.]
Perform this procedure in order to register the required network
settings.
NOTE
• The IP address to be used for the printer will differ depending upon
your network. Confirm the address that you need to use in advance
with your network manager.
• When you input the network address, be sure to check in advance
that the DHCP server setting is OFF.
• The “*” in a list of setting options indicates the current setting.
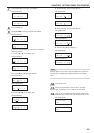
1
Press the */Menu key.
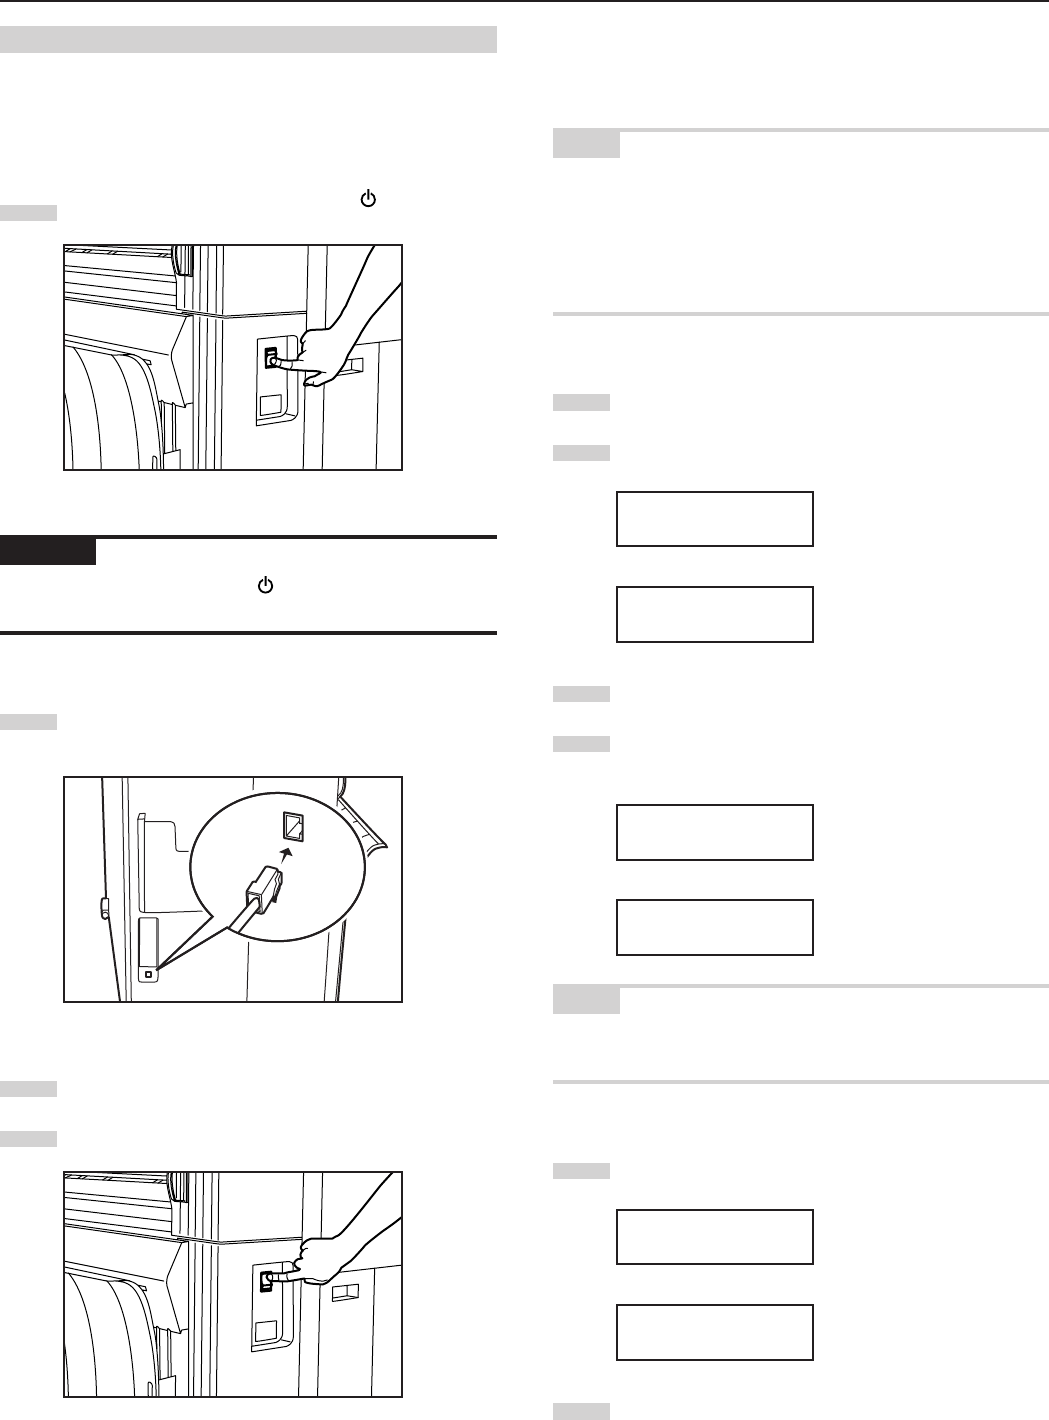
2
Press the N or M key to select “3. Set/manager”.
Inch specifications
Menu:
3.Set/manager
Metric specifications
Menu:
3.Set/manager
3
Press the Enter key.
4
Use the MNOP cursor keys to input the pin code (the
default setting is qQrR).
Inch specifications
Enter pin code.
_ _ _ _
Metric specifications
Enter pin code.
_ _ _ _
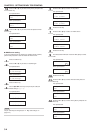
NOTE
The pin code may be changed (see “11. Mgr. code change” on
page 5-10).
5
Press the N or M key to select “2. Set printer”.
Inch specifications
Set/manager:
2.Set printer
Metric specifications
Set/manager:
2.Set printer
6
Press the Enter key.