


5 - LT Series Operations Manual
24-HOUR FORMAT
The digital display models (LTTC and LTTNC) can display 12-hour (standard),
or 24-hour, also known as the Continental (0-23 hour), format, when specified at
time of order. The time wheels can print 24-hour format for an added charge.
FIXED PAPER GUIDE
Provides a fixed edge on the side of the time stamp to help the user make more
accurate registrations.
ADJUSTABLE PAPER GUIDE
Enables the user to position registrations more accurately on various paper sizes.
Adjustments are made quickly and easily with the slide mechanism.
MANUAL REGISTRATION BUTTON [Standard on LTN and LTTN(C)]
Enables the user to position the document and manually activate the imprint.
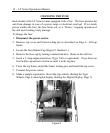
GETTING STARTED
Getting started with the LT Series is easy. There are only a couple of
fundamental decisions that must be made.
1. Plug the unit into the wall outlet.
2. Place the clock on top of the anti-skid rubber pad
3. Set the type section.
4. Set the digital clock (optional feature).
INSTALLATION
The LT Series time stamp installs easily on any tabletop or flat surface.
Determine whether you have a 110/120 VAC or 220 VAC unit, then plug it into
any appropriate AC wall outlet. (Note: Avoid outlets with On/Off switches.
These outlets may be accidentally turned off, causing an interruption of the
timing action.)
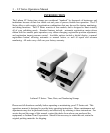
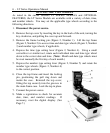
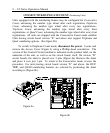
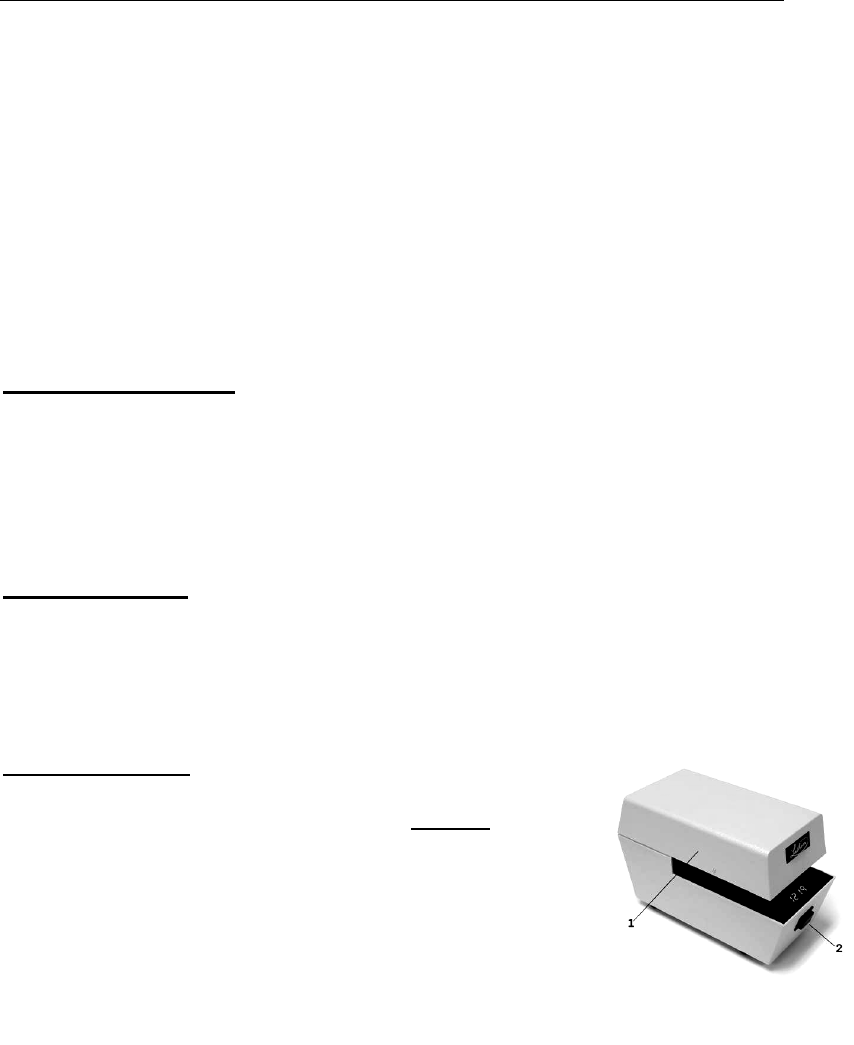
REGISTRATION
When forms are fully inserted into the stamp, an automatic
trigger causes registration. If the optional manual
registration button is installed, insert a form to the desired
position by aligning the desired registration position with
the print locators (Figure 1, Number 1) on the side of the
case. When the form is aligned, press the manual
registration button on the front of the unit (Figure 1,
Number 2).
Figure 1