1. Remove all media from the drives and turn off all attached devices and the computer. Then, disconnect
all power cords from electrical outlets and disconnect all cables that are connected to the computer.
2. Open the computer cover. See “Opening the computer cover” on page 32.
3. Remove the front bezel. See “Removing and reinstalling the front bezel” on page 32.
4. Pivot the optical drive bay upward and disconnect the front audio and USB assembly cables from the
system board and note the cables routing. See “Locating parts on the system board” on page 12.
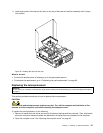
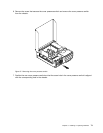
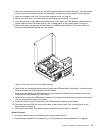
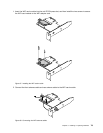
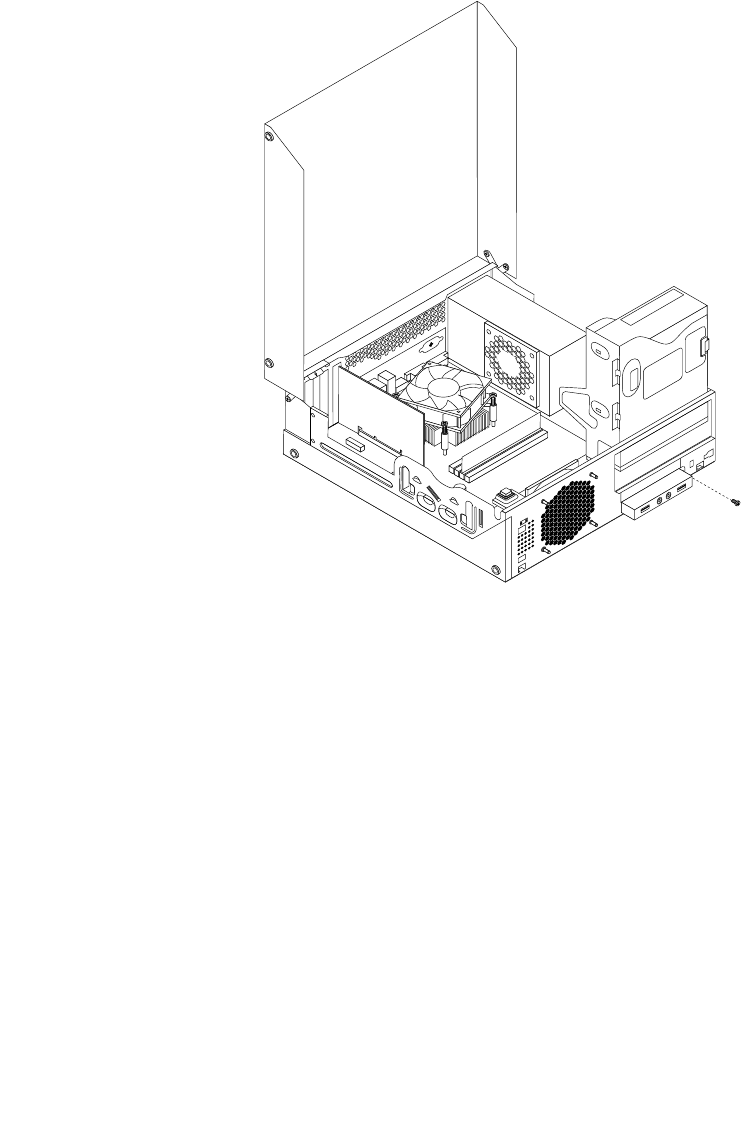
5. Remove the screw that secures the front audio and USB assembly bracket. Then remove the front
audio and USB assembly bracket from the chassis.
Figure 61. Removing the front audio and USB assembly
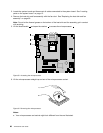
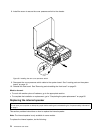
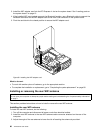
6. Remove the two screws that secure the front audio and USB assembly to its bracket. Then remove the
failing front audio and USB assembly from the bracket.
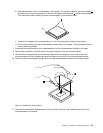
7. Install a new front audio and USB assembly into the bracket and install the two screws to secure the
front audio and USB assembly to the bracket.
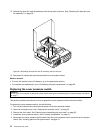
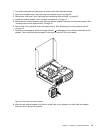
8. Install the front audio and USB assembly bracket to the chassis and align the screw hole in the bracket
with the corresponding hole in the chassis.
9. Install the screw to secure the front audio and USB assembly bracket to the chassis.
10. Reconnect the front USB and front audio cables to the system board. See “Locating parts on the
system board” on page 12.
11. Reinstall the front bezel. See “Removing and reinstalling the front bezel” on page 32.
What to do next:
• To work with another piece of hardware, go to the appropriate section.
• To complete the installation or replacement, go to “Completing the parts replacement” on page 85
.
Chapter 5. Installing or replacing hardware 75


