


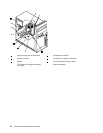
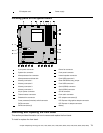


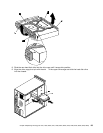

20.Connect the heat sink and fan assembly cable to the system board. See "Locating parts on the system
board" on page 71.
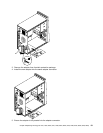
21.Install the new system board into the chassis and align the screw holes with those in the chassis. Insert
and tighten the screws that secure the system board.
22.Pivot the hard disk drive back into position.
23.Connect the power and signal cables to the hard disk drive.
24.Connect all remaining cables to the system board. See "Locating parts on the system board" on page 71.
25.Go to "Completing the FRU replacement" on page 91.
Replacing the microprocessor
Attention
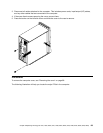
Do not open your computer or attempt any repair before reading and understanding the "Important safety information"
in the ThinkCentre Safety and Warranty Guide that came with your computer. To obtain a copy of the ThinkCentre
Safety and Warranty Guide, go to:http://www.lenovo.com/support
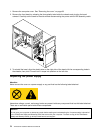
CAUTION:
The heat sink and microprocessor might be very hot. Turn off the computer and wait
three to ve minutes to let the computer cool before opening the computer cover.
This section provides information on how to remove and replace the microprocessor.
To remove or replace the microprocessor, do the following:
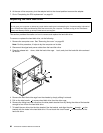
1. Remove the cover. See "Removing the cover" on page 68.
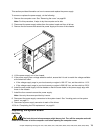
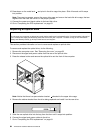
2. Place the computer on its right side to help make the microprocessor more accessible.
3. Disconnect the heat sink and fan assembly cable from the system board. See "Locating parts on the
system board" on page 71.
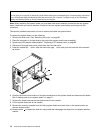
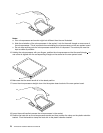
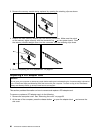
4. Rotate handle 1 to release the heat sink clamp and then disengage the clamp from the plastic retention
bracket.
Chapter 8 Replacing FRUs (Types 7061, 7090, 9353, 9421, 9485, 9623, 9625, 9705, 9786, 9795, 9935, 9946, 9953) 77