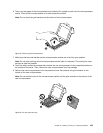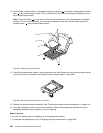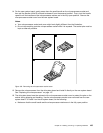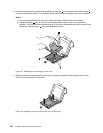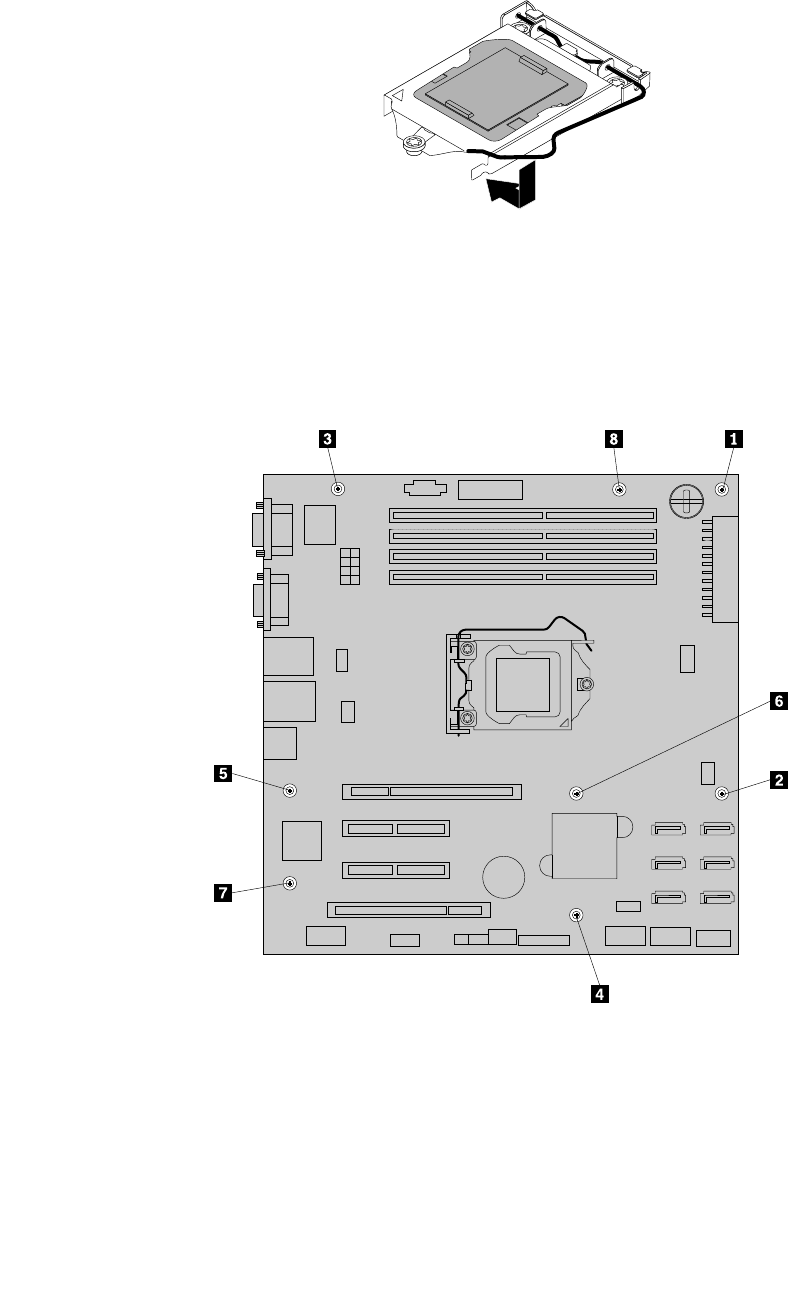
d. Close the microprocessor retainer. Gently press down the small handle and then push the handle
inward to lock the retainer into position and secure the microprocessor socket cover in the socket.
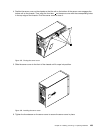
Figure103. Securing the microprocessor socket cover
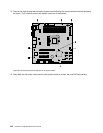
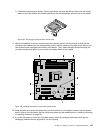
17. Note the orientation of the new system board and carefully place it into the chassis so that the rear
connectors are inserted into the corresponding holes in the rear panel and the eight screw holes in the
new system board are aligned with those in the chassis. Then, install the eight screws following the
numerical sequence as shown to secure the new system board in the chassis.
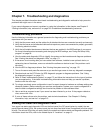
Figure104. Installing the screws to secure the system board
18. Install all parts and connect all cables that you removed from the old system board to the new system
board. Refer to the information that you have noted down and the related topics in “Installing, removing,
or replacing hardware” on page 89
.
19. If you are instructed to return the old system board, follow all packaging instructions and use any
packaging materials that are supplied to you for shipping.
Chapter 6. Installing, removing, or replacing hardware 167


