


Important
When you receive a new hard disk drive, you will also receive a set of
Product Recovery CD. The set of Product Recovery CD will enable you to restore
the contents of the hard disk to the same state as when your computer was
originally shipped from the factory. For more information on recovering
factory-installed software, refer to ″Recovering Software″ in the Quick
Reference.
To replace the hard disk drive:
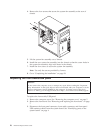
1. Remove the computer cover. See “Removing the computer cover” on page 5.
Note: For this procedure, it helps to lay the computer on its side.
2. Remove the diskette drive. See “Replacing the diskette drive” on page 24.
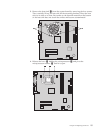
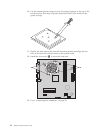
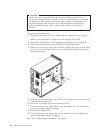
3. Disconnect the signal and power cables from the hard disk drive.
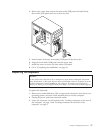
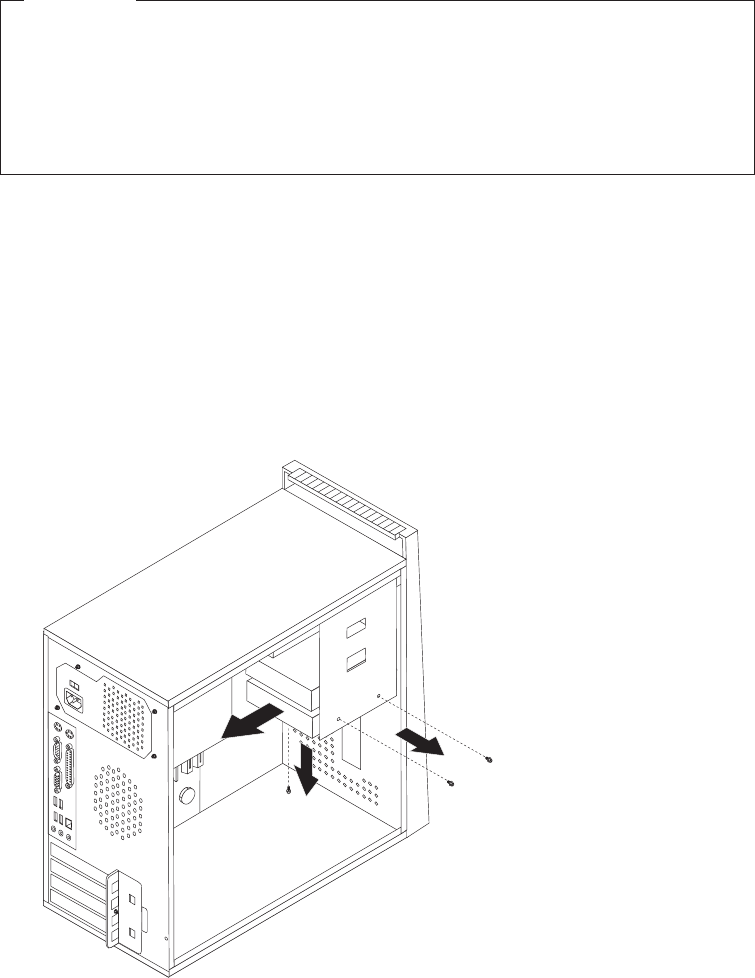
4. Remove the two screws at the side of the bay, remove the screw at the bottom,
and tilt up into the diskette drive bay to avoid the heat sink when removing
the hard disk drive.
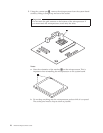
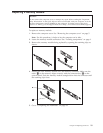
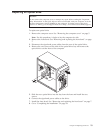
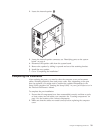
5. Slide the new hard disk drive into the drive bay so that the screw holes align
with those in the drive bay.
6. Install the two screws to secure the hard disk drive.
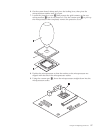
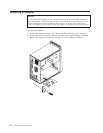
7. Connect the power and signal cables to the hard disk drive. See “Identifying
parts on the system board” on page 4.
8. Reinstall the diskette drive.
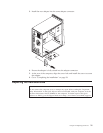
9. Connect the power and signal cables to the diskette drive. See “Identifying
parts on the system board” on page 4.
10. Go to “Completing the installation” on page 29.
22 Hardware Replacement Guide