


Replacing Supplies
Replacing a photoconductor
There are three different display messages which may appear when a photoconductor replacement is necessary: 84
Replace <color> photoconductor, 84 <color> photoconductor nearly low, or 84 <color>
photoconductor low.
Note: A replacement photoconductor can be used with any color.
Replacing a photoconductor is a two-part process. First, complete the illustrated steps to replace the photoconductor,
and then reset the life count and clear printer messages.
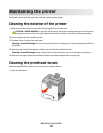
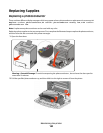
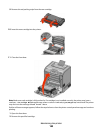
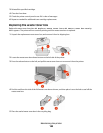
1 Open the front door.
Warning—Potential Damage: To avoid overexposing the photoconductors , do not leave the door open for
more than 10 minutes.
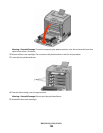
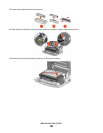
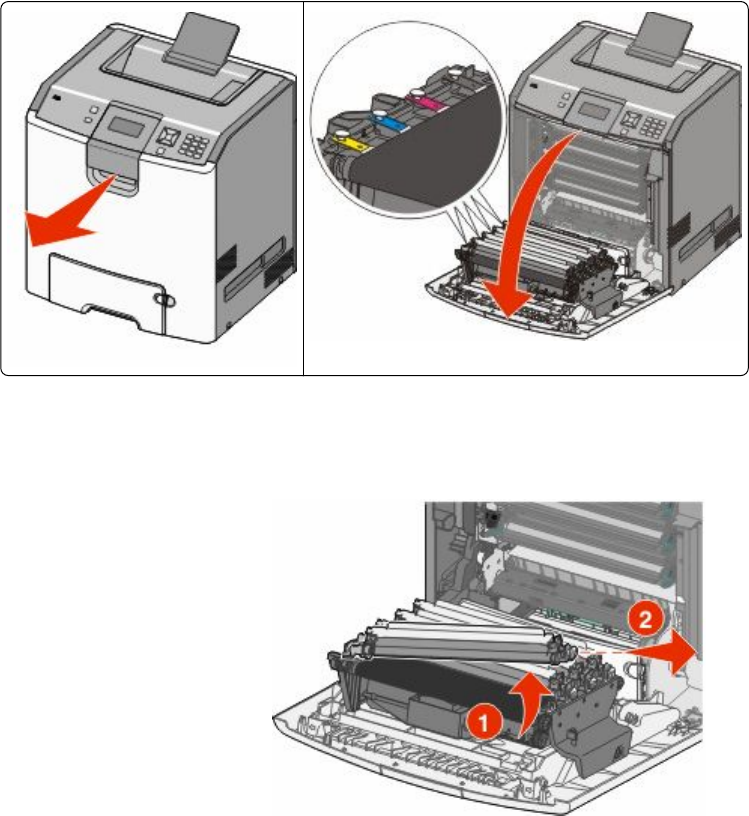
2 Pull the specified photoconductor up, and then slide it to the right to remove it from the printer.
Maintaining the printer
162