


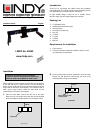

3. From underneath the desk, push two bolts through the base
plate and secure to the internal anchor plate. Place the nuts
on the bolts and tighten using the supplied spanner.
4. Place the external cover over the internal anchor plate.
5. 1m of protective foam is included. To protect your notebook
from being damaged or scratched by the metalwork, this
should be added to the arms BEFORE proceeding with final
assembly. Please apply the foam to all areas the notebook
comes into contact with.
Desk
Internal
anchor plate
Around the inside
of this area
Base plate
Underneath the top
and along the sides
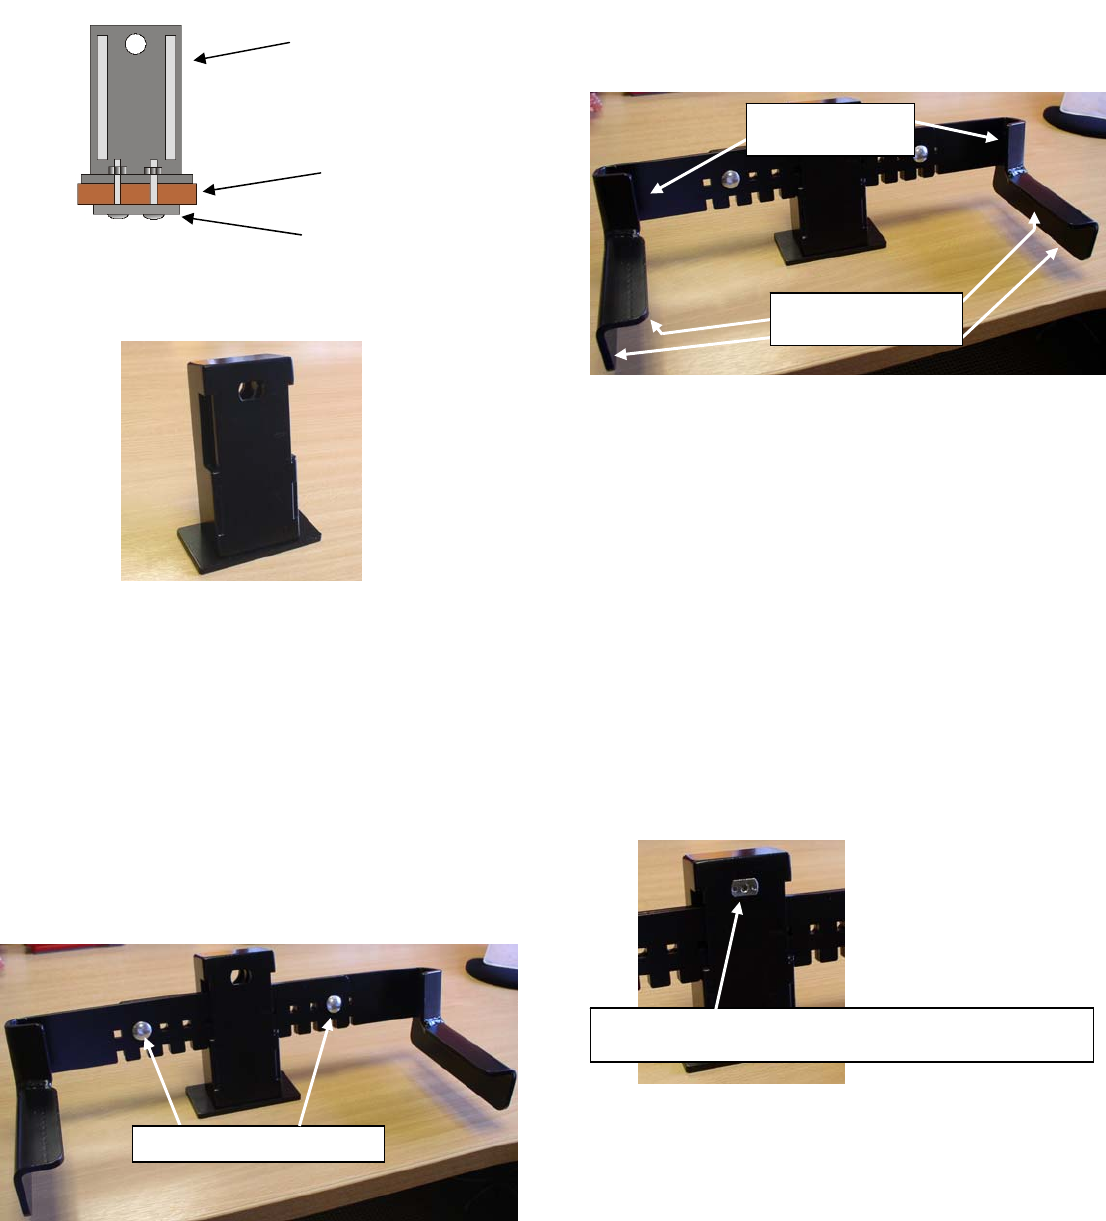
6. Insert each arm into either side of the desktop bracket.
Ensure that the arm with the square holes is at the front and
the arm with the round holes is at the rear. Adjust the width
of the arms according to the size of your notebook. Put the
2 spare bolts into the outermost points ensuring they go
through both arms.
7. Once you have inserted your laptop into the bracket, put the
locking bolt through the eye hole and lock into place.
LINDY No. 40592
1
st
Edition February 2006
www.lindy.com
Once the notebook is in place you can insert the locking bolt.
(Notebook removed for illustration purposes)
Bolts through both arms!