User Manual English
3
Hardware Assembly
Before starting the assembly make sure the jumper(s) on your hard drive are set to the Master
setting. Consult your hard disk manual or the manufacturer’s website for the correct jumper
setting.
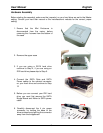
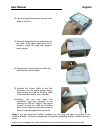
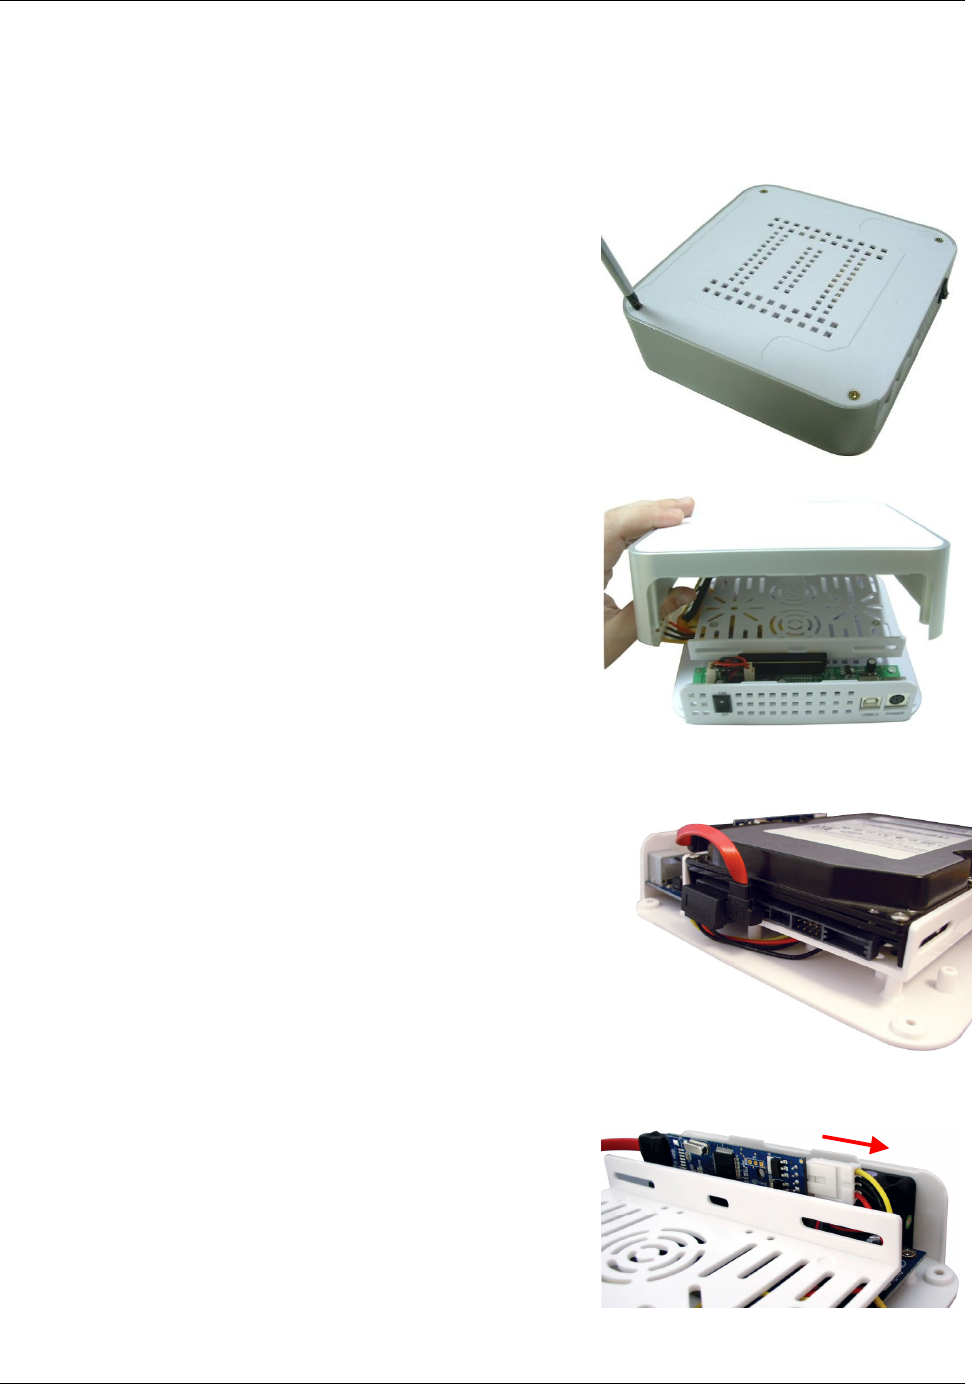
1. Ensure that the Mini Enclosure is
disconnected from the mains, before
removing the 4 screws from the bottom of
the case
2. Remove the upper case
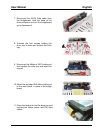
4. Connect the SATA Data and SATA
Power cables to the relevant connector
on your hard drive and continue to Step
12
3. If you are using a SATA hard drive
continue to Step 4, if you are using an
IDE hard drive please skip to Step 5.
5. Before you can connect your IDE hard
drive you must first remove the SATA
Bridge Board and Molex to SATA power
cable.
6. Carefully disconnect the 4 pin power
connector, by holding the base of the
drive enclosure and pulling the connector
away from the bridgeboard.


