English Manual
3
Introduction
Thank you for purchasing the LINDY KVM Switch Classic 8. Please read this manual carefully
so that you can understand the functions and features of your new KVM Switch.
The LINDY KVM Switch Classic 8 allows direct access to up to 8 PCs using a single KVM
(Keyboard, Video, and Mouse) console. Its simple operation and functionality makes it ideal for
use in smaller server rooms with up to 8 servers or workstations.
The connected computers can be selected by pressing the front panel push buttons on the
switch or by using keyboard hotkeys.
The keyboard and mouse connections of all connected PCs and servers are emulated at all
times. This prevents error messages when switching between computers.
Product Features
8 port KVM switch in a 1U, 19” rackmount size
Supports all commonly used operating systems
Hot plug support – you can add remove connected computers for maintenance without
powering down the KVM switch or the computers
Very high video quality – supports display resolutions of up to 1920x1440
No software required - easy PC selection via push buttons or keyboard hot keys
Auto scan mode for monitoring computers; adjustable scan time from 5~50 seconds
LED port display for easy status monitoring
Buzzer sound for port switching confirmation
Computers are connected via standard keyboard, mouse and VGA cables (with a female
HD-15 connector required on the KVM Switch side)
Permanent keyboard and mouse emulation
Package contents
LINDY KVM Switch Classic 8
19” rackmount kit
This manual
Optional Cables (not included)
Combined (3-in-1) KVM Cable
Length 1m 2m 3m 5m
LINDY No. 33751 33752 33753 33754
Installation
Before you start, please check that all parts are included according to the package contents.
If you want to install the KVM Switch in a 19” server rack please attach the 19” rackmount
brackets using the supplied screws.
Step 1
Switch off all the computers to be attached.
Step 2 – Local Console
Connect the keyboard, monitor and mouse directly to the sockets of the LINDY KVM Switch
labelled Console Port.
Step 3 – Computer connection
After the console ports are connected, connect the servers and PCs to the ports labelled 1…8.
English Manual
4
Operation
The KVM Switch is powered by the connected servers via their PS/2 ports. A dedicated power
supply for the KVM switch is not usually required but can be connected via the DC 9V port on
the back.
Computer / Port Selection
You can select the computer you want to access in two different ways:
Front panel push button selection
Keyboard hotkey selection
Port LED Display
The front panel of the KVM Switch has two LEDs for each port.
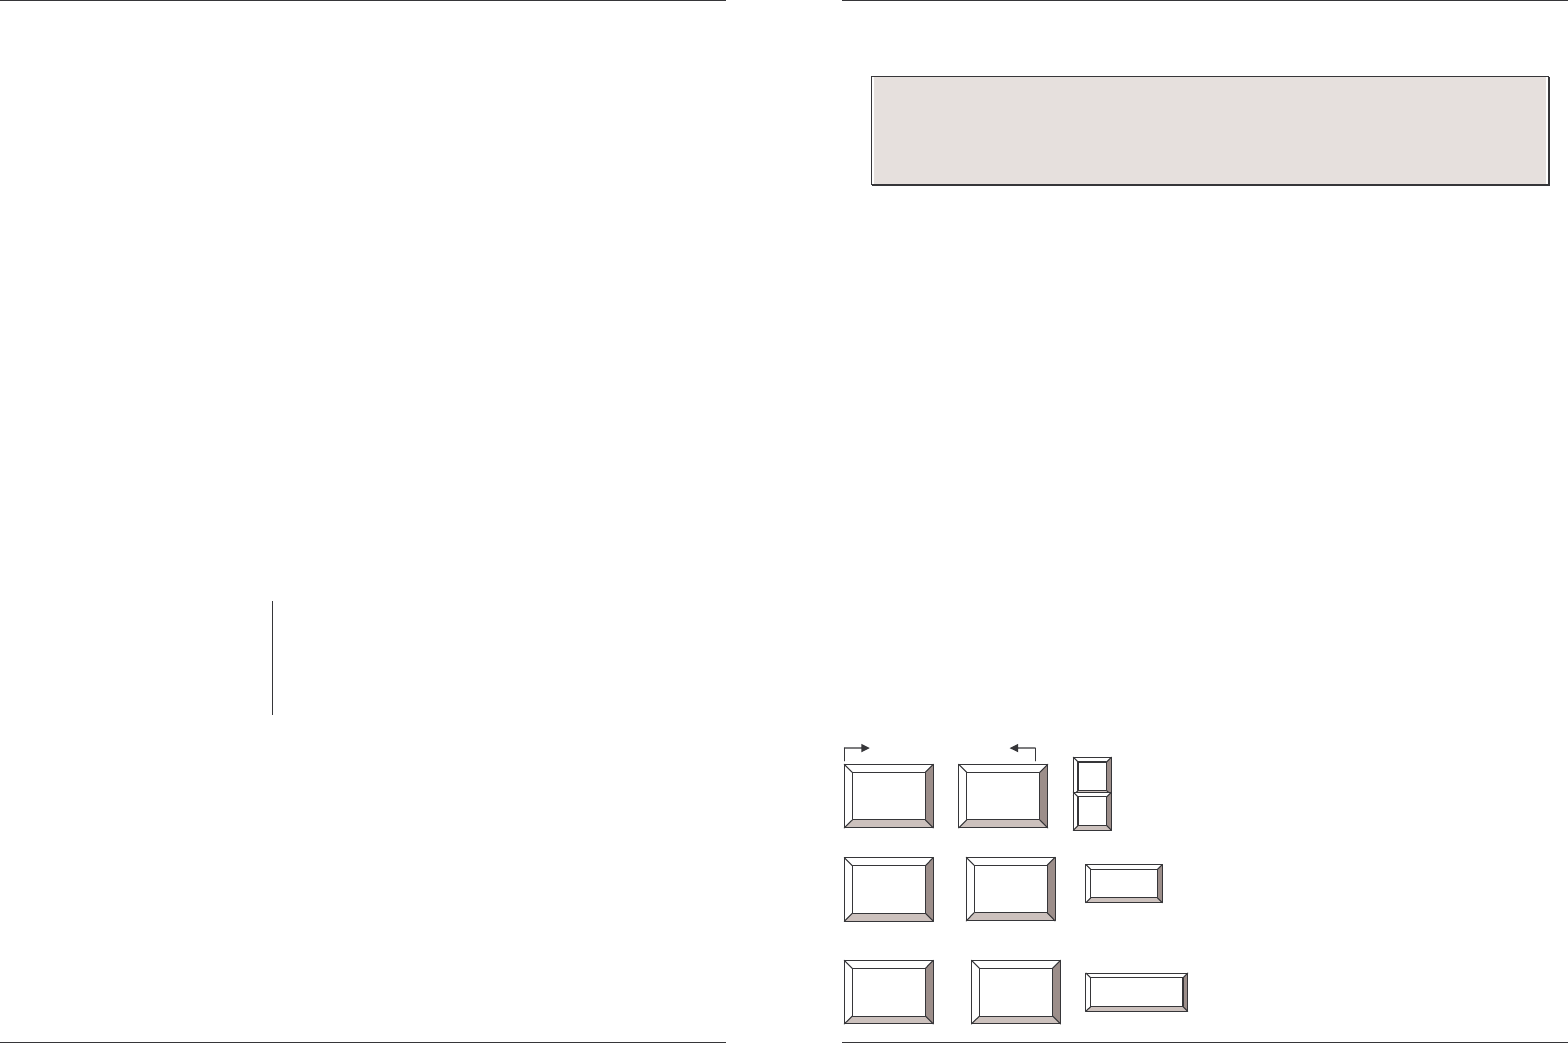
When the upper LED labelled “ACTIVE” is illuminated
RED, a computer attached to this port is
powered on. When the lower LED labelled “SELECTED” is illuminated
GREEN, the KVM
console is connected to this port. If this LED flashes, the console is connected to this port but
either no computer is attached, or the attached computer is not switched on.
Keyboard Hotkey Selection
You can also conveniently select the computer to be accessed and displayed by switching ports
through simple keyboard key sequences. To send commands to the KVM switch, the “SCROLL
LOCK” key or “NUM LOCK” key must be pressed twice within 1 second. You will hear a
beep to confirm that the keyboard is in hotkey mode. If you have not pressed any further key in
hotkey mode within 1 second the keyboard will return back to Operating System control status.
Direct Port Selection / Keyboard Hot Key Commands:
Within 1 second
+ + = Lower numbered port
or
+ + = Higher numbered port
+
+
= Select Port 1~8 directly
Auto Scan mode:
+ + =
Auto Scan with A:5s, B:10s, C:15s, D:20s, E:25s,
F:30s, S:50s. (can be stopped by hitting any key)
Scroll or
Num Lock
Scroll or
Num Lock
key 1~8
Important note:
Your monitor will only display one computer signal at any one time. All
keyboard and mouse commands are sent to this computer only.
When a computer is connected to the currently selected port and it is not
switched on, or is in sleep mode, the monitor will not display any signal.
Scroll or
Num Lock
Scroll or
Num Lock
Scroll or
Num Lock
Scroll or
Num Lock
key A~F or S


