4
SYMBOLS
USD201-2
The followings show the symbols used for tool.
V............................volts
A ...........................amperes
Hz..........................hertz
....................alternating current
.......................no load speed
.......................Class II Construction
.../min....................revolutions or reciprocation per
minute
FUNCTIONAL DESCRIPTION
CAUTION:
• Always be sure that the tool is switched off and
unplugged before adjusting or checking function on
the tool.
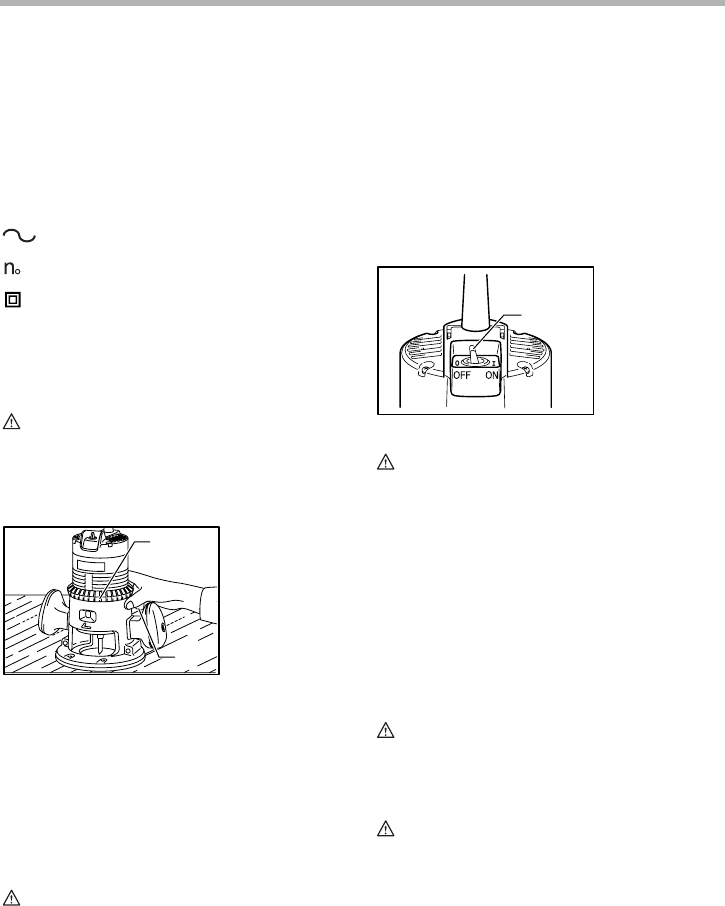
Adjusting the depth of cut
Place the tool on a flat surface. Turn the scale ring until it
makes contact with the base. Loosen the clamp screw.
Turn the scale ring until the bit just touches the flat sur-
face. Tighten the clamp screw.
Place the tool on its side and turn the scale ring counter-
clockwise (when viewing the tool from the top) until the
desired depth of cut is obtained. One full turn of the scale
ring is equal to 1/4” change in depth setting. Loosen the
clamp screw and move the tool base until it makes con-
tact with the scale ring. Then tighten the clamp screw
securely.
CAUTION:
• Since excessive cutting may cause overload of the
motor or difficulty in controlling the tool, the depth of
cut should not be more than 15 mm (9/16”) at a
pass when cutting grooves with a 6 mm (1/4”) diam-
eter bit.
NOTE:
• When cutting grooves with a 20 mm (13/16”) diam-
eter bit, the depth of cut should not be more than 5
mm (3/16”) at a pass.
When you wish to cut grooves more than 15 mm (9/
16”) deep with a 6 mm (1/4”) diameter bit or more
than 5 mm (3/16”) deep with a 20 mm (13/16”)
diameter bit, make several passes with progres-
sively deeper bit settings.
Switch action
CAUTION:
• Before plugging in the tool, always check to see
that the tool is switched off.
• Switch can be locked in “ON” position for ease of
operator comfort during extended use. Apply cau-
tion when locking tool in “ON” position and maintain
firm grasp on tool.
• Make sure that the shaft lock is released before the
switch is turned on.
To start the tool, move the switch lever to the I (ON) posi-
tion. To stop the tool, move the switch lever to the O
(OFF) position.
ASSEMBLY
CAUTION:
• Always be sure that the tool is switched off and
unplugged before carrying out any work on the tool.
Installing or removing the bit
CAUTION:
• Install the bit securely. Always use only the wrench
provided with the tool. A loose or overtightened bit
can be dangerous.
• Do not tighten the collet nut without inserting a bit,
or the collet cone will break.
1. Scale ring
2. Clamp screw
1
2
003651
1. Switch lever
1
003659


