Disabling the ReadyBoost™ Feature
1. Double-click the Computer icon on your desktop.
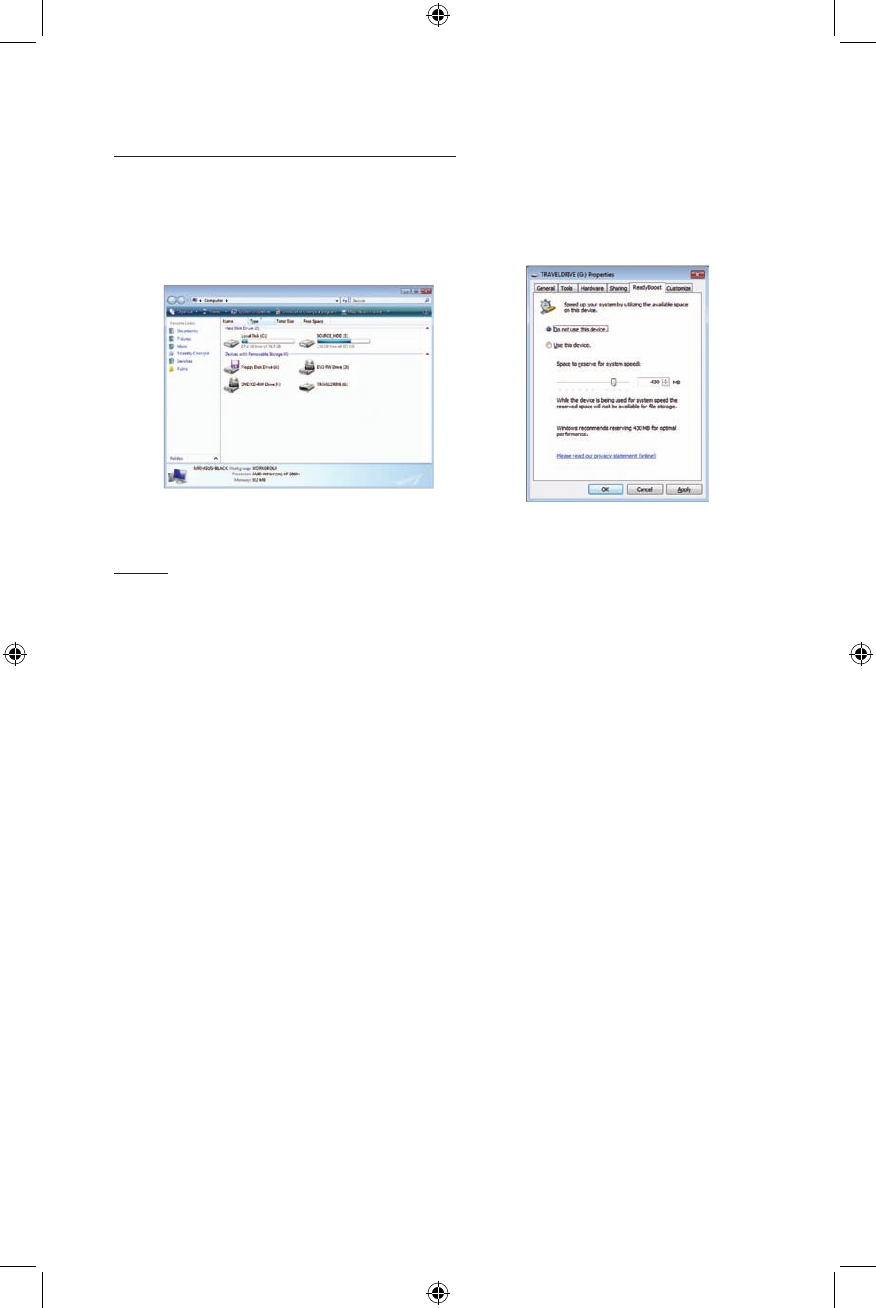
2. Right-click on the TRAVELDRIVE and select Properties (Fig 3).
3. Click the ReadyBoost tab and select the “Do not use this device” (Fig 4).
4. Click “OK” to proceed disabling the ReadyBoost feature.
FAQs
• Do all USB Flash Drives support the ReadyBoost feature under Windows Vista?
No. The USB Flash Drives MUST meet the minimum Random Read and
Write speeds requirements to support the ReadyBoost feature.
• Can I format my TravelDrive while the ReadyBoost feature is enabled?
No. The ReadyBoost feature MUST be disabled prior to formatting your
TravelDrive.
• Does ReadyBoost feature support multiple ReadyBoost capable USB Flash
Drives?
No. Windows Vista allows only one drive at a time to be used for the Ready
Boost feature.
• How do I know the ReadyBoost feature is working or enabled?
You can confirm that ReadyBoost feature has enabled by right clicking
your TravelDrive and selecting Drive Properties (Fig 3). After Selecting
the Ready Boost Tab, you can verify if “Use this device” item is shown as
selected under “Speed up your system by utilizing the available space on
this device” (Fig 4), then your ReadyBoost feature has been enabled and is
functioning.
• How can I enable the ReadyBoost feature if I did not choose to enable it on
the TravelDrive’s first insertion to Computer using Microsoft Windows Vista?
If you would like to enable the ReadyBoost feature, right click your Travel
Drive and selecting Drive Properties (Fig 3). Under the ReadyBoost Tab,
select “Use this device” item shown under “Speed up your system
by utilizing the available space on this device” (Fig 4), Select OK to
proceed enabling your ReadyBoost Feature.
Fig 3 Fig 4


