


Quick Reference Guide
for Windows 2000 & XP
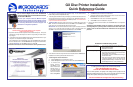
GX Disc Printer Alignment
Your GX Disc Printer has been factory aligned to .1mm
precision. The values provided with the GX Disc Printer,
located on the back of the unit above the power plug, are the
offset values to be used in the Printing Preferences.
To set these values, please follow the steps listed below:
1. Install the GX Disc Printer, print drivers, SureThing labeling software, and
PrassiTech Zulu2 as detailed on the front of this Quick Reference Guide, or in
the Installation section of the User’s Manual.
2. Select Printers and Faxes from the Windows Start button.
In Windows 2000 or Windows XP
with the Classic Start Menu layout,
you will need to go to the Settings
selection, then to the Printers and
Faxes from the Start button.
NOTE: IN BOTH WINDOWS 2000
AND WINDOWS XP, THE
ALIGNMENT VALUES MUST BE
ENTERED FROM THE START
BUTTON FOR THE SETTINGS TO
BE SET AS THE DEFAULT
SETTINGS, NOT FROM WITHIN
ANY APPLICATION!!!
3. Right click on the icon for the Microboards GX Series and select Printing
Preferences…
4. On the Paper/Quality tab, select
Photo for the Paper Type and Best
for the Print Quality.
Photo Best should always be selected
when aligning the printer, in order to
insure the greatest accuracy during the
alignment process. Other settings may
not result in the best alignment.
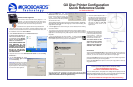
5. Select the Utilities tab. The
.1mm
Resolution setting must be selected
before setting alignment values (see
below). Set the Top and Left Side
alignment values to match those provided
with the GX Disc Printer.
These settings will change the size of the top and left margins, respectively.
Decreasing the values will move the image up or to the left, increasing will
adjust down or to the right.
6. Click the Apply button to save the changes, found on the bottom of the Printing
Preferences window.
7. Fine tuning may be required for different brands of media or different printing
applications to provide full surface coverage. This can be done within the printing
application to avoid altering these global alignment values set in the Printer
Properties.
8. Open the Microboards GX Printer Toolbox. A shortcut labelled
Microboards GX Toolbox was placed on your PC’s desktop during
the installation process for easy access to the application.
Place an alignment disc (provided) in the input hopper and click the Print
Alignment Disc button. Remember, the alignment CD should always be
printed in Photo Best mode for the highest accuracy.
GX Disc Printer Configuration
COLOR INK CARTRIDGE CAN BE USED!
As is true with all printers, the quality of ink cartridge and the quality of the ink
within the cartridge will affect your output. To ensure quality results, the GX Disc
Printer will not operate with any other color ink cartridge in place.
The use of refilled ink cartridges will void your warranty!
ONLY MICROBOARDS GX-300HC
In order to guarantee quality results from the GX Disc Printer,
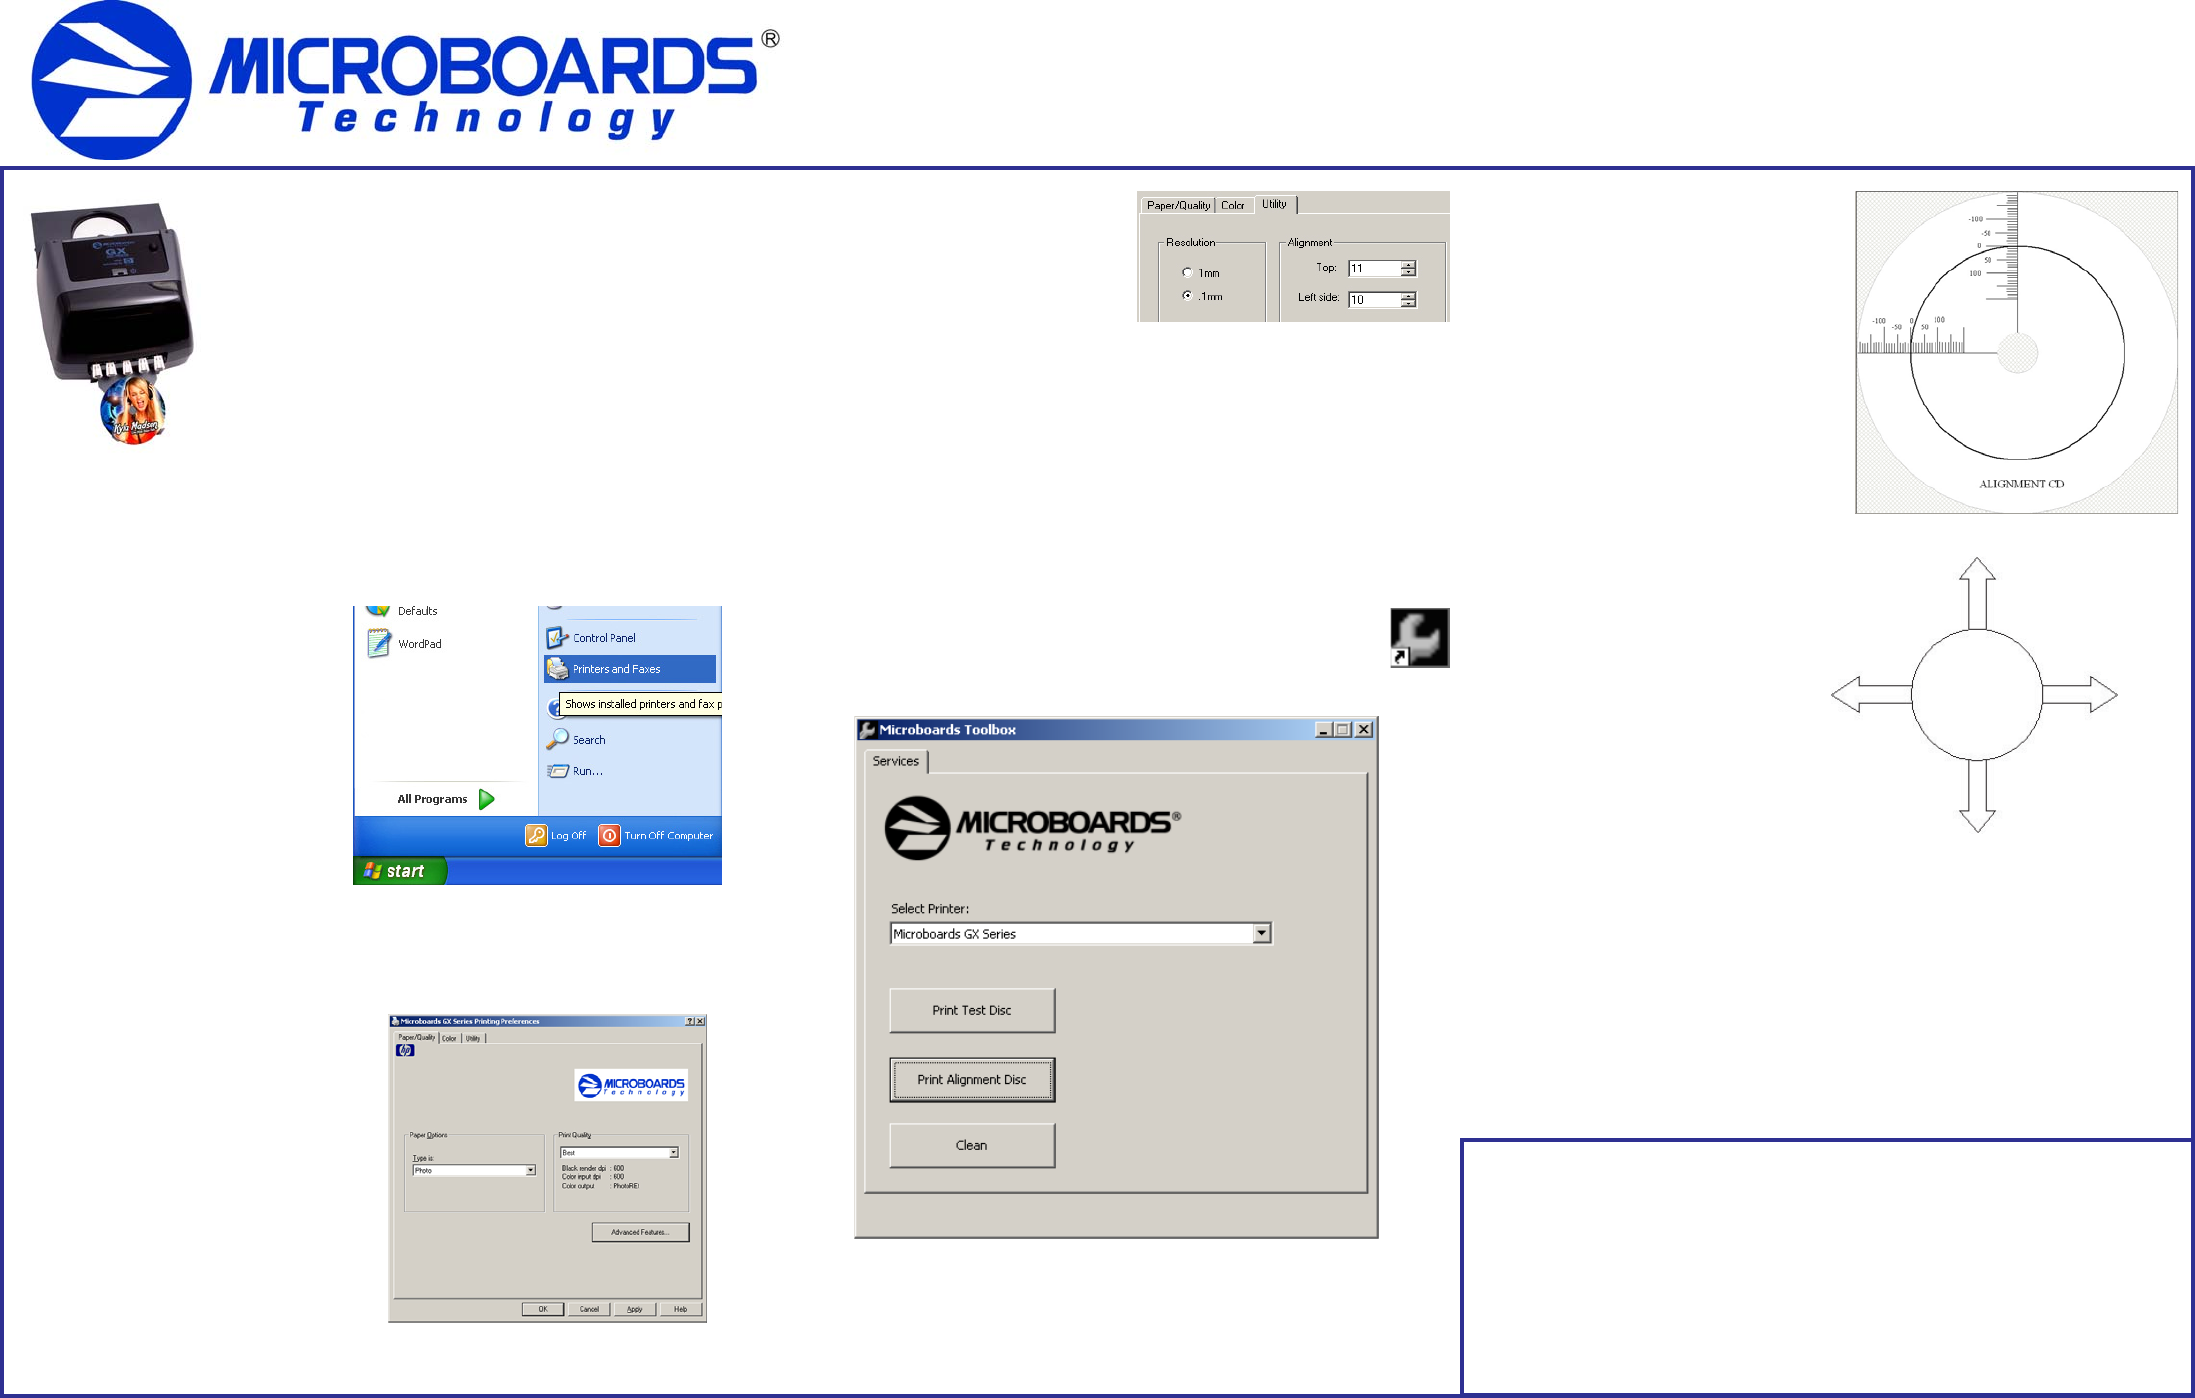
9. Check the printed alignment disc. If
the settings are correct, the horizontal
and vertical crosshairs will intersect the
printed circle at (0,0), as shown to the
right. If not, repeat steps 5 through 9,
changing the Top and Left Side
amounts by those shown on the
alignment CD.
Use the guide to the right to help
decide how to adjust the settings
to move the printed image to the
correct position. Follow the
instructions to move the image
in the direction of each arrow.
For further details on the
alignment process, please
refer to the section on
Alignment in the GX-2 Disc
Publisher User’s Manual.
GX Toolbox
Aside from the Print Alignment Disc function detailed in the previous section, the
Toolbox allows you to print a Test Disc, Clean the ink cartridge. For both of these
functions, you must have at least one disc loaded in the input hopper.
Clicking the Test Disc button prints out a pattern that was installed along with the
print drivers without using an second application.
Clicking the Clean Disc button prints out a heavy ink-usage pattern to clear any
clogged ink nozzles.
Decrease Top
Increase Top
Increase Left
Decrease Left