EN-30
Menu operation (continued)
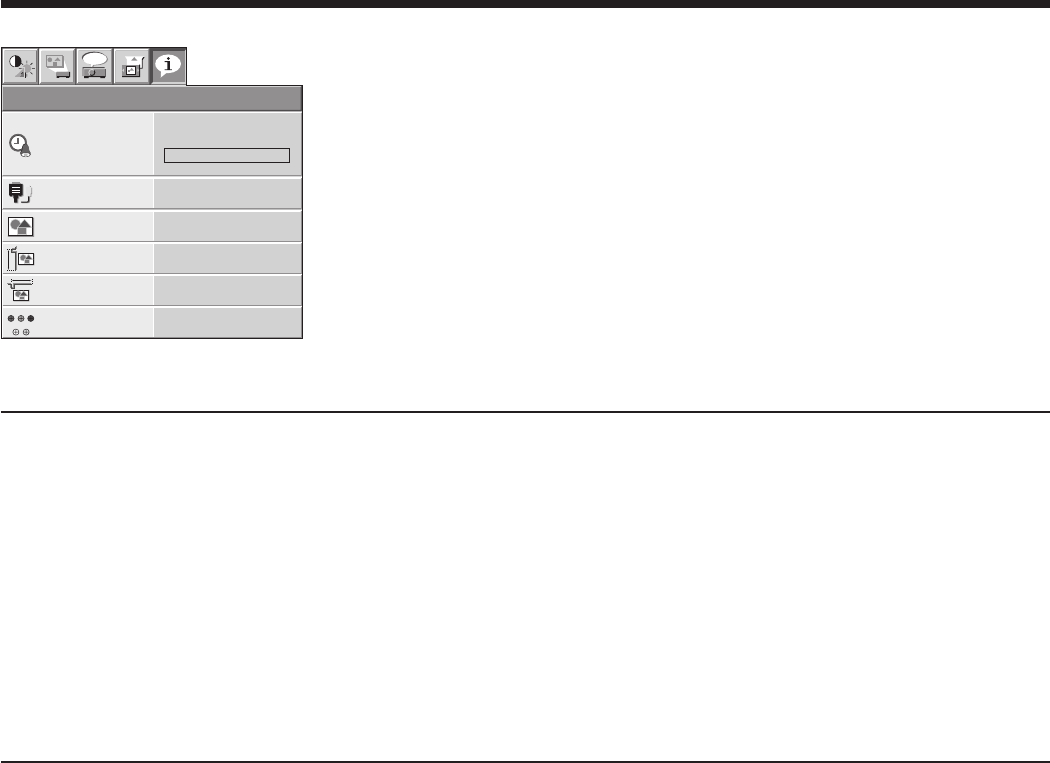
6. INFORMATION menu
INFORMATION
opt.
LAMP TIME(LOW)
INPUT
RESOLUTION
VERTICAL
FREQUENCY
HORIZONTAL
FREQUENCY
SYNC. TYPE 5wire
60.02 KHz
75.04 Hz
1024X768
COMPUTER
0 H
R G
H V
B
6. INFORMATION menu
ITEM DESCRIPTION
LAMP TIME(LOW) This item shows a lamp operating time (hour) calculated based on that LAMP MODE
is LOW.
When the LAMP MODE is STANDARD, this item shows a longer lamp operating
time than the actual time. (See page 36 for the interval of lamp replacement. )
When the lamp operating time is 0 to 10 hours, “0H” is displayed. The lamp
operating time exceeding 10 hours is indicated by the actual hours.
When the lamp operating time reaches 3750 hours, the bar turns to yellow. When
it reaches 4750 hours, the bar turns to red.
•
•
•
INPUT Indicates the name of the terminal to which the currently projected video signal is
being input.
RESOLUTION Indicates the resolution of the currently projected video signal.
VERTICAL FREQUENCY Indicates the vertical frequency of the currently projected video signal.
HORIZONTAL FREQUENCY Indicates the horizontal frequency of the currently projected video signal.
SYNC. TYPE Indicates the type of the sync signal for the currently projected video signal.
AV memory
You can store up to 3 patterns of the image quality setting for each input source.
To store the settings
Set the items of the IMAGE menu.
Setting the items by using the picture quality adjusting buttons on the remote control is also available.
Press the p or q button to select AV MEMORY SAVE.
Press the t or u button to select AV MEMORY (1, 2 or 3) to store the settings.
Press the ENTER button.
To enable the stored image quality settings
Press the AV MEMORY button to call up the stored setting.
When you make change to the stored setting you call up, the changed setting remains effective but is not saved to
the AV MEMORY unless AV MEMORY SAVE is executed.
When the input source is changed, the AV memory setting selected just before is automatically selected.
When RESET ALL in the FEATURE menu is selected, all the settings of the AV memory are cleared.
1.
•
2.
3.
4.
1.
•
•
•


