


Chapter 3 - Using the Front Panel
27
Multi-Tech Systems, Inc. MT5600BA/BL Series User Guide (S000276E)
RR
RR
R
emote Cemote C
emote Cemote C
emote C
oo
oo
o
nfnf
nfnf
nf
igig
igig
ig
urur
urur
ur
aa
aa
a
tt
tt
t
ii
ii
i
oo
oo
o
n Optn Opt
n Optn Opt
n Opt
ii
ii
i
oo
oo
o
nsns
nsns
ns
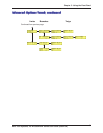
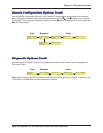
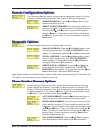
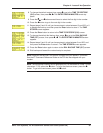
The following screens are used to configure remote configuration options. For more
information about remote configuration, see Chapter 5, “Remote Configuration.”
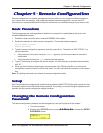
ENABLE/DISABLE R.C. Use the
ÆÆ
ÆÆ
Æ and Enter buttons to turn
remoteconfiguration on or off.
REMOTE CONFIG. PASSWORD. Use to enter the remote con-
figuration password. To scroll through a list of digits and charac-
ters, press the
ÇÇ
ÇÇ
Ç
ÅÅ
ÅÅ
Å
and
ÈÈ
ÈÈ
È buttons. To go to the next position,
press the
ÆÆ
ÆÆ
Æ button. To back up or to exit without saving, press
the
ÆÆ
ÆÆ
Æ button several times. To save the password, press the
Enter button.
DiagDiag
DiagDiag
Diag
nono
nono
no
stst
stst
st
ii
ii
i
c Optc Opt
c Optc Opt
c Opt
ii
ii
i
oo
oo
o
nsns
nsns
ns
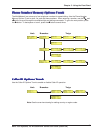
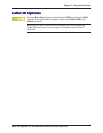
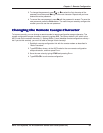
Use the following screens to turn loopback tests on and off.
ANALOG LOOPBACK. Press the
ÆÆ
ÆÆ
Æ and Enter buttons to start
the analog loopback test. The TEST IN PROGRESS screen
appears. To stop the test, press the
ÆÆ
ÆÆ
Æ and Enter buttons again.
DIGITAL LOOPBACK. Press the
ÆÆ
ÆÆ
Æ and Enter buttons to start
the local digital loopback test. The TEST IN PROGRESS
screen appears. To stop the test, press the
ÆÆ
ÆÆ
Æ and Enter but-
tons again. Same as the &
T3
command.
REMOTE DIGITAL LOOPBACK. Press the
ÆÆ
ÆÆ
Æ and Enter but-
tons to start the remote digital loopback test. The TEST IN
PROGRESS screen appears. To stop the test, press the
ÆÆ
ÆÆ
Æ and
Enter buttons again. Same as the &
T6
command.
Note: Digital Loopback and Remote Digital Loopback tests must be performed using AT Commands. The
LCD option to run these tests has been temporarily removed.
PhoPho
PhoPho
Pho
ne Numberne Number
ne Numberne Number
ne Number
Memo Memo
Memo Memo
Memo
rr
rr
r
yy
yy
y
Opt Opt
Opt Opt
Opt
ii
ii
i
oo
oo
o
nsns
nsns
ns
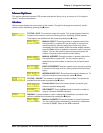
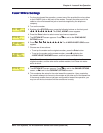
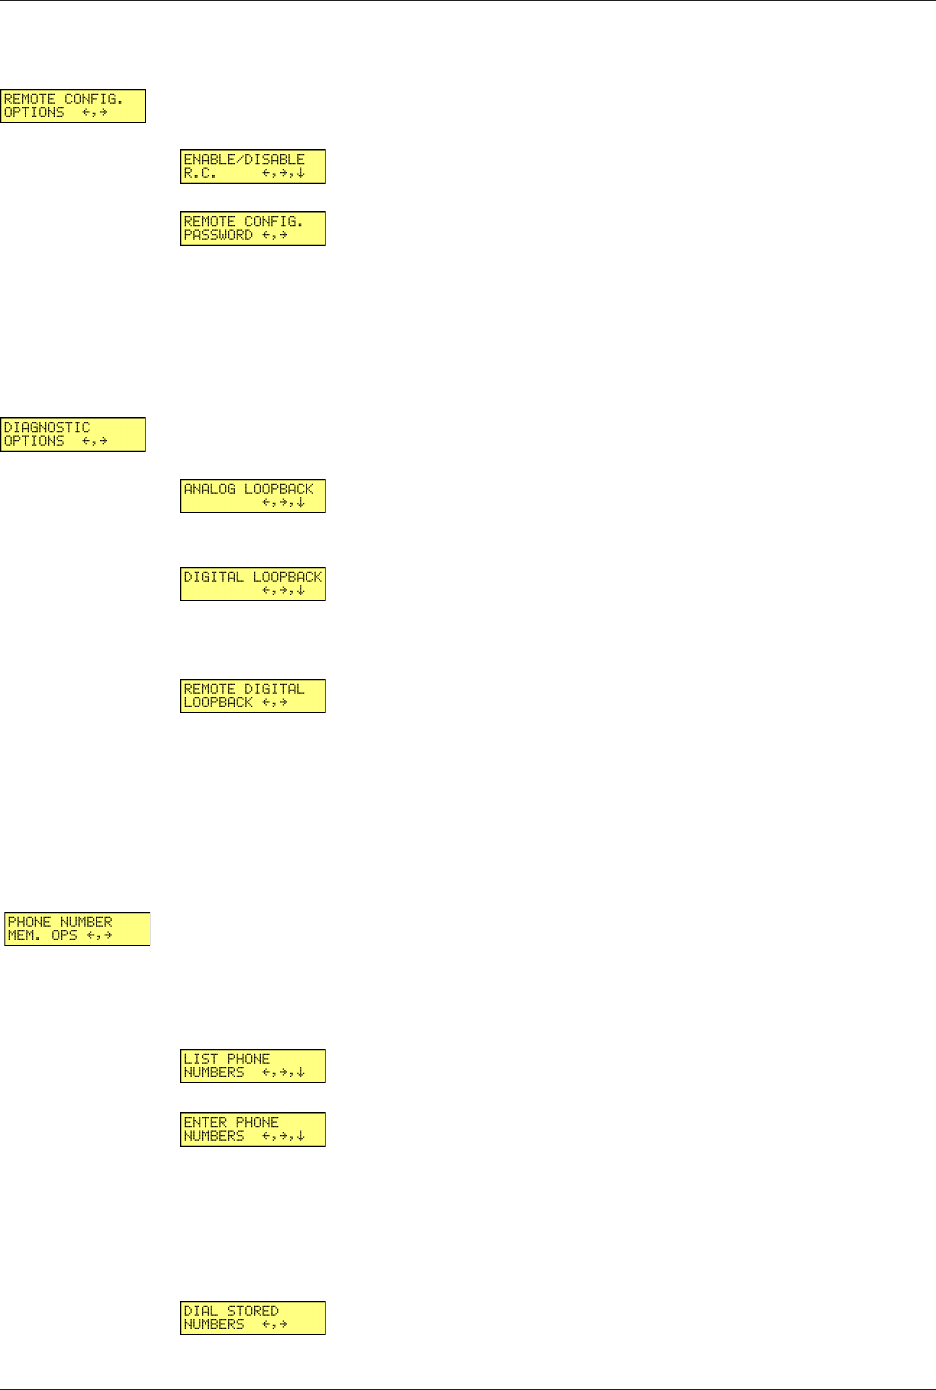
Use the following screens to list, enter, and dial stored phone numbers. Up to four
phone numbers can be stored. The number in memory location 0 is used for DTR
dialing, if DTR dialing is enabled. Note: Only 16 characters can be displayed at a time.
To display characters 17–30, press the
ÈÈ
ÈÈ
È button. To go to the previous screen, press
the
ÅÅ
ÅÅ
Å button. To go to the next screen, press the
ÆÆ
ÆÆ
Æ button.
LIST PHONE NUMBERS. Press the
ÆÆ
ÆÆ
Æ button several times to
display the phone number stored in each memory location.
ENTER PHONE NUMBERS. Use to store up to four phone num-
bers in memory locations 0–3. Each number can have up to 30
characters. To scroll through a list of digits and characters, press
the
ÇÇ
ÇÇ
Ç
ÅÅ
ÅÅ
Å
and
ÈÈ
ÈÈ
È buttons. To go to the next position, press the
ÆÆ
ÆÆ
Æ
button. To back up or to exit without saving, press the
ÆÆ
ÆÆ
Æ button
several times. To save the number, press the Enter button.
Same as the &
Z=
commands.
DIAL STORED NUMBERS. Press the
ÆÆ
ÆÆ
Æ and Enter buttons to
dial a stored phone number. Same as the
DS=
commands.