


73
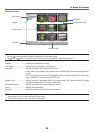
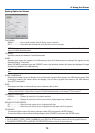
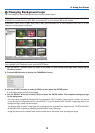
5. Using the Viewer
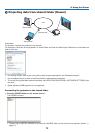
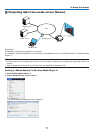
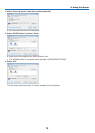
Projecting data from shared folder (Viewer)
Preparation
For projector: Connect the projector to the network.
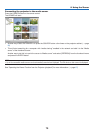
For computer: Place files to be projected in a shared folder and note the folder’s path. Memorize or write down the
path for later use.
• For sharing a folder, refer to your user guide or help file accompanied with your Windows computer.
• Use a keyboard to give a name to the shared folder in alphanumeric characters.
• To connect the shared folder beyond the subnet, set [WINS CONFIGURATION] in [NETWORK SETTINGS] from
the menu.
• Digital signature (SMB signature) is not supported.
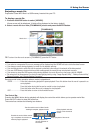
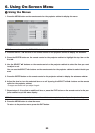
Connecting the projector to the shared folder
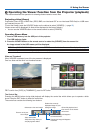
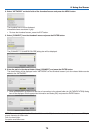
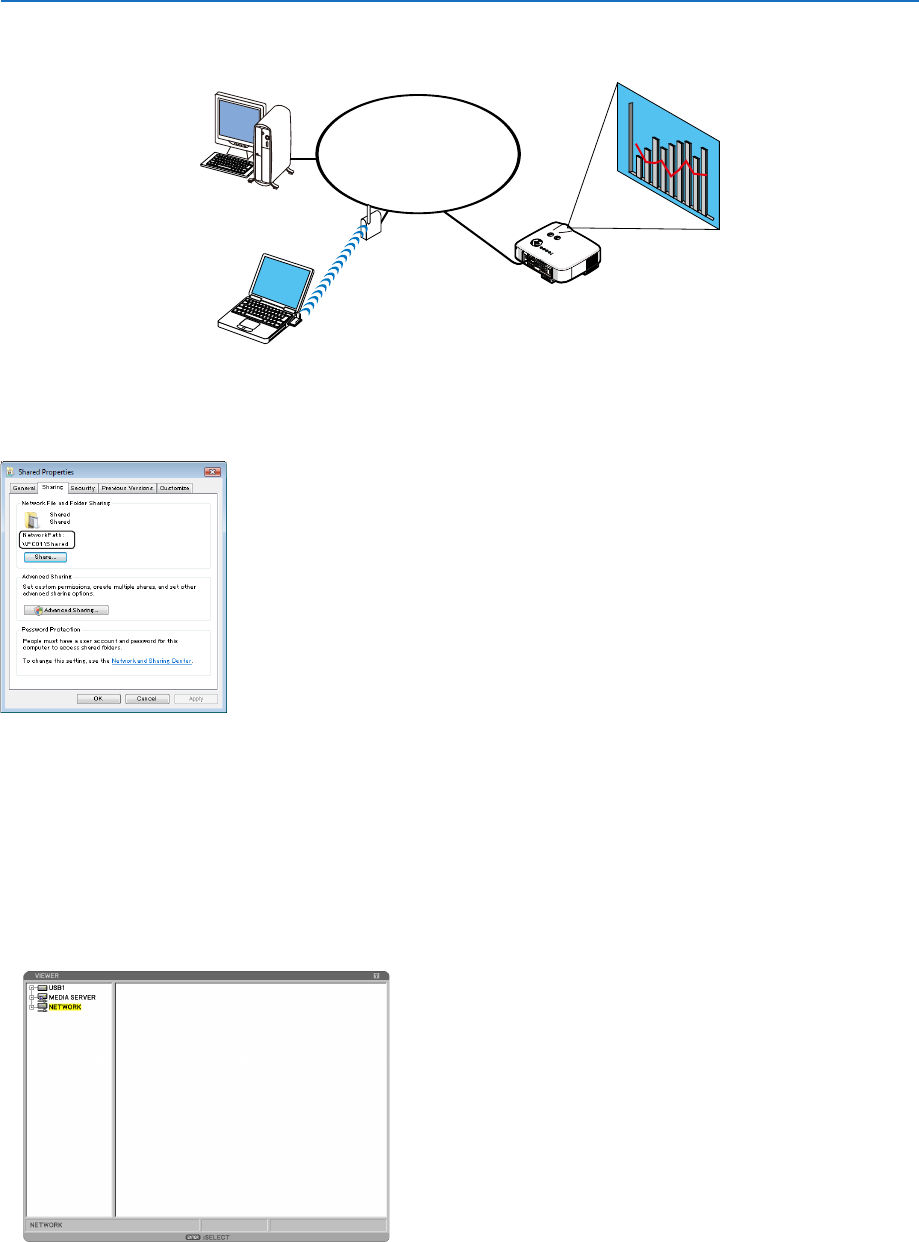
1. Press the VIEWER button on the remote control.
The VIEWER will start.
• Another way to start the VIEWER is to press the SOURCE button a few times on the projector cabinet. (
→
page 25)
LAN
Shared folder
Wireless LAN
Projector
Shared folder