


36
3. Projecting an Image (Basic Operation)
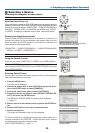
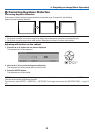
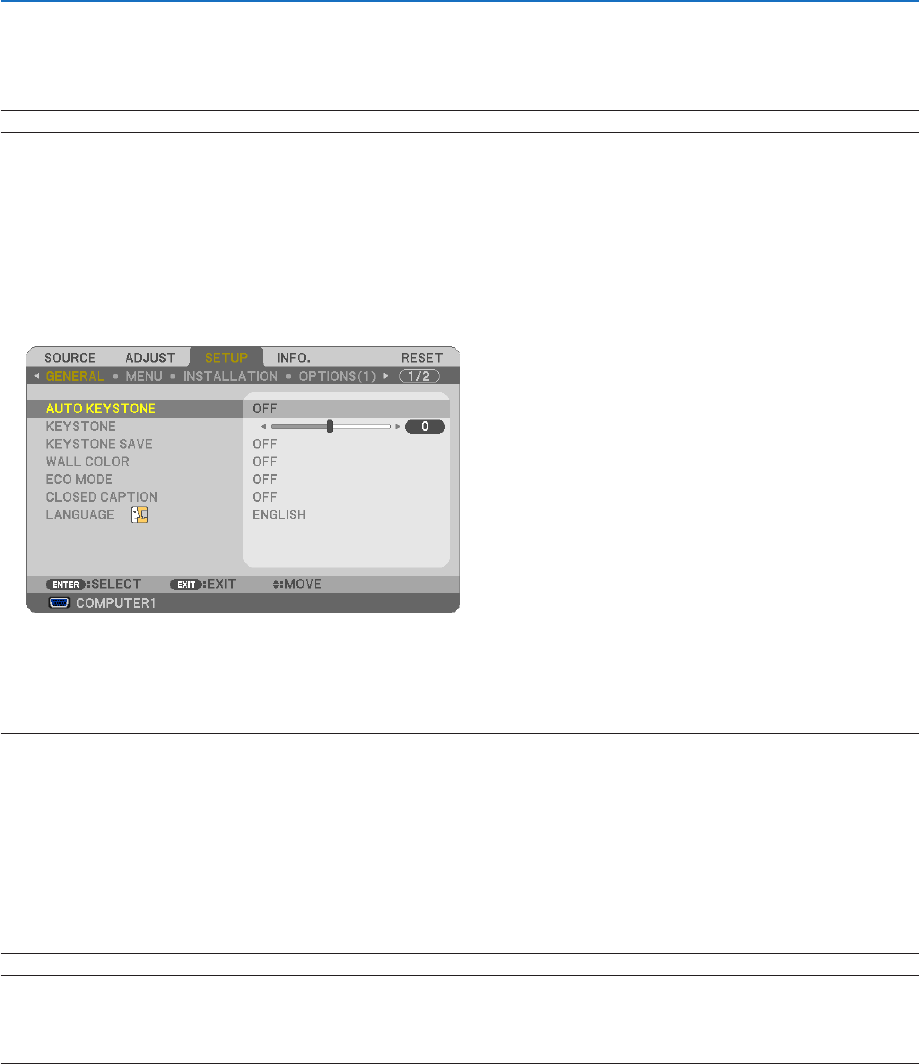
Adjusting with the Auto Keystone Function
TheAutoKeystonecorrectionfeaturewillcorrecttheverticaldistortionofaprojectedimageonthescreen.Nospecial
operationrequired.Justputtheprojectoronaatsurface.
TIP:Evenwhenthemenusettingfor[AUTOKEYSTONE]isturnedon,[KEYSTONE]canbeadjustedmanually.
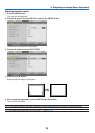
Toturnon[AUTOKEYSTONE],proceedthefollowingsteps.
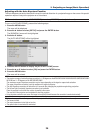
1. Press the MENU button
The menu will be displayed.
2. Press the button to select [SETUP] and press the ENTER button.
The [GENERAL] screen will be highlighted.
3. Press the button.
The [AUTO KEYSTONE] will be highlighted.
4. Press the ENTER button to display the [AUTO KEYSTONE] screen.
5. Press the or button to select [ON] and press the ENTER button.
6. Press the MENU button.
The menu will be closed.
NOTE:
• Themaximumrangeofverticalkeystonecorrectionis+/−30degreesontheNP610/NP510/NP410/NP405/NP310/NP305/NP510W/
NP410Wand+/−20degreesontheNP610S/NP510WS.
Themaximumrangeofkeystonecorrectionmaybelowerdependingonthesignaloraspectratioselection.
Therangeofkeystonecorrectionisnotthemaximumtiltangleofprojector.
• TheAutoKeystonecorrectionwilltakeeffectin2secondsafterchangingtheprojectionangleduringprojection.
• Theleftandright(horizontal)keystonecorrectionisnotavailable.
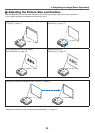
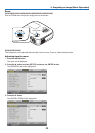
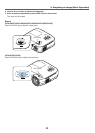
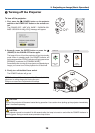
Place the projector so that the lens surface is parallel to the screen.
The rear feet of the projector can be adjusted to level the projector.
• Usingkeystonecorrectioncancausetheimagetobeslightlyblurredbecausethecorrectionismadeelectronically.
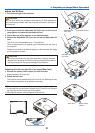
TIP:Ifyouhaveoneofthefollowingconditions,theprojector’sAutoKeystonemaynotbeperformedcorrectly.
• Thescreenistilted
• Theroomtemperatureistoohighortoolow
• Theopticalzoomismaximizedorminimized