XEPS103 Space-Saving Powerline Network Extender User Guide
5
v1.0, February 2007
3. Plug the XEPS103 Powerline Extender into an electrical outlet. Take care that the electrical
outlet is not controlled by a wall switch so as to avoid someone does not unknowingly turn off
power to your adapter. Check that the XEPS103 power light comes on.
4. Wait for the router to indicate that the LAN port that is connnected to the XEPS103 Powerline
Extender is linked and active. On the XEPS103, check that the Ethernet and Powerline status
LEDs are on and blinking. Refer to Table 1-1 for a detailed explanation of the LED behavior.
Connect other Ethernet Powerline Extenders
1. Before plugging in your other PowerLine devices, take a note of the device password printed
on the label on the back of each device. You will need this password later if you want to
change the PowerLine network password. If you are adding more than one other Powerline
extender, also note the MAC address given on the label, so that you will know which device
the password is for.
2. Plug your other PowerLine devices into power outlets in your home near to the other
computers and peripherals to be included in your PowerLine local area network.
3. Use an Ethernet cable to connect an Ethernet port on each of the computers and peripherals to
the nearest PowerLine device.
4. When you plug in a second Powerline extender into a power outlet, check the blue HomePlug
LEDs. They should turn on and then briefly blink at the same time as the Ethernet activity
LED.
This completes the PowerLine installation.
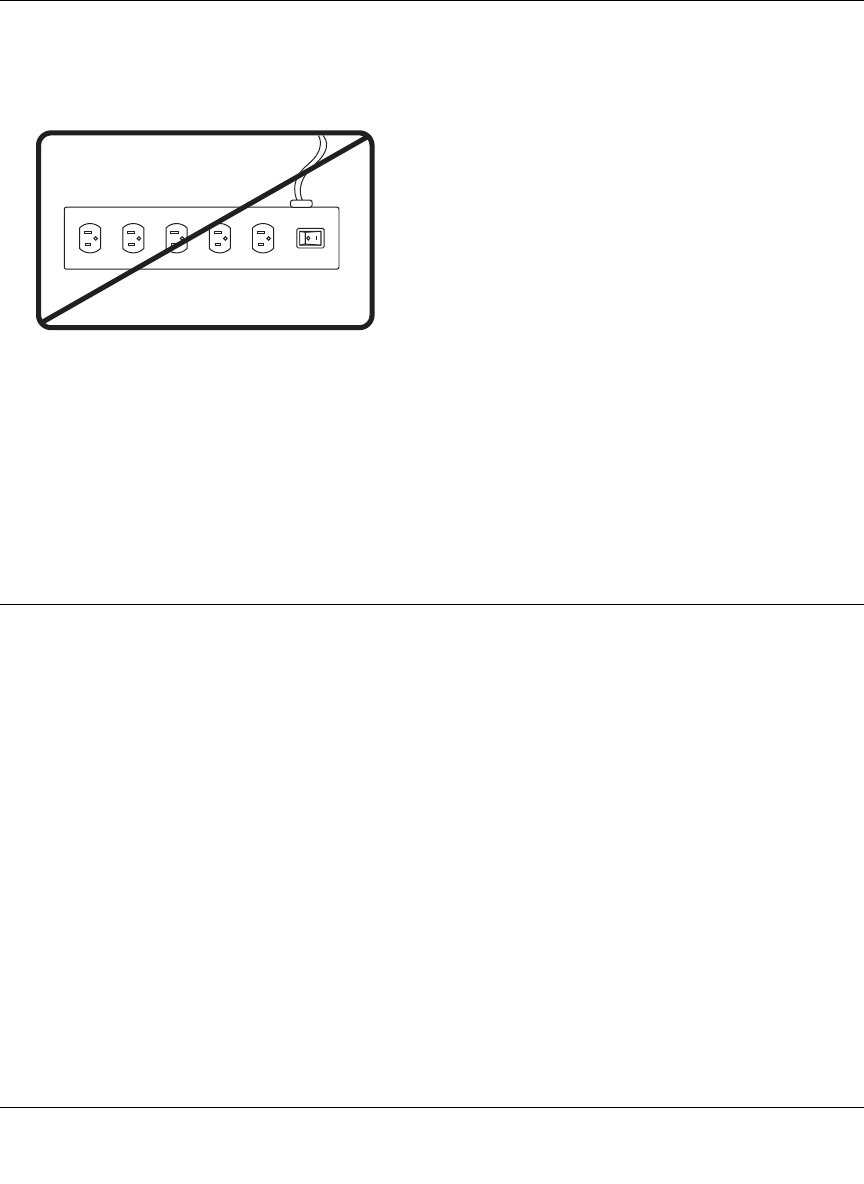
Do not connect the Powerline extender to a power
strip, extension cord, or surge protector as this may
prevent it from working properly or degrade the
network performance.
Do not tie or twist the XEPS103 power cord with the
dual output cable, or any other Ethernet cable, as this
may degrade the network performance.
OFF
ON
