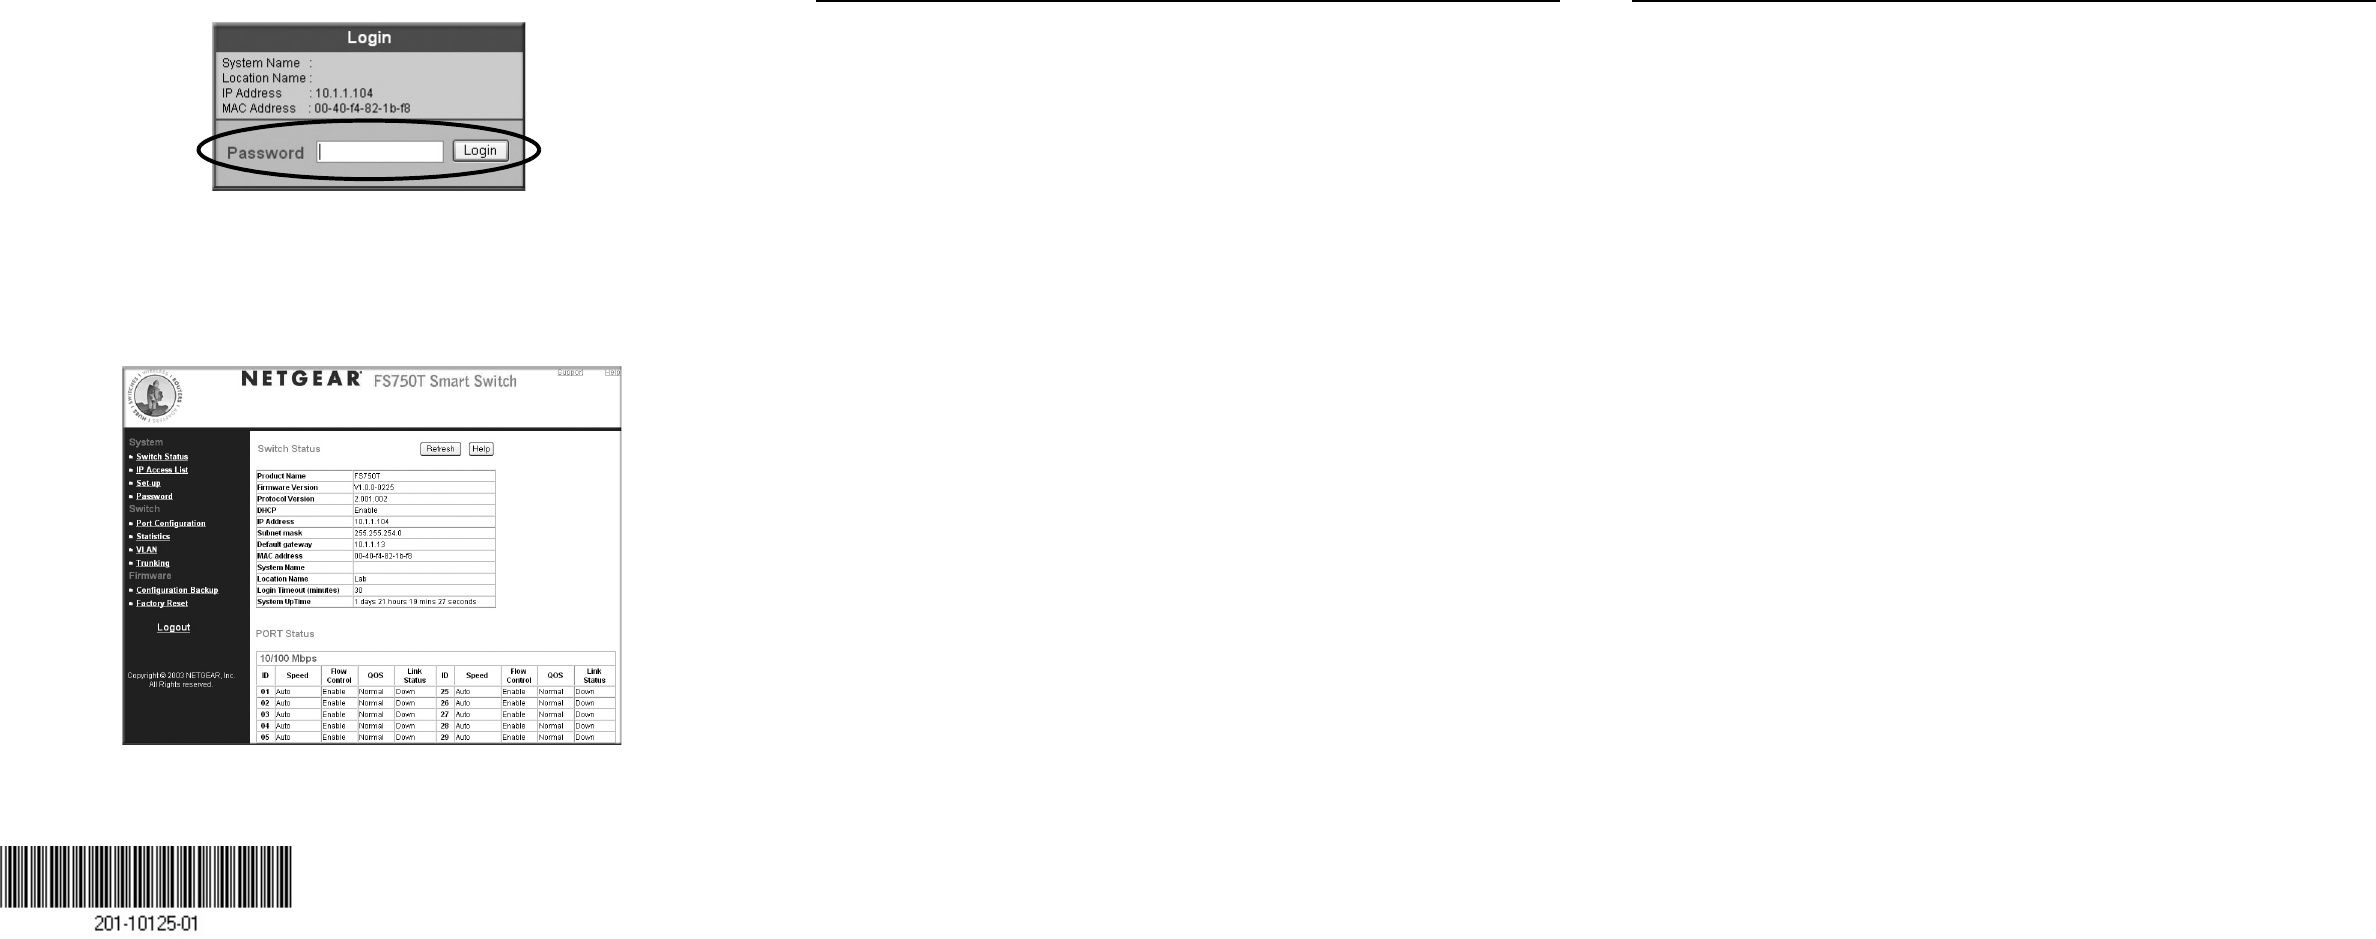
4. Click Web Access to view the switch log in screen.
5. Enter the default password of password in lower case letters and click Login.
The switch will display the switch settings main page. Configure the switch for
your network. Consult the manual on the CD or the online help in the switch for
assistance with configuration procedures.
After you log in to the switch, the main Web Access menu displays.
Use the configuration menu options to configure your switch.
Troubleshooting Tips
Here are some tips for correcting simple problems you may have.
Be sure to power on your PC and smart switch in the correct sequence.
Follow this sequence. Turn off the smart switch and computer. First, turn on the
smart switch and wait two minutes. Next turn on the computer.
Make sure the Ethernet cables are securely plugged in.
For each powered on computer connected to the smart switch with a securely
plugged in Ethernet cable, the corresponding smart switch LAN port status light
will be lit.
Make sure the network settings of the computer are correct.
In most cases, computers should be configured to obtain an IP address
automatically via DHCP.
If your network uses static IP addresses, be sure the switch and computer are
configured with valid IP addresses.
Check the smart switch status lights to verify correct operation.
If the Power light does not turn on or the port status lights do not light, verify
that the power cord is properly plugged in and then reset the smart switch
according to the instructions in the Hardware Manual on the CD.
Technical Support
Thank you for selecting NETGEAR products.
Register Your Product
To register, go to: http://www.NETG EAR.com/register
Go to http://www.NETG EAR.com/support for support information.
©2004 by NETGEAR, Inc. All rights reserved.
NETGEAR is a registered trademark of NETGEAR, Inc. in the United States and/or
other countries.
Other brand and product names are trademarks or registered trademarks of their
respective holders. Information is subject to change without notice.
February 2004


