E-43
An IP address can be automatically assigned to this projector by your
DHCP server. If your network does not automatically assign IP address,
ask your network administrator for an address, and then register it manu-
ally.
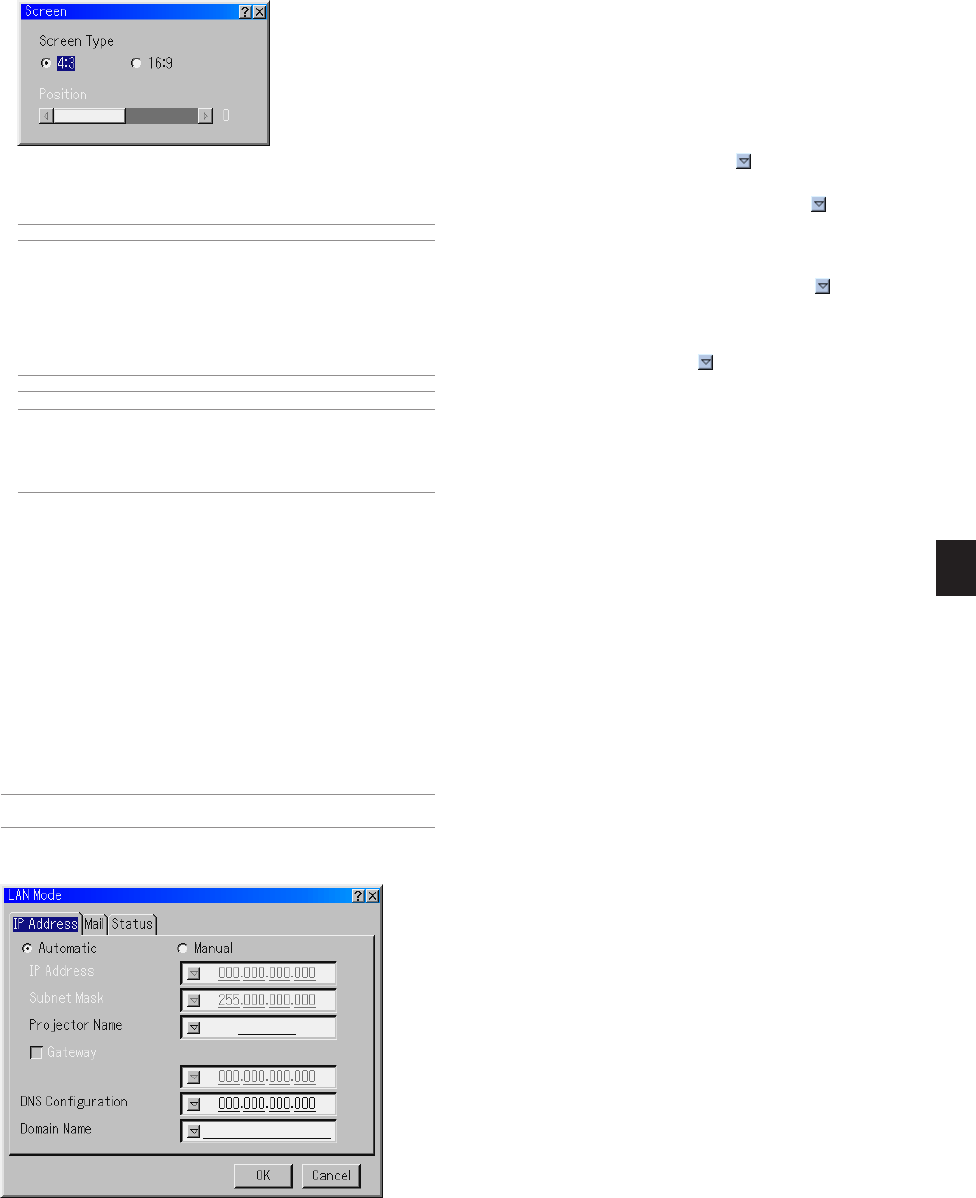
Automatic....... Automatically assigns an IP address to the projector
from a DHCP server.
Manual ........... Provides a space for you to register the IP address or
subnet mask number obtained from your network ad-
ministrator.
IP Address ..... Set your IP address. Press
to display the software
keyboard and type in 12 numeric characters.
Subnet Mask.. Set your subnet mask number. Press
to display
the software keyboard and type in 12 numeric char-
acters.
Projector Name
....................... Specify a unique projector name. Press
to display
the software keyboard and type in. Up to 16 alphanu-
meric characters can be used.
Gateway......... Set the default gateway of the network connected to
the projector. Press
to display the software key-
board and type in 12 numeric characters.
Checking this box will make the set default route valid.
When data is sent from the LAN card, the transfer
location will be searched according to the previously
set routing information; however, when the transfer
location has not been found as a result of the search,
the data will be sent to the device that holds the IP
address set here. The IP address that is set here must
be one that can be identified by a search of the rout-
ing information.
DNS Configuration
....................... Type in the IP address of DNS server on the network
connected to the projector. 12 numeric characters are
used.
Domain Name Type in domain name of the network connected to
the projector. Up to 60 alphanumeric characters can
be used.
Screen Type:
Select either 4:3 Screen or 16:9 Screen for the screen to be used.
See also "Aspect Ratio" on pages E-36 and 37.
NOTE: When "Resultion" is set to "Native", this selection is inactive.
Position:
This feature adjusts the vertical position of the image when viewing
video with an aspect ratio selected.
When some aspect ratios are selected in Image Options, the image
is displayed with black borders on the top and bottom.
You can adjust the vertical position between top and bottom.
NOTE: This option is available only when "16:9" is selected in Screen Type.
NOTE: During 3D Reform adjustment, "Screen Type" and "Screen Position"
may not be available. To make available, first reset the 3D Reform data and
then do settings again. Secondly repeat the 3D Reform adjustment. Changing
"Screen Type" and "Screen Position" can limit 3D Reform in its adjustable
range.
Selecting Aspect Ratio and Position for Screen [Screen]
Setting LAN Mode
This feature allows you to set various setting items when the projector is
used on your network.
Consult with your network administrator about these settings.
CAUTION: Make sure that the LAN card is removed during Standby
mode (NOT Idle mode) or with the main power off.
Failure to do so may cause damage to the data on your PC card.
Note to Users of a PCMCIA network card
Use of a non-supported network card in the projector may cause the
unit to malfunction.
Should this happen, turn off the projector and remove the network card
from the projector's PC card slot.
NOTE: LAN card is not available when a PC card is used for the Viewer function.
Viewer is not available when LAN card is used for LAN connection.
IP Address


