DIGITAL TECHNICAL SUPPORT
OLYMPUS IMAGING AMERICA INC.
(888) 553-4448
http://www.olympusamerica.com/support
Olympus Imaging America Inc. Page 5 of 15 Last updated on September 25, 2009
What are Recording Scenes?
Recording scenes are essentially sets of recorder settings that can be enabled all at once
by making a single menu selection. This function is located in the Rec Menu as Rec Scene.
The DM-520 has six recording scene options. Three are pre-set out of
the box; each is
optimized for recording in specific conditions. The other three are reserved for User
Settings, allowing for customization to suit your preferences. To enable a User
Settings scene, select one of the available User Settings options and then choose
Scene Save. The recorder’s current configuration will be saved as a scene.
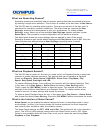
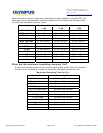
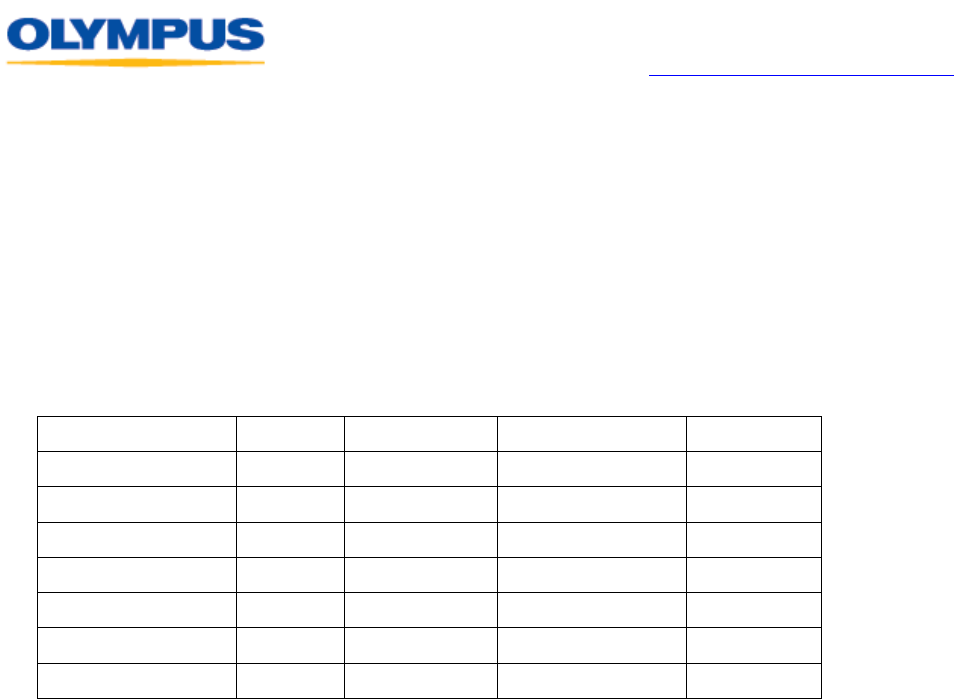
The table below shows the menu settings that are applied in each of the preset
Recording Scen
es as well as the default settings when Rec Scene is set to Off. Only the
listed functions are affected when a User Settings recording scene is saved.
Record Setting Off Dictation Conference Lecture
Mic Sense Middle Low Middle High
Rec Mode ST XQ HQ ST XQ ST XQ
Rec Level Auto Auto Auto Auto
Zoom Mic Off Off Wide Zoom
Low Cut Filter Off On On On
VCVA Off Off Off Off
Standby On On On On
What are Playback Scenes?
The DM-520 has an option for the user to create up to five Playback Scenes to setup the
recorder to preset playback scenarios. The settings that can be saved as a Playback
Scene are Property, Noise Cancel, EUPHONY, Voice Filter, Play Mode, Play
Speed, Skip Space, Backlight and LED.
To create a Playback Scene, first configure the
recorder with the desired settings. Then,
in the menu, go to Play Scene > Scene Save and select a User Setting option.
Finally, press the [OK/MENU] button to save the scene. The recorder will save the
settings of the functions listed above as a Playback Scene. To create another scene,
create a new mix of menu settings and repeat the process.
To select a saved Playback Scene for use, in the menu go to Play Sce
ne > Scene Select
and choose the desired User Setting. Press the [OK/MENU] button to activate the scene.
What is the function of Noise Cancel?
Noise Cancel can be enabled to reduce background noise in recordings made in noisy
surroundings. In effect, the function treats the loudest sounds as the most important
and reduces other sounds to make the dictation clearer.
The Noise Cancel options are OFF, LOW and HIGH
. The options are set in the recorder’s
menu. The LOW or HIGH settings remain valid until Noise Cancel is set to OFF. Noise
Cancel is not available while the Voice Filter is set, and it cannot be used during Slow
Playback or Fast Playback.


