


EN
6
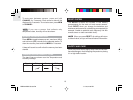
GETTING STARTED
BATTERIES
Insert batteries before first use, matching the polarity as
shown in the battery compartment. For best results,
install batteries in the remote sensor before the main
unit. Press RESET after each battery change.
Do not use rechargeable batteries.
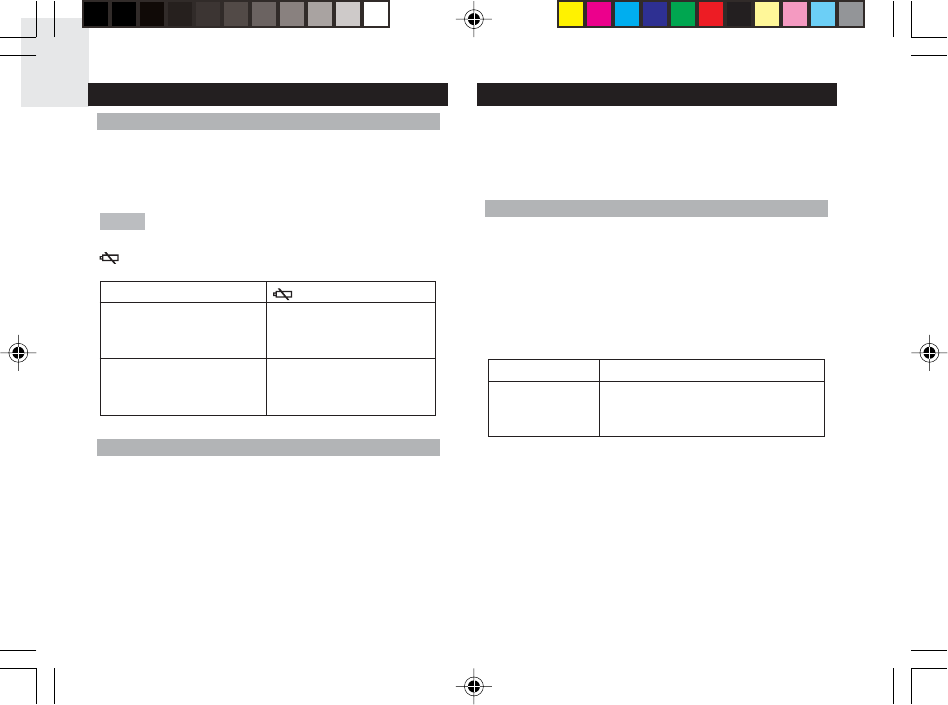
NOTE
shows when batteries are low.
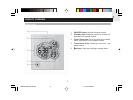
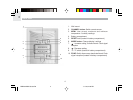
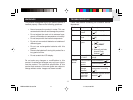
UNIT
LOCATION
MainTemperature Area when
INDOOR temperature is
shown.
Remote Temperature Area when
OUTDOOR temperature is
shown.
CHANGE SETTINGS
1. Press and hold MODE for 2 seconds to enter setting
mode.
2. Press UP or DOWN to change settings.
3. Press MODE to confirm.
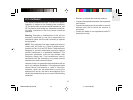
REMOTE SENSOR (THGR122NX)
This product is shipped with a THGR122NX Thermo/
Hygro Sensor that collects Temperature and Humidity
data. Data can be collected from up to 3 sensors.
Additional sensors sold separately.
3. Place the sensor near the main unit. Press RESET
on the sensor to initiate signal sending between the
sensor and the main unit. The reception icon on
the main unit will blink for approximately 3 minutes
while it is searching for the sensor. (Refer to the
Sensor Data Transmission section for more
information.)
4. Close the remote sensor battery compartment.
5. Secure the sensor in the desired location using the
wall mount or table stand.
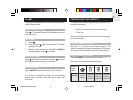
SETUP SENSOR
Open the remote sensor battery compartment with a
small Phillips screwdriver.
1. Insert the batteries, matching the polarity as shown
in the battery compartment.
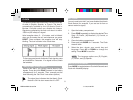
2. Set the channel. The switch is located in the
battery compartment.
SWITCH
OPTION
Channel
Channel 1 - 3. If you are using
more than one sensor, select a
different channel for each sensor.
RMR612HGA lab test R2 1/17/04, 4:58 PM6