Document Manager
93
Setting Plug-in
Selecting Acquire Image... in the File menu displays a window for the Document Scanner (See page 104).
The operation imports a document read on the scanner into a folder.
Import document (from scanner)
Selecting Open in the File menu displays a dialog box for selecting files. The dialog box allows importing
image files saved in a computer as documents onto a folder.
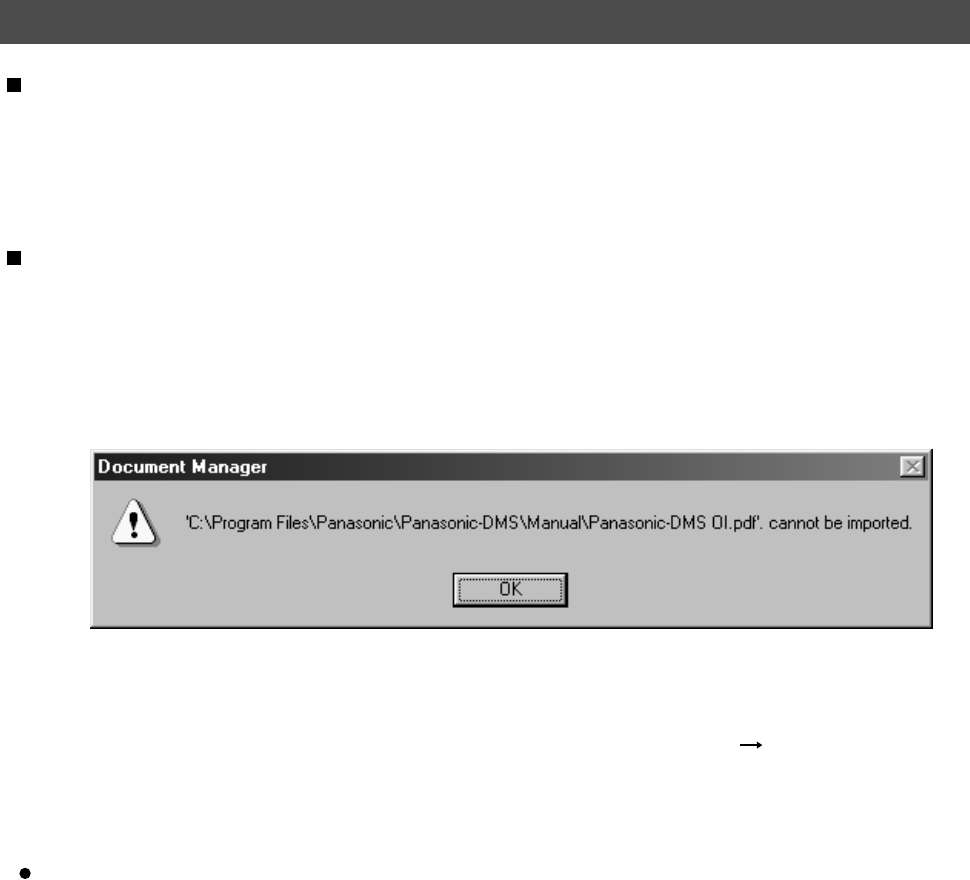
An attempt of importing files that cannot be handled by Document Manager results in displaying an error
shown below. Press OK and verify a file format.
Import document (from file)
Dragging and dropping a selected document onto a link icon at the bottom of the window activates an
application specified for the link icon, and opens the image file.
The link icons are freely registered by selecting Launch to another application Destination Setup
in the File menu.
The following applications are specifiable as destinations of the Document Manager:
Draw/Graphics software (Applications such as MS-Paint, Photoshop, etc.)
Annotation
File format
Compression
Image type
Resolution
Correct
Original document
Transmission check
message
: Paste to transmission image as an image.
: Select one among TIFF, JPEG, BMP, and PNG.
: Select the compression method.
: Select one among monochrome, grayscale, RGB color and no conversion.
: Resolution of transmission image
: <Correct skew>
Inclination of document can be automatically corrected.
<Eliminate noise>
Noise on document can be removed.
: If edited and saved (overwriting) on destination application, editing result is saved
on original document.
: Set the number of the maximum displayable active windows.
