


34
Chapter 2 Scan/Email Operations
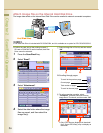
zWhen searching for address(es) via LDAP
server, refer to the Email Addressing from
LDAP Server (See page 23).
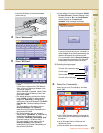
8
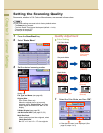
Select an Email address.
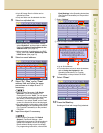
9
Select “Cc”, “Bcc” and/or “From”
address field, and follow the same
procedures as in steps 7 and 8 if
necessary.
zIf the Function Parameter “145 Sender
Selection” (Fax/Email Settings> Fax
Parameters) is set to “Valid”, you can preset
up to 25 sender names. You can select from
the sender list when sending an Email.
However, if you select “From” on the Email
screen, the sender list will not be displayed.
zFor more details on this setting, refer to Fax/
Email Settings in the Operating Instructions
(For Function Parameters) on the provided
CD-ROM.
10
Input the subject if necessary.
zIf the Function Parameter “21 Default
Subject” (Fax/Email Settings > User
Parameters) has been set, the information is
added to the Subject Line for all outgoing
Emails without having to input it manually.
For programming instructions, refer to Fax/
Email Settings in the Operating Instructions
(For Function Parameters) on the provided
CD-ROM.
1 Select “Subject”.
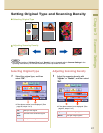
2 Input a subject, and then select “OK”.
zUp to 40 characters.
zFor instructions on how to enter characters,
refer to Using the Keyboard in the
Operating Instructions (For Function
Parameters) on the provided CD-ROM.
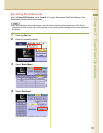
11
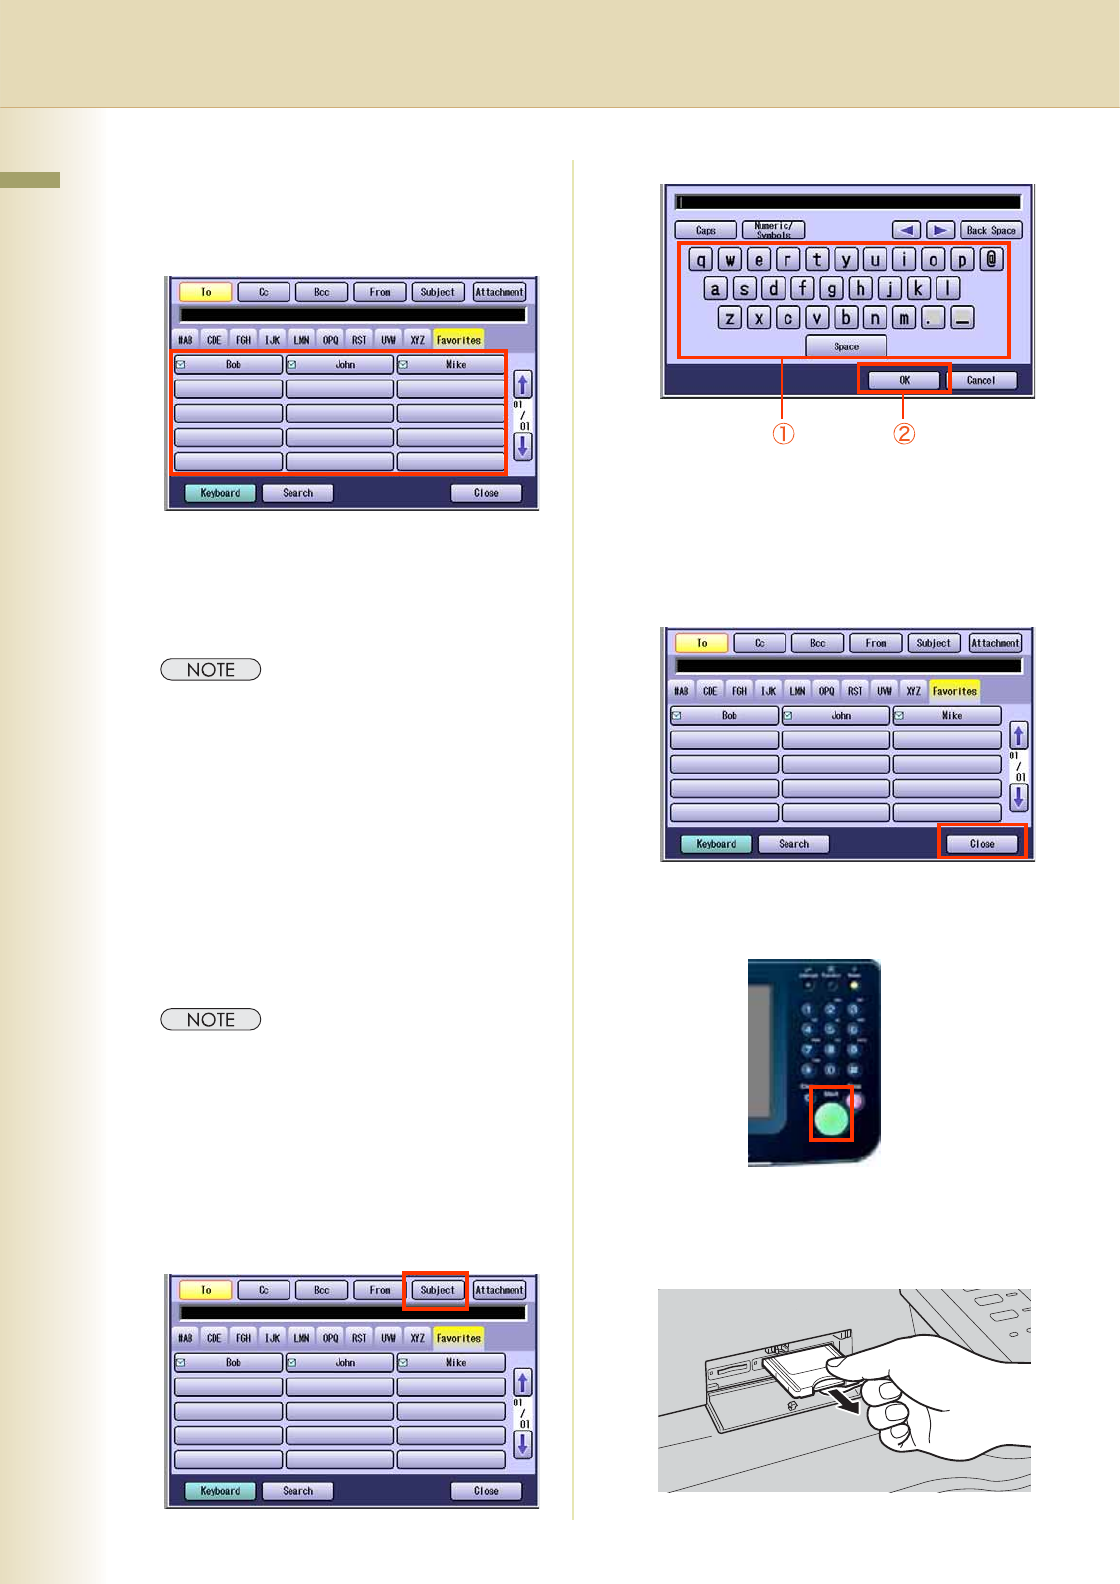
Select “Close”.
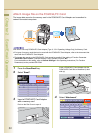
12
Press the Start key.
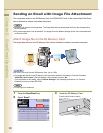
Sending an Email with image file(s) attached.
13
Push the Eject button on the right side
of PCMCIA/PC Card Slot, and then
remove the PCMCIA/PC Card Adapter.