1. Introduction and Installation
14
Detailed operating instructions are on the CD-ROM.
3 Close the document cover.
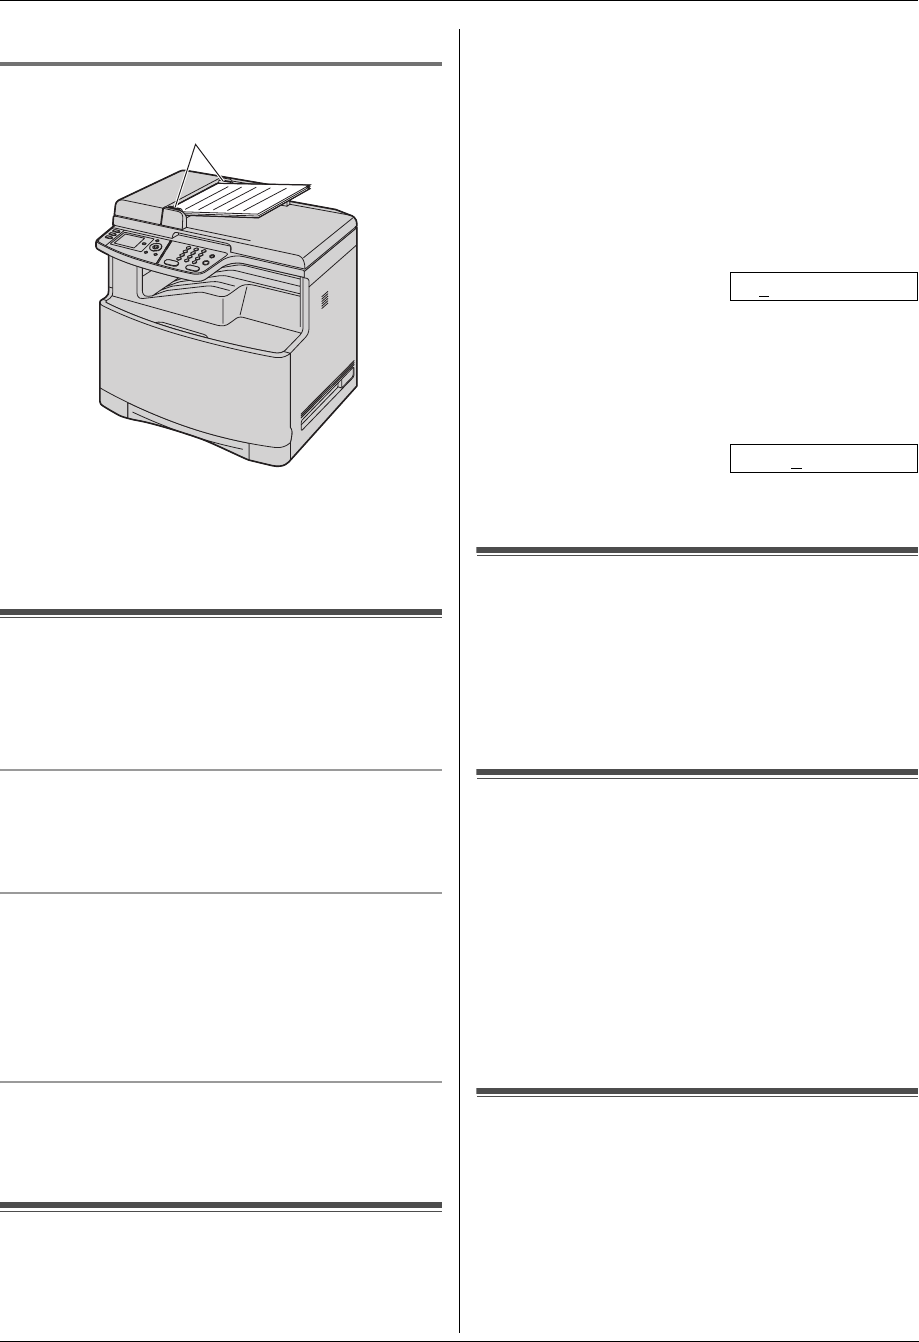
1.7.2 Using the automatic document feeder
1
Insert the document (up to 50 pages) FACE UP into
the feeder until a single beep is heard.
2 Adjust the width of the document guides (1) to fit
the actual size of the document.
Volu me
1.8 Adjusting the volume
Important:
L Before adjusting the volume, set the operation
mode to fax mode. If the {Fax} light is OFF, turn it
ON by pressing {Fax}.
Ringer volume
1. Press {V} or {^} repeatedly to select “Ringer
Volume”.
2. Press {<} or {>}.
To turn the ringer OFF
1. Press {V} or {^} repeatedly to select “Ringer
Volume”.
2. Press {<} repeatedly to display “Ringer Off” in
the status bar.
L The unit will not ring.
L To turn the ringer back ON, press {>}.
Monitor volume
1. While using the monitor, press {V} or {^}
repeatedly to select “Monitor Volume”.
2. Press {<} or {>}.
Initial Programming
1.9 Date and time
1 {Menu} i {#}{1}{0}{1} i {Set}
2 Enter the current date/month/year/hour/minute.
Press {*} repeatedly to select 12-hour time entry or
24-hour time entry.
L If you selected 12-hour time entry, press {V} or
{^} repeatedly to select “AM” or “PM”.
Example: 10 August, 2008 10:15 PM (12 hour
clock format)
1. Press {V} or {^} repeatedly to select “Date”.
i {<} / {>}
2. Press {1}{0} {0}{8} {2}{0} {0}{8}.
D:10/M:08/Y:2008
3. {Set}
4. Press {V} or {^} repeatedly to select “Time”.
i {<} / {>}
5. Press {*}, then press {1}{0} {1}{5}.
6. Press {V} or {^} repeatedly to select “PM”.
10:15PM
7. {Set}
3 Press {Menu} to exit.
1.10 Your logo
You can program your logo (name, company name, etc.)
so that it appears on the top of each page sent.
1 {Menu} i {#}{1}{0}{2} i {Set}
2 Enter your logo, up to 30 characters using the dial
keypad. i {Set}
3 Press {Menu} to exit.
1.11 Your fax number
You can program your fax number so that it appears on
the top of each page sent.
1 {Menu} i {#}{1}{0}{3} i {Set}
2 Enter your fax number, up to 20 digits.
L To enter a “+”, press {*}.
L To enter a space, press {#}.
L To enter a hyphen, press {Flash}.
L To erase a number, press {Back}.
3 {Set}
4 Press {Menu} to exit.
1.12 Configuring the unit to
access the LAN
You can print documents, scan documents, receive
faxes or send faxes using a computer on the LAN. To
enable these features, you need to set the IP address,
subnet mask, and default gateway for the unit.
1
MC6040_6260CX-PNQW1377ZA-QRG-en.book Page 14 Wednesday, July 30, 2008 10:24 AM
