


24
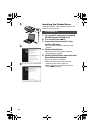
Setting LCD Monitor
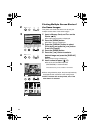
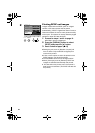
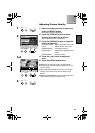
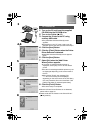
1
Select an image and press the [MENU]
button.
≥The Menu screen is displayed.
2
Press the [DISPLAY] button to select
[LCD] and press the [
1] button.
≥ The adjusting screen is displayed.
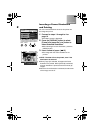
3
Press the [DISPLAY] button to select the
item to be adjusted.
[COLOR-LEVEL]: Adjusts the depth of the color.
[BRIGHTNESS]: Clarifies dark portions.
[SCREEN SAVER]: If this is turned [ON], the
screen saver will be activated
when this printer is inactive
for approx. 30 minutes.
[UNDER PRINT]: If this is turned [ON], the LCD
monitor stays ON while
images are being printed.
(This setting is disabled when
this printer is running on the
battery.)
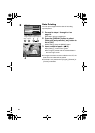
4
Press the [2 1] button to adjust the
level.
5
Press the [MENU] button twice.
≥LCD Monitor adjustments will have no effect on print
quality.
≥Adjust the LCD monitor if the visibility of the LCD
monitor is low.
≥The LCD monitor may not be seen clearly from a
certain angle.
≥Before printing it is advised that all LCD settings
should be set to the factory default settings. This will
give the most accurate representation of what the
print will look like.
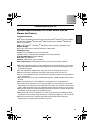
3,4
BRIGHTNESS
OK SETSELECT
MENU
DISPLAY
1
MENU
DISPLAY
2
MENU
DISPLAY
5
MENU
DISPLAY
OK ADJUSTSELECT
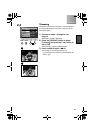
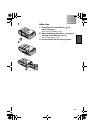
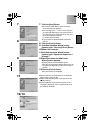
Trimming
Picture
LCD
ADJUST
ADJUST
MENU 2/2
Frame
ON
No frame