


8820-A2-GZ45-20 October 2004 3
WARNI NGS:
It is recommended that the following procedure be performed by a
qualified electrician.
The 48 VDC or 60 VDC power must be disconnected at its source before
attempting to connect wiring to the PEM. Do not remove wired PEMs
without first disconnecting the power at its source.
You need a Phillips screwdriver to remove the PEM from the BAC.
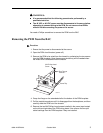
Removing the PEM from the BAC
Procedure
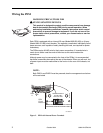
1. Ensure that the power is disconnected at the source.
2. Open the PEM circuit breaker (power off).
3. Remove the PEM to be wired from the chassis by unfastening the two screws
from the PEM faceplate. Save these screws since they will be needed when
the wired PEM is reinstalled into the chassis.
4. Grasp the flange on the extended shelf at the bottom of the PEM faceplate.
5. Pull the module toward you until it is disengaged from the backplane, and then
carefully slide the PEM out of the chassis.
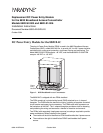
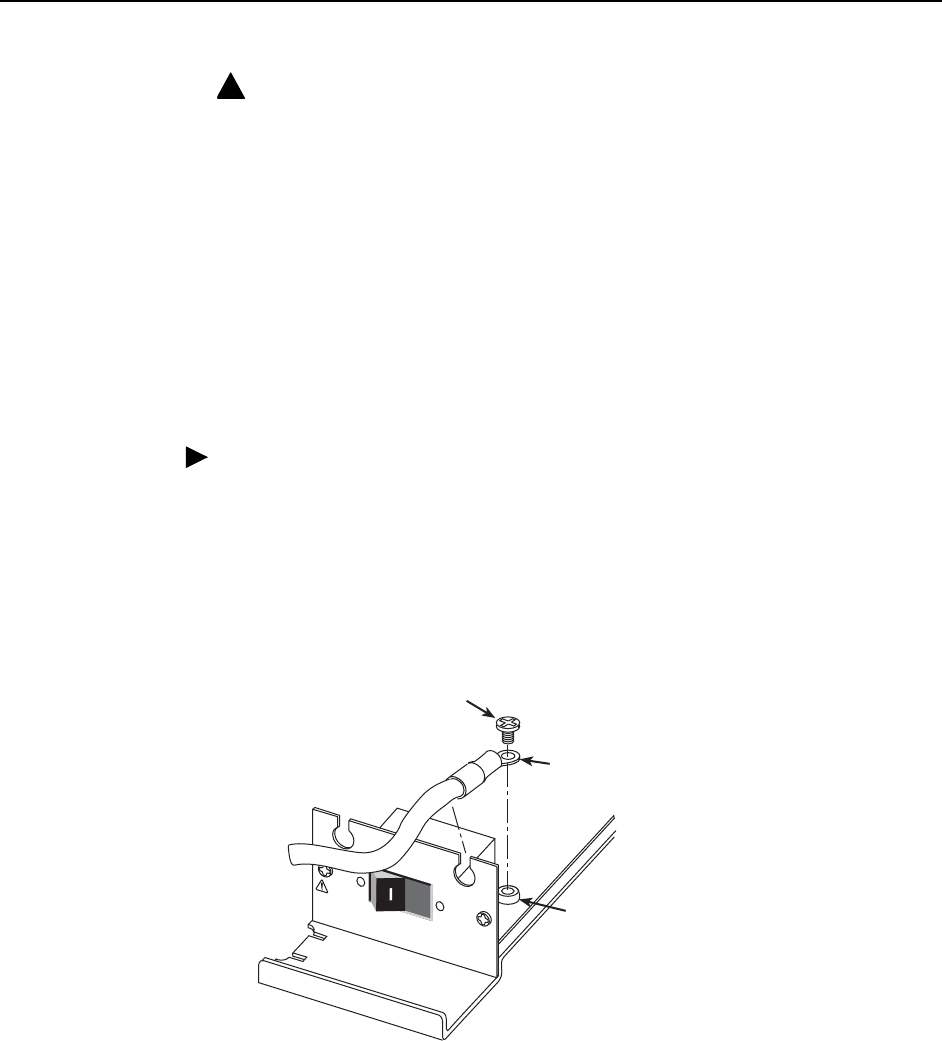
6. Remove the two M4 Phillips–head screws installed in the power taps located
on the left and right side of the PEM wiring board. Also remove the two split
cable bushings from the PEM faceplate if they are installed.
!
00-16713
48V RTN
48V NEG
POW
ER ENTRY MO
DULE
LEFT UNIT: LINE A
RIGHT UNIT: LINE B
W
A
R
N
IN
G
!
POWER MUST BE DISCONNECTED AT THE SOURCE
BEFORE REMOVING OR INSTALLING THIS PWR ENTRY MODULE
O
Ring Tongue
Terminal
M4 Phillips-head
Screw
Power Tap