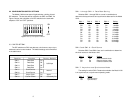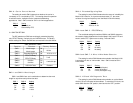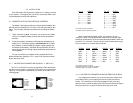
Connection to Model 1040
†
Connection to DCE Device
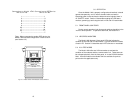
DB-25 Pin No. DB-25 Pin No.
1.....................................................1
2.....................................................3
3.....................................................2
4.....................................................8
8.....................................................4
6...................................................20
20.....................................................6
17...................................................24
24...................................................17
7.....................................................7
†
Note: When connected to another DCE device, the
Model 1040 should be configured for “external clock”
(see Section 3.3).
5.0 OPERATION
Once the Model 1040 is properly configured and installed, it should
operate transparently—as if it were a standard cable connection.
Operating power is derived from the data and control signals; there is
no “ON/OFF” switch. Section 5.0 describes reading the LED status
monitors, powering-up and using the built-in V.52 and V.54 test modes.
5.1 FRONT PANEL aSWITCHES
During normal operation, both front panel switches should be in the
“normal” center position. To operate a test mode, see Section 5.3.
5.2 LED STATUS MONITORS
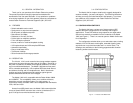
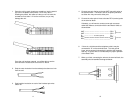
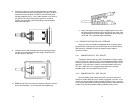
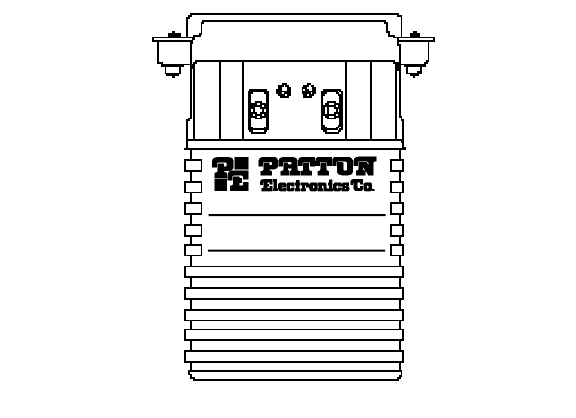
The Model 1040 features 2 front panel LEDs that indicate the
condition of the V.52 and V.54 test modes. Figure 6 shows the location
of each LED. Section 5.3 describes each LED’s function in more detail.
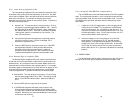
5.3 V.54 TEST MODES
The Model 1040 offers two V.54 test modes to evaluate the
condition of the modems and the communication link. These tests can
be activated physically from the front panel, or via the RS-232 interface.
Note: V.54 test modes on the Model 1040 are available for point-to-
point and 4-wire applications only.
15 16
Figure 6. Model 1040’s LEDindicators and test switches
511/E RDL
NORMAL
511 LAL
BERT
LOOP
Gaithersburg, Maryland
S/N 123456
MODEL 1040
Miniature Async./Sync. Modem


