


43
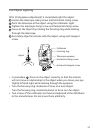
6.7 Optical plummet
Inspection
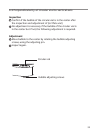
Place a piece of white paper,with a cross drawn on it,directly under
the instrument.
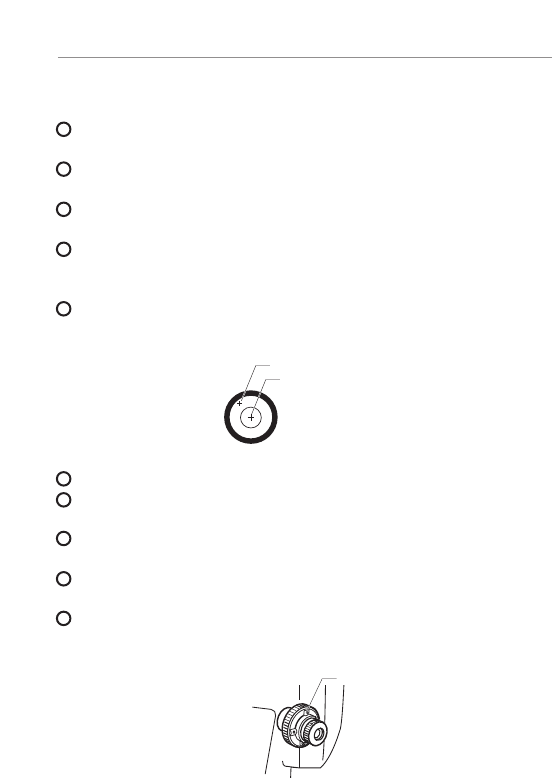
Look through the optical plummet,and move the paper so that the
intersecting point of the cross comes to the center of the field of view.
Adjust the leveling screws so that the center mark of the optical
plummet coincides with the intersection point of the cross.
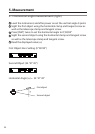
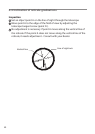
Rotate the instrument around the vertical axis.Look through the
optical plummet each step of 90° rotation,and observe the center
mark position against the intersection point of the cross.
If the center mark always coincides with the intersection point,no
adjustment is necessary.When it does not coincide,the following
adjustments are required.
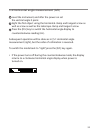
Adjustment
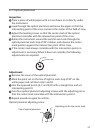
Remove the cover of the optical plummet.
Mark the point set on the line of sight at each step of 90° on the
white paper and call them A,B,C and D.
Join the opposed points (A,C and B,D) with a straight line,and set
intersecting point 0.
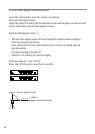
Turn four optical plummet adjusting screws with the adjusting pin so
that the center mark coincides with the intersection point 0.
Repeat procedure again to confirm.
Optical plummet adjusting screw
5
1
2
3
4
5
1
2
3
4
Center mark
Point
Cap of optical plummet
Adjusting pin for the center mark