7
Record and play a video
Note
If you select any resolution higher than 640 •
x 480 (VGA), the recording icon is disabled.
You can select a lower resolution to enable
recording.
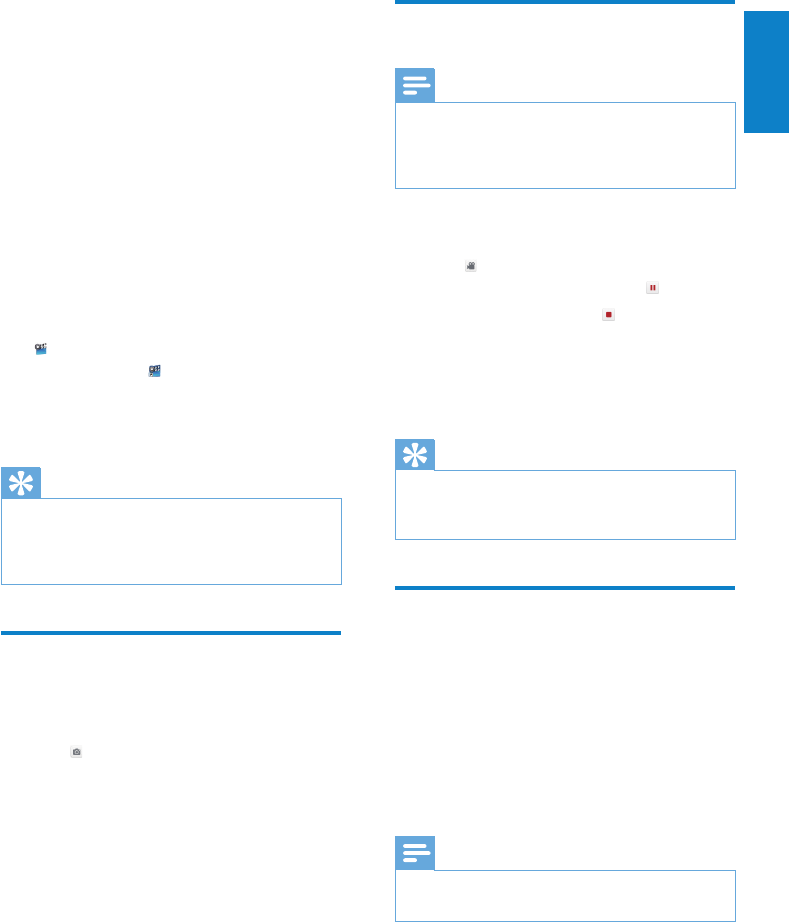
1 Adjust the camera in a proper angle.
2 In the Philips CamSuite Capture window,
click to start recording.
To pause recording, click • .
3 To stop recording, click .
A video is recorded and stored in the »
video gallery.
4 To play a video in the video gallery,
double-click it.
Tip
Before you play a video, ensure that you •
have a multimedia player installed on the PC/
notebook.
Image resolution
You can set different image resolutions for
photos/videos taken via the webcam:
160 x 120 (SQVGA)•
176 x 144 (QCIF)•
320 x 240 (E-mail size)•
352 x 288 (CIF)•
640 x 480 (VGA)•
1280 x 960 (1.3MP, for photo only)•
Note
For video recording, the maximum resolution •
is up to 640 x 480 (VGA).
1 In the Philips CamSuite Capture window,
click the drop-down arrow.
The provided resolution options are »
listed.
5 Philips CamSuite
Capture
Via Philips CamSuite Capture, you have access
to the following webcam features:
Take photos•
Record videos•
Send photos or videos by email•
Adjust settings for photo, video, •
mute, and multimedia folders
1 To launch Philips CamSuite Capture, click
on the Philips CamSuite control panel
or double-click on the desktop.
2 To close Philips CamSuite Capture, click
the close button at the top right corner
of the Philips CamSuite Capture window.
Tip
If you are already using the webcam in another •
application, you will not be able to see any
image in the viewer of Philips CamSuite
Capture.
Take and view a photo
1 Adjust the camera in a proper angle.
2 In the Philips CamSuite Capture window,
click .
A photo is taken and stored in the »
photo gallery.
3 To view a photo in the photo gallery,
double-click it.
English
EN


