


E – 28
Setting in Accordance With
Image Contents (continued)
Initial Settings
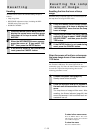
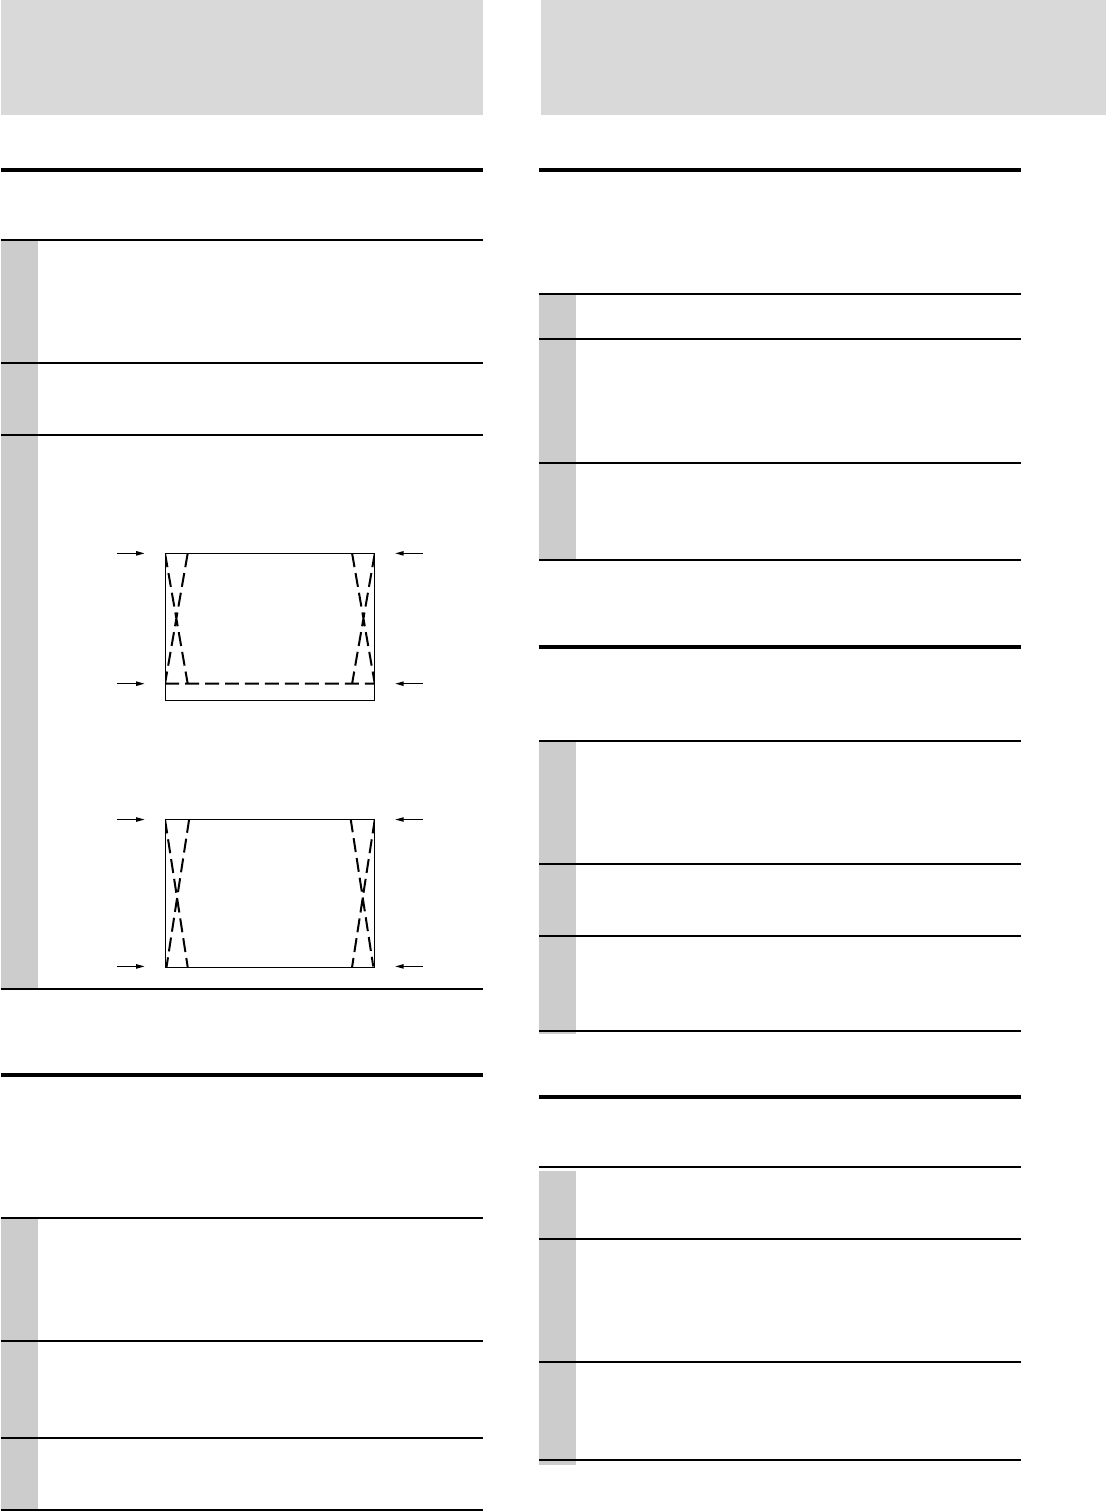
Setting Keystone
This is used to set the height for keystone adjustment.
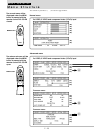
1 With the FLIP COVER of the remote con-
trol open, press the MENU button to dis-
play the Advanced menu, then use the
cursor ̇ / ̈ keys to select “VIEW”.
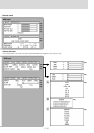
2 Display the frame, then use the cursor ̆
/ ̄ keys to select “KEYSTONE”.
3 Use the cursor ̇ / ̈ keys to select “NOR-
MAL” or “FULL”.
●Normal: normal keystone correction
●Full: In this mode, the image is enlarged to fill
the screen vertically and then Keystone correc-
tion is performed.
Setting the partial display position
Input a signal that is rated SXGA (XGA for the U3-810WZ,
U3-810W, U3-810SF) to RGB/YCbCr connector and then set
the partial display position with ASPECT (described later) set
to Real.
1 With the FLIP COVER of the remote con-
trol open, press the MENU button to dis-
play the Advanced menu, then use the
cursor ̇ / ̈ keys to select “VIEW”.
2 Display the frame, use the cursor ̆ / ̄
keys to select “PAN” and then press the
ENTER button.
3 Use the cursor ̆ / ̄, ̇ / ̈ keys to set the
display position.
Audio Muting
Audio only can be muted for each input.
This function is convenient when multiple video units are
connected to this projector.
1 Select the input to be muted (page 16).
2 With the FLIP COVER of the remote con-
trol open, press the MENU button to dis-
play the Advanced menu, then use the
cursor ̇ / ̈ keys to select “SETUP”.
3 Use the cursor ̆ / ̄ keys to select
“SOUND MUTE”, then use the cursor ̇ /
̈ keys to set muting to ON or OFF.
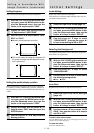
Selecting the Background
Two different backgrounds can be selected for projection
when there is no signal input.
1 With the FLIP COVER of the remote con-
trol open, press the MENU button to dis-
play the Advanced menu, then use the
cursor ̇ / ̈ keys to select “SETUP”.
2 Use the cursor ̆ / ̄ keys to select
“BACKGROUND”.
3 Use the cursor ̇ / ̈ keys to select one of
the following backgrounds.
● Blue ● Black
Auto Gain
Brightness and contrast are adjusted automatically.
1 Select the input to be set for auto gain
(page 16).
2 With the FLIP COVER of the remote con-
trol open, press the MENU button to dis-
play the Advanced menu, then use the
cursor ̇ / ̈ keys to select “SETUP”.
3 Use the cursor ̆ / ̄ key to select “AUTO
GAIN”, then use the cursor ̇ / ̈ keys to
set ON or OFF.
To select other menu names
Press the MENU button. The cursor will disappear and the menu
selection screen will be displayed.
To close the menu
Press the CANCEL button.