


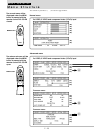


E – 24
Manual Adjustment of Personal
Computer Images
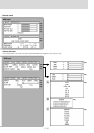
Adjusting Clock Frequency and Phase
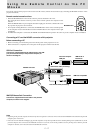
1 Select RGB as the input (page 16).
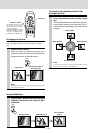
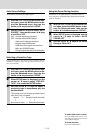
2 Press the MENU button to display the
main menu and then press the cursor ̇ /
̈ keys to select the “IMAGE”.
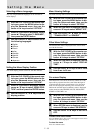
3 Press the cursor ̆ / ̄ keys to select the
“PICTURE ADJ”.
4 Press the cursor ̇ / ̈ keys and adjust the
image width in relation to the screen.
Adjustment is performed in dot units. Adjust to
the position where vertical flicker disappears.
5 Press the cursor ̆ / ̄ keys and select
“FINE PICTURE”.
6 Press the cursor ̇ / ̈ keys and adjust to
minimize image noise, flicker, color varia-
tions, etc.
Reconnecting a separate personal computer or
other device to the RGB jack
Either press the AUTO button on the main unit or open the FLIP
COVER of the remote control and press the AUTO button there.
If no images appear during setting
Use the following procedure when no images appear during setting
because the clock frequency or phase is grossly inaccurate.
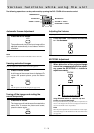
1Turn off the power of all devices connected.
The input signal will stop and either a blue or black background
(This depends on the Background setting. page 28) will be
projected.
2 Perform a reset (page 25).
3 Readjust the picture ADJ and fine picture
Adjusting the position of the image
If the image is offset up, down, left or right, adjust the
vertical and horizontal position.
1 Perform steps 1 - 6 for Adjusting the
Clock Frequency and Phase on this page.
2 Press the cursor ̆ / ̄ keys and select
“POSITION”.
3 Press the cursor ̆ / ̄, ̇ / ̈ keys and
adjust the horizontal and vertical posi-
tion.
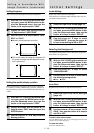
To select other menu names
Press the MENU button. The cursor
will disappear and the menu selection
screen will be displayed.
To close the menu
Press the CANCEL button.