


Hardware and Software Setup 13
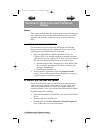
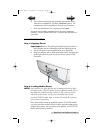
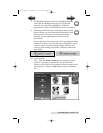
Step 4: Installing the Ink Cartridge
• With the cover open, press the Power/Ink Button to move
the Ink Cartridge Carrier to the load position.
• Open the cartridge cover by pressing down on the tab.
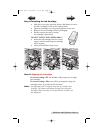
• Remove the ink cartridge from its packaging.
• Slowly remove the tape covering
the cartridge's print head.
DO NOT TOUCH THE COPPER AREA!
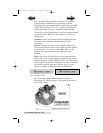
• Insert the ink cartridge into the carrier,
copper end first and snap the cartridge
cover in place.
• Close the Publisher's front cover.
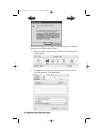
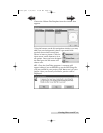
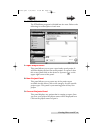
Step 5: Aligning the Cartridge
If you are using a PC the Installer will prompt you to align
the cartridge.
If you are using a Mac you will be prompted to align the
cartridge before you print for the first time.
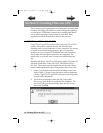
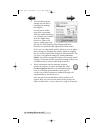
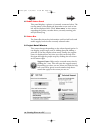
Note: An alignment print is required every time you install a new
cartridge. The software will always prompt you to align the
cartridges. Make sure there is an unprinted disc in the bin for
this alignment.
510963.qxd 8/10/2006 12:36 PM Page 13
TOC
INDEX