


10
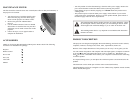
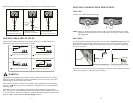
PROJECTOR (FRONT VIEW)
Fan grille
TOP-Key
Lens
Keystone
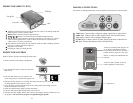
PROJECTOR CONTROL
Remove the lens cap after connecting the mains cable.
1. Insert 2 batteries in the battery compartment.
2. Turn the On/Off switch to "ON"; the LED will
flash slowly.
3. Push the "ON" button on your remote or the
one on the projector. The LED will light up red.
4. Hold one of these buttons for 2 seconds. The lamp will warm-up now. After 2 minutes
the image appears on the projector screen.
5. Focus the image with the lens and setup the size and position of the image. You can
correct the Keystone if necessary.
6. Setup the required image quality with the OSD menu.
7. Push the "ON" button again and the lamp will switch off.
8. The LED will flash rapidly and the fans will keep operating for around 5 minutes to cool
the projector. Do not turn the projector on again during this period!
button: Push this button to turn the projector on when it's in stand-by mode and
push it again to return to stand-by mode.
MENU button: Push this button to open the menu.
/ / / buttons: Use these buttons to navigate through the menu.
PC/AV button: Use this button to select the video source you want to use. You can
select between signals like PC, VCR or DVD. The beamer will switch between
video sources every time you push this.
LED indicator: Put the projector into stand-by mode ,the LED is flashing; when the
projector is working, the LED is light red.
Fan grille: Cool air inlet.
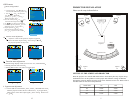
Focusing the image by turning the lens.
7
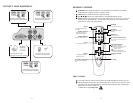
MAKING CONNECTIONS
The sockets for making connections on the back panel of the projector are shown below:
Video input: Connect with a composite output signal from a video device.
Audio input: Connect with an audio signal from a video or audio device.
VGA input: Connect with a computer output signal.
S-Video input: Connect with an S-video output signal from a video device.
RF input: Connect the antenna of the wired television.
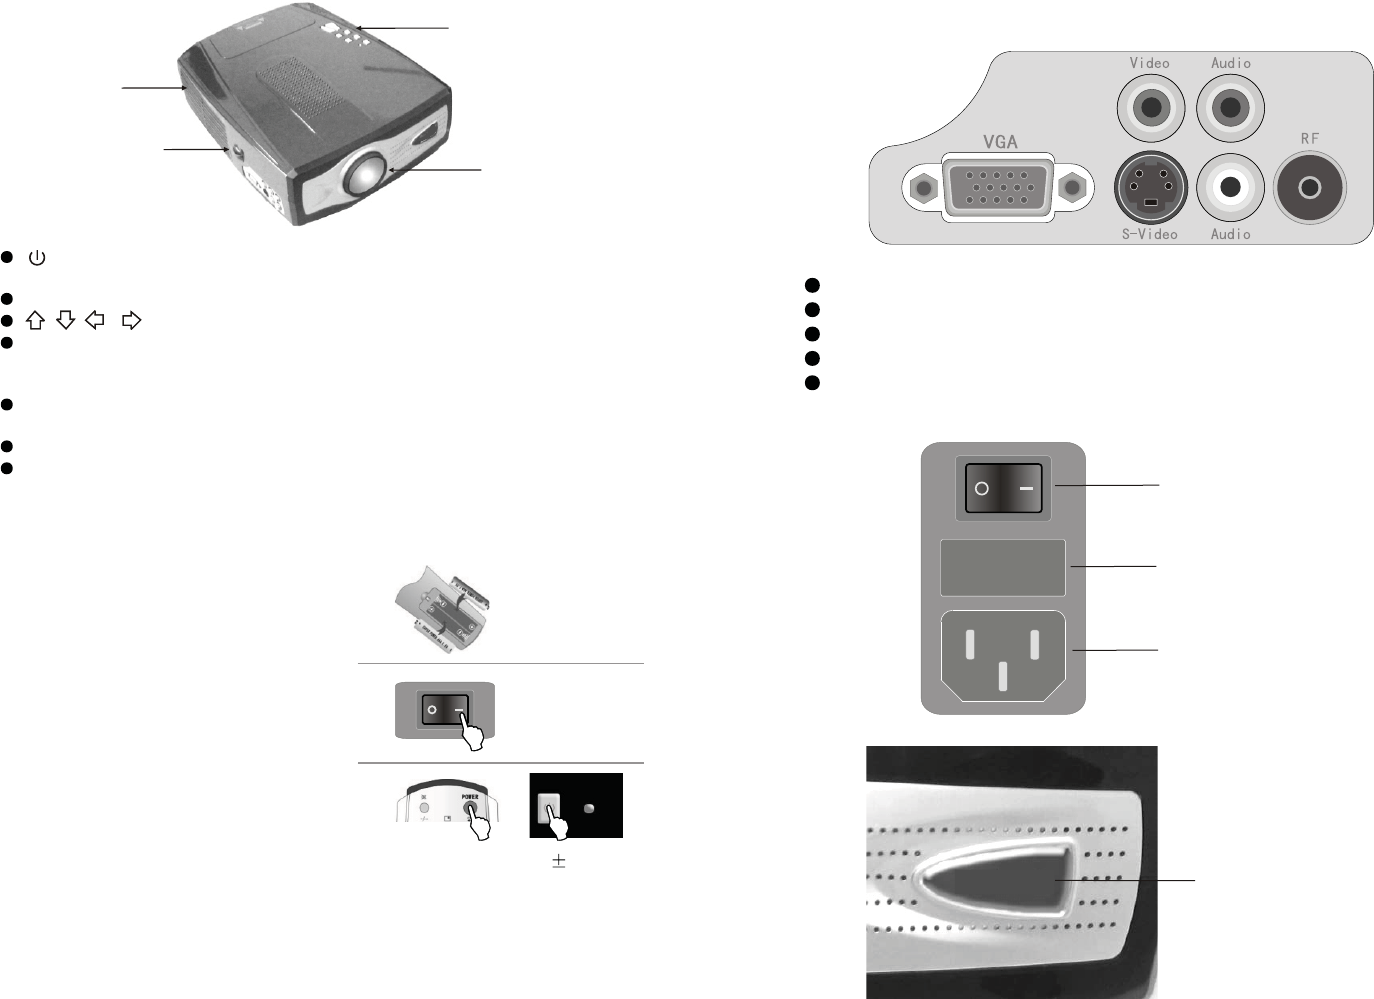
IR receiver
AC Power Switch:Turn the projector on
or off. When using Remote Control
Unit, turn the switch to ON. And turn it
to OFF when the projector is not used.
AC Power Jack: Connect AC Power
Cable (supplied) to the projector.
Here is a 5 Amps fuse installed for the
projector.