


System Calibration
When installing a typical cinema sound system, most of the calibration involves the Cinema Processor. Refer to the user manual for the
Cinema Processor that you are using.
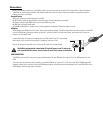
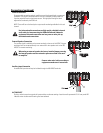
WARNING: Turn the Gain Controls on all of the system’s amplifiers all the way down until crossover settings and
levels are verified!
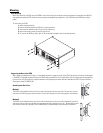
Connect a PC computer to the USB connector, turn on the DCM unit, start the DCM Manager 2007 software and download a
configuration file that corresponds to the equipment installed in the theater.
Once all system and crossover settings are correct in the DCM Manager software, you are ready to start calibration.
1. Theater - audio level adjustments
The combination of QSC amplifiers and loudspeakers contained in the DCM Manager database will require little or no DCM adjust-
ment. Transducer sensitivity imbalances within the loudspeakers have been compensated for by the factory recommended crossover
settings. However different amplifier configurations may require gain adjustments to achieve the flattest frequency response. Proper
adjustment of the crossover gain settings should be verified before any EQ adjustment is made. If you are using a powered subwoofer,
or a loudspeaker not contained in the factory supplied loudspeaker database, you may need to make level adjustments.
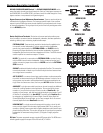
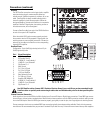
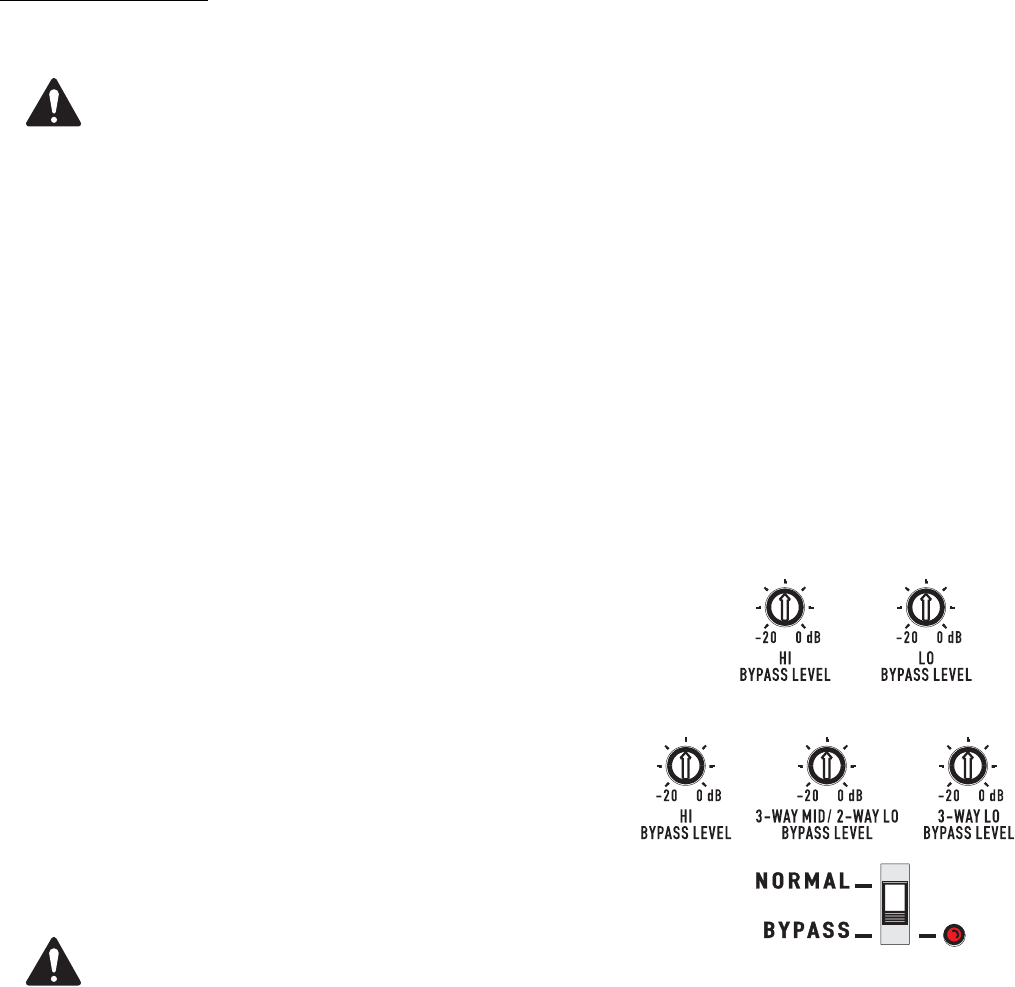
2. Bypass Levels
When the bypass button on the front panel of the DCM unit is activated, a crossover is used to divide the center channel audio signal
into either a 2-way signal (high frequency and low frequency), or a 3-way signal (DCM 30/30D only). The relative volumes of these sig-
nals can be adjusted on the rear panel of the DCM unit. Feed pink noise into the center channel input, compare the center channel
sound while the front panel button is in the Normal position to the sound while in the Bypass position. While in the bypassed position,
adjust the potentiometers to most closely match the normal position sound.
3. Monitoring - audio mix adjustments
The DCM Manager software allows balancing of the high/low or high/mid/low signals being fed to
the front panel monitor loudspeaker. Input pink noise into all of the DCM input channels and select
individual channels using the DCM front panel buttons.
Select the surround channels first to make a reference level. Now select other channels one at a
time and balance these gain settings for a sound level similar to the surround channels.
4. Loudspeaker Frequency adjustments
The manufacturer of any loudspeaker will be able to supply you with recommended
crossover settings. The settings for most commonly available cinema loudspeakers are
included in the DCM Manager speaker database. By simply assigning the correct
loudspeaker make and model to each channel, the majority of loudspeaker EQ
adjustment is complete. The DCM offers additional filters (high pass, parametric EQ, screen EQ, and
Horn EQ), driver and channel delay, polarity, and gain adjustments which can be used as additional
compensation for loudspeaker and installation characteristics.
WARNING: Inappropriate crossover settings can damage loudspeakers!
5. Setting Delay Times
Driver delay settings compensate for the physical displacement between transducer centers within one loudspeaker. Consult the loud-
speaker manufacturer for help in determining this setting. Channel delay compensates for the distance that a loudspeaker is located
from the screen. We have included some screen delay adjustment, but most typical theaters will not need to use this because surround
channels are delayed coming from the cinema processor. Consult an acoustic consultant for the proper calibration method, or experi-
ment until the sound from the screen together with sound from the surround loudspeakers sounds more “clear”.
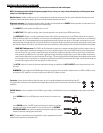
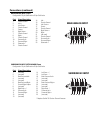
DCM 10/10D
DCM 30/30D